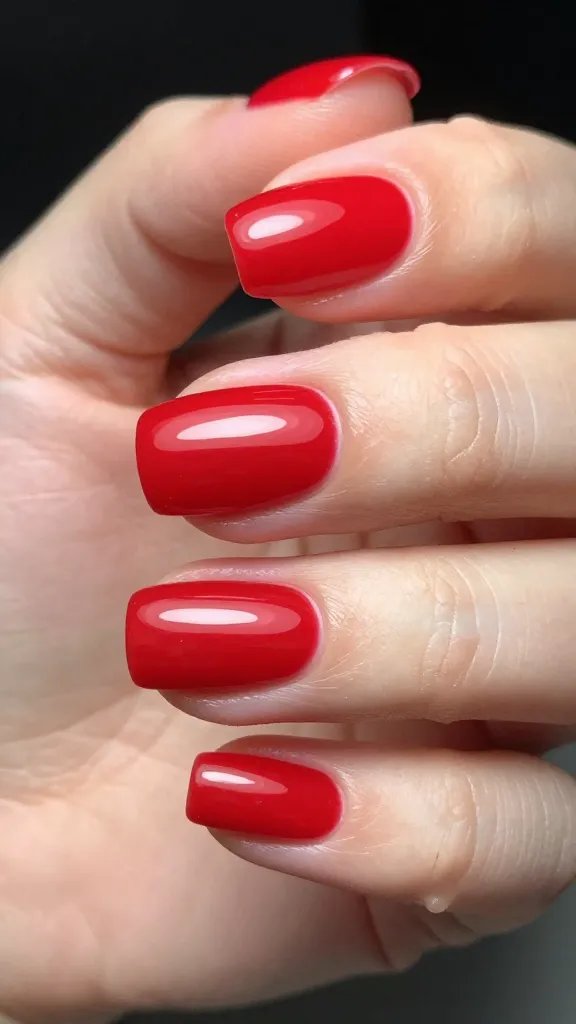
Mystery Solved! Why Does My Nail Polish Bubble?
You just finished meticulously painting your nails. You’ve got that perfect, glossy shine, the color is popping, and you’re feeling like a total nail art goddess. Then you look closer. Tiny, infuriating bubbles. Everywhere. What the actual polish-peeling heck just happened? Don’t toss your bottle across the room just yet; you’re not alone in this bubbly nightmare. Let’s dive into the common culprits behind those pesky air pockets and how to banish them for good.
The Usual Suspects: Air Traps and Application Mishaps
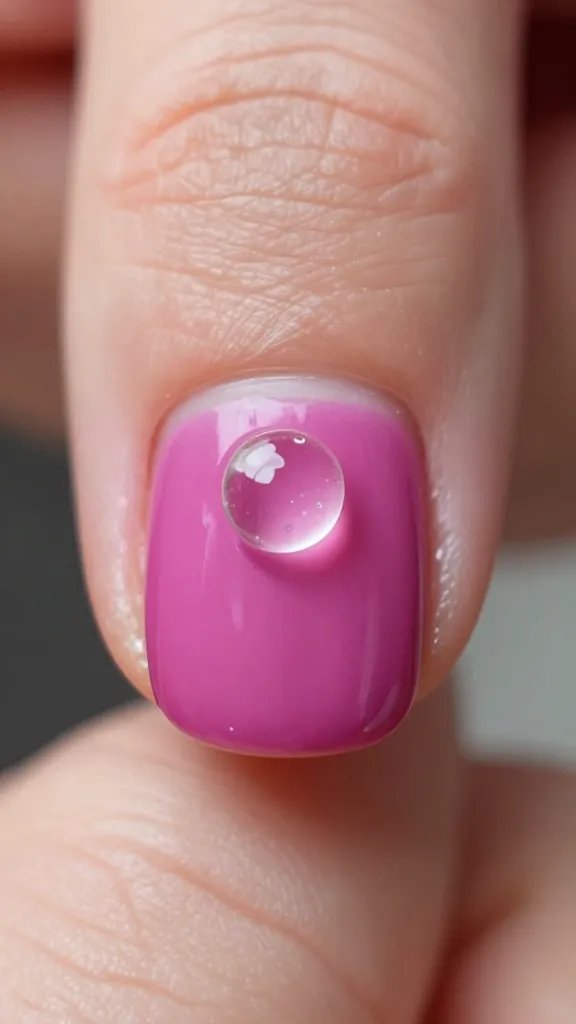
Bubbles often appear because air gets trapped, plain and simple. Think of it like trying to wrap a present with a tiny air pocket under the paper – annoying, right? Nail polish is no different. Most of the time, the problem starts right when you’re applying it.
Too Many Coats, Too Fast?
We’ve all been there: you’re in a rush, you want that opaque color *now*, so you slather on a thick coat. Big mistake. Applying thick layers of polish, especially without allowing adequate drying time in between, is a prime recipe for bubbles. The top layer dries and seals in the solvent from the wet layers underneath. As that trapped solvent tries to evaporate, it creates those tell-tale bubbles.
Always remember: thin coats are your best friend. Seriously, two or three thin coats will always look better and last longer than one thick, gloopy one. Patience, grasshopper!
The Shaky Hand Syndrome (aka shaking the bottle)
This is probably the most common, yet overlooked, cause. When you grab your nail polish bottle, what’s your first instinct? To shake it like a maraca, right? Stop! Shaking the bottle vigorously introduces a ton of air into the polish, creating tiny bubbles that then transfer directly onto your nails. It’s like shaking a soda bottle before opening it – pure chaos.
Instead of shaking, try gently rolling the bottle between your palms for about 30 seconds. This warms the polish slightly and mixes it without creating a bubbly mess. Your polish, and your manicure, will thank you.
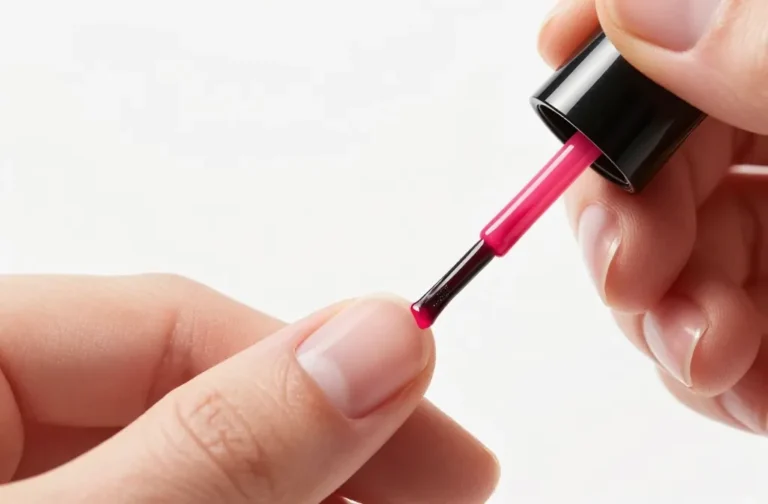
Overloading the Brush
Are you dipping your brush into the bottle and pulling out a giant glob of polish? That’s another air trap waiting to happen. An overloaded brush creates excess polish on the nail, which then struggles to dry evenly and can trap air.
Wipe one side of your brush against the neck of the bottle before applying. You want just enough polish to cover the nail in a thin, even stroke, not enough to build a small mountain. Less is definitely more here.
Temperature Troubles: When Your Polish Gets Hot (or Cold) Under the Collar
Believe it or not, the environment you’re painting in, and even the temperature of your polish, can play a huge role in bubble formation. Polish is a delicate diva, after all.
The Hot Mess: Humidity and Heat
Painting your nails on a sweltering, humid day? You might as well be asking for bubbles. High humidity can prevent polish from drying properly, trapping moisture and air. Similarly, if your nails or the polish itself are too warm, the solvents can evaporate too quickly from the surface, sealing in the wet polish underneath and, you guessed it, creating bubbles.
Try to paint your nails in a cool, dry room. If it’s super humid, consider waiting for a less sticky day or using a dehumidifier.
Chilly Polish Blues
On the flip side, polish that’s too cold can become thick and sluggish, making it harder to apply smoothly and increasing the chances of air getting trapped. If your polish has been chilling in the fridge (which, IMO, is not always the best storage solution for all polishes), let it warm up to room temperature before use.
Product Problems: Old Polish, Bad Formulas, and Beyond
Sometimes, it’s not you, it’s the polish. Certain factors related to the product itself can lead to a bubbly finish.
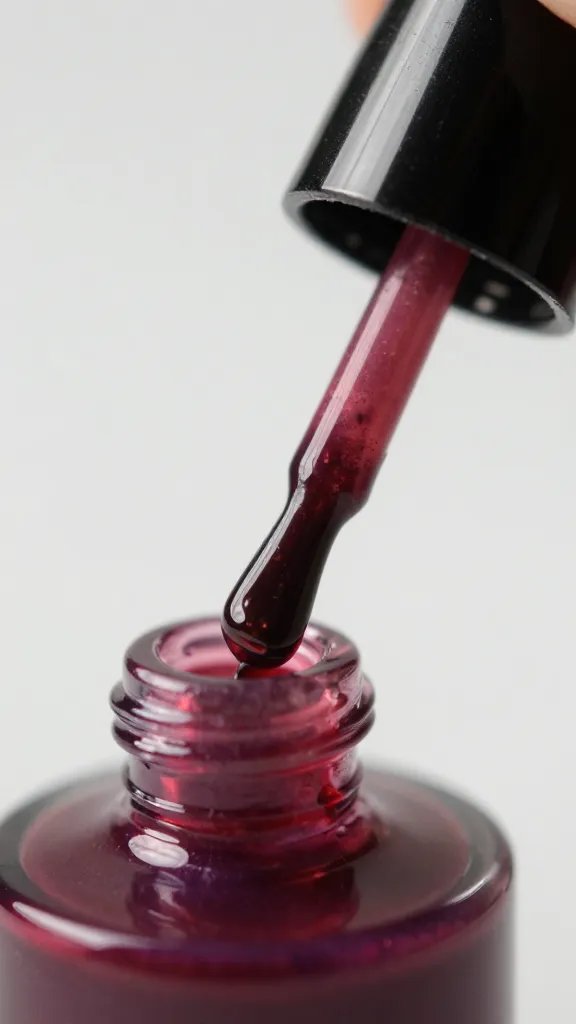
Expired or Thickened Polish
Nail polish doesn’t last forever, sadly. Over time, the solvents evaporate, leaving the polish thick and stringy. Thick polish is much more likely to trap air during application. If your polish looks like it’s seen better days, it’s probably time to toss it. No amount of polish thinner can truly bring back a polish that’s past its prime.
The Quality Conundrum: Cheap vs. Chic
While you don’t always need to splurge on designer brands, some cheaper polishes might have less stable formulas that are more prone to bubbling. They might contain different solvent blends or pigments that don’t play nice. If you’re consistently getting bubbles with one particular brand, it might be worth exploring other options. Sometimes, paying a little more really does pay off in a smoother, bubble-free finish.
Prep Work Perfection: The Unsung Hero of a Bubble-Free Mani
You wouldn’t paint a wall without cleaning it first, right? The same goes for your nails! Proper nail prep is crucial for a smooth, long-lasting, and bubble-free manicure.
Oily Nails are a No-Go
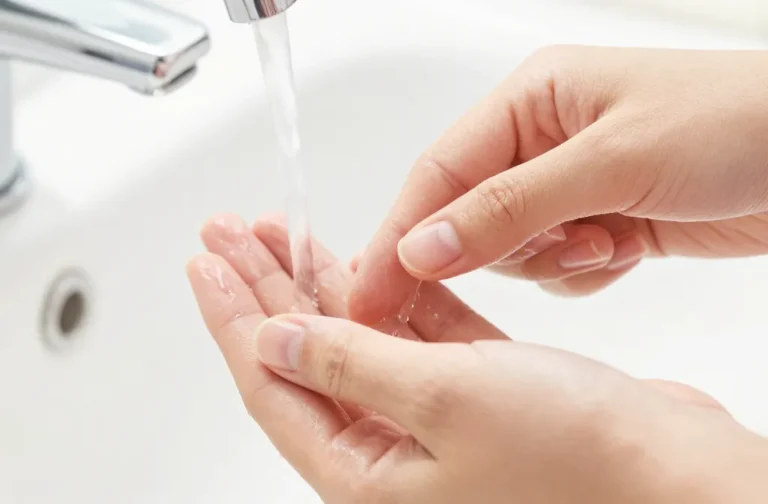
Natural oils from your skin (or even hand cream) on your nail plate can create a barrier that prevents polish from adhering properly. This can lead to all sorts of issues, including bubbling. Always make sure your nails are clean and dry before you even think about reaching for that base coat.
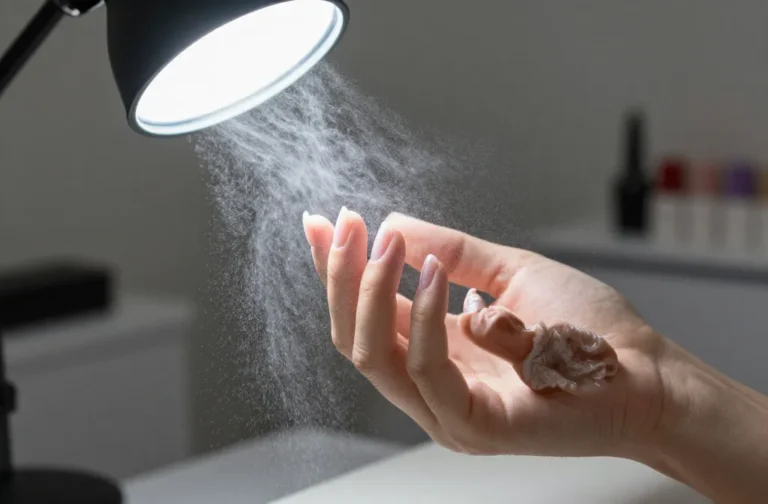
Use a nail dehydrator or simply wipe your nails with rubbing alcohol or nail polish remover (non-oily kind!) before starting. This removes any lingering oils and ensures a clean canvas.
Lint and Debris: Tiny Bubble Magnets
Ever finish a coat only to see a tiny fiber or speck of dust embedded in it? Not only does it look bad, but it can also introduce air pockets. Make sure your workspace is clean, and avoid painting near fuzzy towels or in dusty areas. A quick swipe with a lint-free wipe after dehydrating can save you some grief.
Top Coat Trauma: The Final Frontier of Flawless Nails
Even if you’ve done everything right up to this point, a poorly applied top coat can still ruin your whole vibe.
Just like your color coats, apply your top coat in a thin, even layer. If you apply it too thick, or too soon over still-wet color, it can trap solvents and air, leading to those dreaded bubbles right at the finish line. Give your color coats a good few minutes to set before sealing them in.
The Fix-It Guide: How to Banish Bubbles for Good (or at least mostly)
Alright, you’ve heard all the whys. Now for the how-tos!
- Roll, Don’t Shake: Gently roll your polish bottle between your palms instead of shaking it.
- Thin Coats Are In: Apply multiple thin layers of polish, allowing each to dry for a minute or two before the next.
- Clean Canvas: Always start with clean, dry, oil-free nails. Use a dehydrator or rubbing alcohol.
- Cool & Calm: Paint your nails in a well-ventilated, cool, and dry room. Avoid direct sunlight.
- Fresh Polish: If your polish is thick or old, it’s time for a replacement. Don’t try to revive it with thinner if it’s truly beyond repair.
- Don’t Rush It: Give your manicure ample time to dry completely between coats and before applying a top coat.
FAQ Section
Can old nail polish cause bubbles?
Absolutely! As nail polish ages, its solvents evaporate, causing it to thicken. This thicker consistency makes it much harder to apply smoothly without trapping air, leading to those annoying bubbles. If your polish is stringy or gloopy, it’s a prime suspect.
Does shaking nail polish cause bubbles?
Yes, it’s one of the most common culprits! Vigorously shaking the bottle introduces air into the polish, creating tiny air pockets that then transfer directly onto your nails during application. Rolling the bottle between your palms is a much better way to mix the polish without creating bubbles.
How do I fix bubbles after my polish dries?
Unfortunately, once the bubbles are dry and set in your polish, they’re quite difficult to “fix” without redoing the manicure. You *might* be able to gently buff them down with a very fine grit buffer block and then reapply a top coat, but this often doesn’t yield perfect results. Prevention is definitely key here!
What’s the ideal temperature for applying nail polish?
Room temperature is generally ideal for applying nail polish. If your polish is too cold, it can become thick and difficult to work with, increasing bubbles. If it’s too warm, or you’re in a hot, humid environment, the solvents can evaporate too quickly, trapping air. Aim for a comfortable, dry room.
Is it better to apply thin or thick coats of polish?
Always, always, always apply thin coats of polish. Thick coats take much longer to dry, and the surface can dry faster than the layers underneath, trapping solvents and air, which results in bubbles. Multiple thin coats will give you a smoother, more even, and bubble-free finish.
The Bubble-Free Future is Yours!
So there you have it, the full lowdown on why your nail polish might be bubbling. It’s rarely one single thing, but often a combination of factors. The good news is that with a few tweaks to your technique and a little patience, you can significantly reduce those infuriating air pockets. Practice makes perfect, and soon you’ll be rocking flawlessly smooth, bubble-free manicures like the nail pro you were always meant to be. Happy painting!