The Only Waffle Recipe Your Brunch Group Will Beg You For (Crispy Outside, Cloud-Soft Inside)
You can keep scrolling food videos, or you can make waffles that shut the room up in one bite. This batter turns five pantry staples into golden magic—no mixer, no drama. We’re talking edges so crisp they crackle and centers so airy they practically levitate syrup.
The first time you make these, you’ll wonder why you tolerated soggy hotel waffles for so long. Ready to flex on breakfast without waking up at 5 a.m.?
Why This Recipe Works
This waffle recipe nails the sweet spot: high heat + balanced batter equals shatter-crisp edges and a tender middle. A blend of milk and a touch of oil keeps things moist, while cornstarch lightens the texture so your waffles don’t feel like bread dressed up in grid patterns.
The leavening duo—baking powder and baking soda—delivers lift and even browning. And yes, a brief rest lets the flour hydrate and the batter relax, which translates to better structure and more consistent waffle pockets for maximum syrup capture.
Ingredients
- 2 cups (240 g) all-purpose flour
- 1/4 cup (30 g) cornstarch (for extra crispness)
- 2 tablespoons granulated sugar
- 2 teaspoons baking powder
- 1/2 teaspoon baking soda
- 3/4 teaspoon fine sea salt
- 2 large eggs, room temperature
- 1 3/4 cups (410 ml) milk (whole milk preferred; see variations)
- 1/3 cup (75 g) neutral oil (canola, grapeseed) or melted butter
- 2 teaspoons vanilla extract
- Optional: 1/2 teaspoon ground cinnamon or a pinch of nutmeg
- For the iron: Nonstick spray or a light brush of oil
Let’s Get Cooking – Instructions
- Preheat the waffle iron. Turn it to medium-high. A hot iron is non-negotiable for crisp edges.
If yours has a “ready” light, ignore it for an extra minute to ensure full heat.
- Whisk the dry team. In a large bowl, whisk flour, cornstarch, sugar, baking powder, baking soda, salt, and any spices until well combined. Dry clumps = uneven waffles, so show the bowl who’s boss.
- Mix the wet team. In a second bowl, whisk eggs, milk, oil (or melted butter), and vanilla until smooth. No heroic whisking—just homogeneous.
- Combine, but don’t overdo it. Pour the wet into the dry and stir with a spatula until just combined.
A few small lumps are fine. Overmixing leads to tough waffles—no one wants gym-bro waffles.
- Rest the batter for 5–10 minutes. This lets flour hydrate and bubbles settle. The batter will thicken slightly; that’s your cue that it’s working.
- Grease the iron lightly. Even if it’s “nonstick,” give it a quick spray or brush.
Insurance is cheap.
- Portion and cook. Add enough batter to cover the grid without flooding—usually 1/2 to 3/4 cup per waffle, depending on your iron. Close the lid and cook until deeply golden and steam mostly subsides, 3–5 minutes.
- Finish in the oven for crispness. For next-level crunch, place cooked waffles directly on the oven rack at 200°F (95°C) while you make the rest. They’ll stay hot and finish crisping.
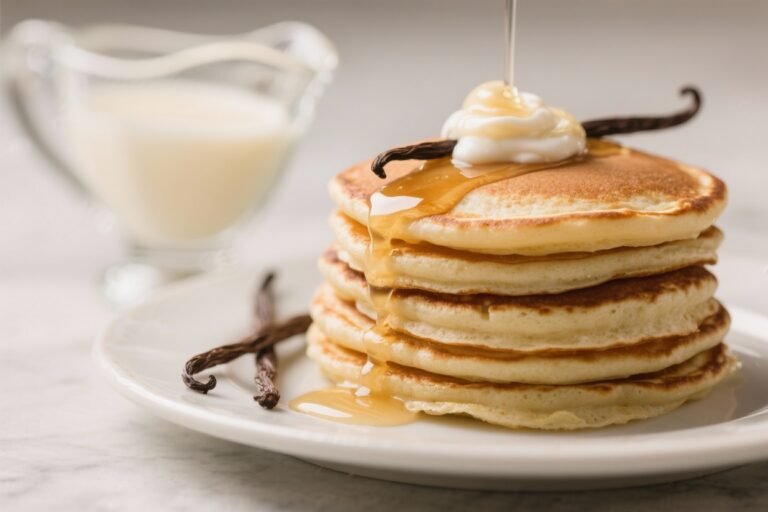
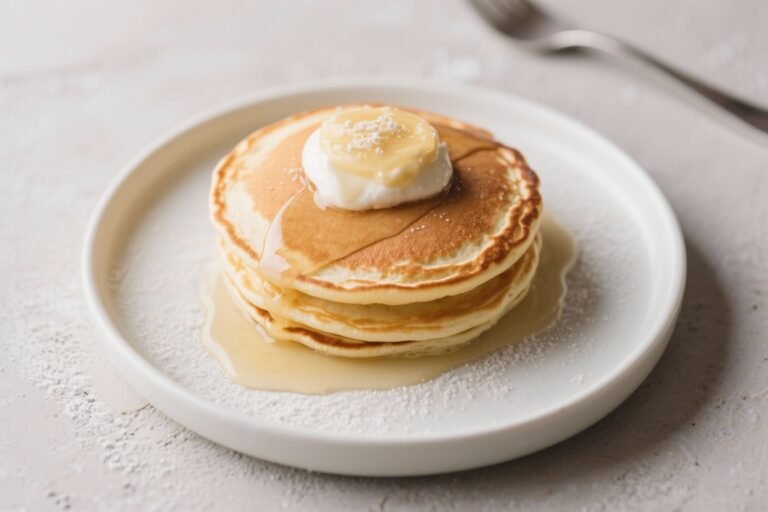
- Serve smart. Load with butter, warm maple syrup, berries, or a dollop of yogurt.
The pockets are there for a reason—use them.
Keeping It Fresh
Waffles are peak crisp right off the iron. After a few minutes, steam softens them, which is why the warm oven trick is clutch. For leftovers, cool completely on a wire rack before storing so condensation doesn’t turn them soggy.
To store: Refrigerate in an airtight container for up to 3 days, or freeze (single layer first, then bag) for 2 months. To reheat: Toaster or 375°F (190°C) oven for 5–8 minutes.
Skip the microwave unless you like edible pillows.
Benefits of This Recipe
- Super crispy, not greasy: Cornstarch + hot iron = texture goals without deep frying.
- Flexible ingredients: Works with milk or dairy-free options; butter or oil; sugar adjustable.
- Fast and forgiving: One bowl for wet, one for dry, and you’re 20 minutes from breakfast glory.
- Meal-prep friendly: Freezes like a champ and toasts up better than most store-bought.
- Customizable flavor base: Vanilla and a touch of sugar set a neutral stage for sweet or savory toppings.
Pitfalls to Watch Out For
- Underheating the iron: Leads to pale, floppy waffles. Let it preheat properly and watch the steam cue.
- Overmixing the batter: Tough waffles with tunnel-like holes. Stir until just combined, lumps allowed.
- Rushing the rest: Even a 5-minute rest improves texture.
Consider it your coffee break.
- Overfilling the iron: Batter lava everywhere. Start with less; add more next round if needed.
- Skipping the oven hold: If you’re serving a crowd, this is the difference between wow and meh.
Recipe Variations
- Buttermilk Boost: Swap milk for buttermilk and reduce baking powder to 1 teaspoon; keep baking soda at 1/2 teaspoon. Tangier flavor and extra tenderness.
- Dairy-Free: Use almond, oat, or soy milk and neutral oil.
Add 1 extra tablespoon of sugar for better browning if using low-sugar plant milks.
- Whole Wheat Crunch: Replace 1 cup of all-purpose with white whole wheat flour. Add 1–2 tablespoons extra milk if batter gets too thick.
- Brown Butter Upgrade: Swap oil for browned butter (cooled). Nutty, toffee vibes—people will assume you went to culinary school.
- Chocolate Chip Classic: Fold in 1/2 cup mini chips right before cooking.
Sprinkle a few onto the batter in the iron to avoid scorching.
- Savory Herb + Cheddar: Reduce sugar to 1 teaspoon, add 1/2 cup shredded sharp cheddar and 1 tablespoon chopped chives. Top with a fried egg. Brunch domination, achieved.
- Gluten-Free: Use a 1:1 gluten-free baking blend and keep the cornstarch.
Batter may thicken—add 1–2 tablespoons extra milk as needed.
FAQ
Do I need cornstarch for crispy waffles?
It’s not mandatory, but it helps. Cornstarch lowers gluten formation and promotes a delicate, crispy shell. If you skip it, your waffles will still be good—just a touch more bread-like.
Can I make the batter ahead of time?
Yes, but with caveats.
Mix the dry and wet separately and combine right before cooking, or make the full batter and keep it refrigerated for up to 12 hours. If it deflates, whisk in 1–2 teaspoons milk to loosen and a tiny pinch of baking powder, IMO.
What’s the best waffle iron setting?
Medium-high heat works for most irons. You want vigorous steam for the first few minutes and a deep golden color when done.
If your first waffle is pale, crank it up a notch and keep going.
Why are my waffles sticking?
Common culprits: underheated iron, low-fat batter, or a damaged nonstick surface. Preheat longer, lightly grease each round, and let the waffle release naturally—yanking the lid early is a rookie move.
How do I keep waffles crisp for a crowd?
Park them right on the oven rack at 200°F (95°C). Don’t stack—stacking traps steam and turns them into soft coasters.
A wire rack on a sheet pan also works in a pinch.
Can I reduce the sugar?
Absolutely. Sugar adds browning and a hint of sweetness. You can drop to 1 tablespoon for a savory lean or bump to 3 tablespoons for dessert waffles.
Adjust toppings accordingly.
What milk works best?
Whole milk gives the best balance of tenderness and browning. Buttermilk adds tang and tenderness. Plant milks work fine; choose one with some protein and fat for better texture.
My Take
Great waffles are a flex because they’re simple but brutally honest—your technique shows up in every square.
This waffle recipe hits that perfect diner crunch without special equipment or chef sorcery, which is exactly how breakfast should be. Keep the iron hot, don’t overmix, and treat the oven like a finishing line, not an afterthought. Do that, and you’ll be the person everyone texts on Sunday morning… which is both a compliment and a responsibility, FYI.