How to Safely Remove Gel Nail Polish at Home and Save Your Nails
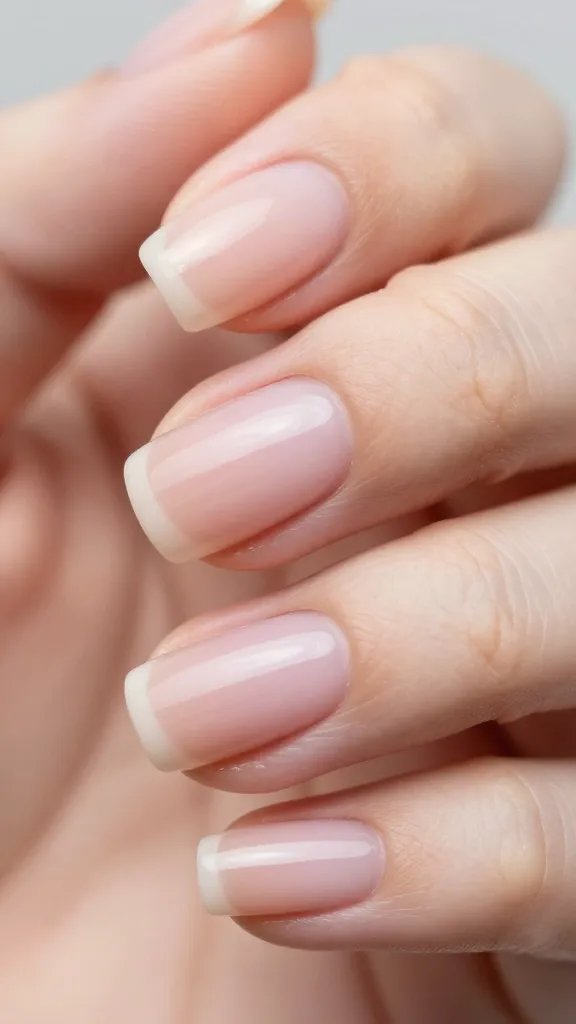
Okay, so you’ve been rocking those gorgeous gel nails, and now it’s time for them to go. But wait! Don’t even *think* about prying, peeling, or biting them off. We’ve all been there, staring at a chipped edge, contemplating DIY destruction. Trust me, your nails deserve better than a horror story. Let’s talk about how to safely remove gel polish at home without turning your natural nails into sad, flimsy excuses for keratin.
Why Bother Doing It Yourself?
Look, I get it. Salons are great, and sometimes you just want someone else to handle the sticky stuff. But removing gel polish at home isn’t just about saving a few bucks (though, let’s be real, that’s a huge perk!). It’s about control. You dictate the pace, ensure gentleness, and avoid any rushed, aggressive scraping that can leave your nails screaming for mercy. Plus, it’s a surprisingly zen process once you get the hang of it.
Think about it: Ever left a salon feeling like your nails were thinner than tissue paper? That’s often from improper removal. Taking charge means protecting your precious nail beds. It’s an act of self-care, really.
Gather Your Gel-Busting Arsenal
Before we dive in, let’s make sure you have everything you need. This isn’t a “wing it” situation; proper tools make all the difference. Scrounge around your bathroom or make a quick trip to the drugstore.
Here’s your shopping list:
- 100% Pure Acetone: This is non-negotiable. Do NOT skimp and grab regular nail polish remover. That stuff is weak sauce and won’t cut it for gel.
- Cotton Balls or Pads: You’ll need enough to cover each nail.
- Aluminum Foil: Cut into 10 squares, roughly 3×3 inches. Think small enough to wrap around a fingertip.
- Nail File: A 100/180 grit file is perfect. We’re just breaking the top seal, not sanding down a deck.
- Orange Wood Stick or Metal Cuticle Pusher: For gently nudging off the softened gel.
- Nail Buffer: A fine-grit one for smoothing things out afterward.
- Nail Oil (Cuticle Oil): Essential for post-removal hydration.
- Hand Cream: Your hands will thank you.
Got everything? Excellent. You’re already halfway to happy, healthy nails.
Prep Time: The Unsung Hero
This step is crucial and often overlooked. A little prep goes a long way in making the removal process smooth and efficient.
Break the Seal
Your gel polish has a tough top coat, designed to keep it chip-free for weeks. We need to gently break that seal so the acetone can penetrate.
- Take your nail file and *lightly* buff the surface of each gel nail.
- You’re not trying to file down to your natural nail! Just dull the shine, creating a slightly chalky appearance. Think of it as creating tiny pathways for the acetone.
- Focus on the entire surface, but be extra gentle around the cuticle area.
Seriously, don’t go crazy here. A few gentle passes per nail are all you need. Over-filing is a one-way ticket to damaged nails.
Protect Your Skin
Acetone is a powerful solvent, and while it’s great at dissolving gel, it’s also incredibly drying to your skin.
* Apply a thick layer of cuticle oil or even Vaseline around your cuticles and the skin surrounding your nails. This creates a barrier, protecting your skin from the harsh drying effects of the acetone. Your fingers will thank you later, trust me.
The Soaking Saga: Patience is a Virtue
Now for the main event! This is where the magic happens, but it requires a bit of patience. Don’t rush it, or you’ll regret it.
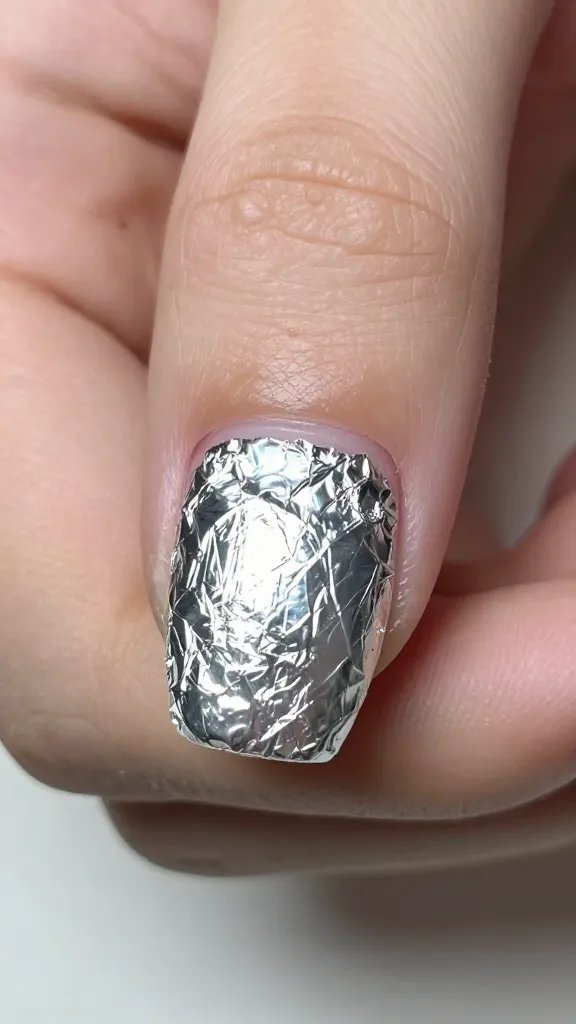
The Acetone Wrap
This method is tried, true, and salon-approved.
- Soak a cotton ball or pad generously with 100% pure acetone. It should be saturated, but not dripping.
- Place the soaked cotton directly on top of your filed gel nail, making sure it covers the entire nail surface.
- Take one of your pre-cut aluminum foil squares and wrap it tightly around your fingertip, securing the cotton ball in place. Crimp the foil at the top to seal it.
- Repeat for all ten fingers. If you’re ambidextrous, you can do both hands at once. If not, do one hand, remove, and then do the other. It’s less awkward, IMO.
Once all your fingers are wrapped, it’s time to chill. Go grab a cup of tea, scroll through TikTok, or binge a show. You’ll be here for a bit.
The Waiting Game
* Let your nails soak for at least 10-15 minutes. For stubborn gels or thicker layers, you might need 20 minutes or even a bit longer.
* Resist the urge to peek every two minutes. The longer you let them soak undisturbed, the easier the gel will come off.
* You might feel a slight tingling sensation; that’s normal. If you feel any burning or intense discomfort, remove the wraps immediately and rinse your hands.
Gentle Does It: The Art of Removal
After your nails have had a good soak, it’s time to reveal the magic. This is where “gentle” is the keyword.
Unwrap and Assess
* One finger at a time, unwrap the foil and remove the cotton.
* You should see the gel polish looking bubbly, peeling, or lifting off your natural nail. It might look a bit like a flaky mess, and that’s exactly what we want!
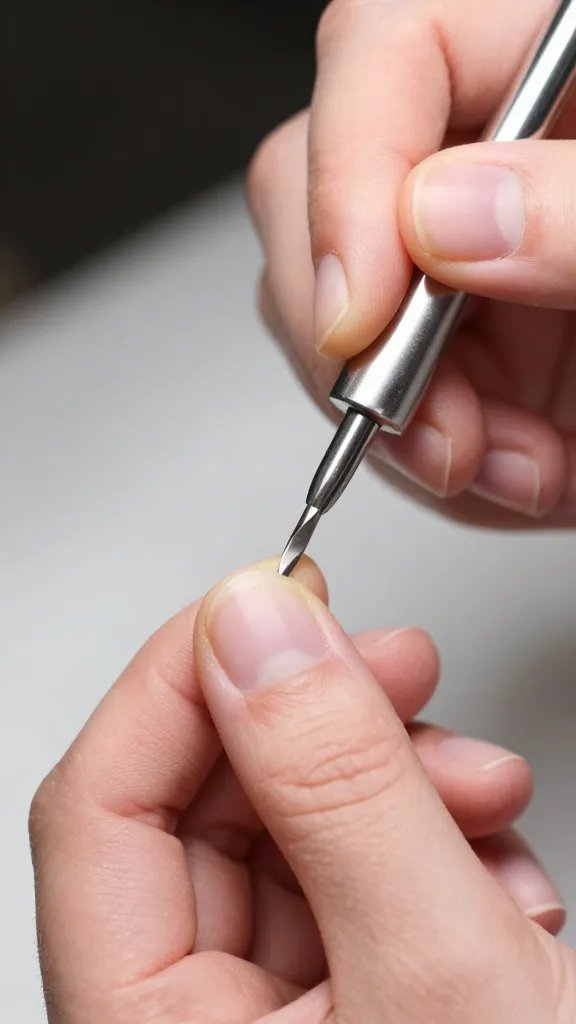
The Push-Off
* Using your orange wood stick or metal cuticle pusher, *very gently* push the softened gel away from your cuticle towards the free edge of your nail.
* The gel should come off easily, almost flaking away. If it’s still sticking stubbornly, STOP. Do not force it.
Re-Soak if Necessary
* If the gel isn’t coming off easily, it means it needs more time to soak. Don’t be a hero and try to scrape it off.
* Simply re-saturate a fresh cotton ball with acetone, re-wrap the nail, and let it soak for another 5-10 minutes. This extra step prevents damage and makes your life much easier.
Repeat this process for all your nails until all the gel polish is gone. You might have a tiny bit of residue left; that’s fine.
Post-Removal TLC: Your Nails Deserve a Spa Day
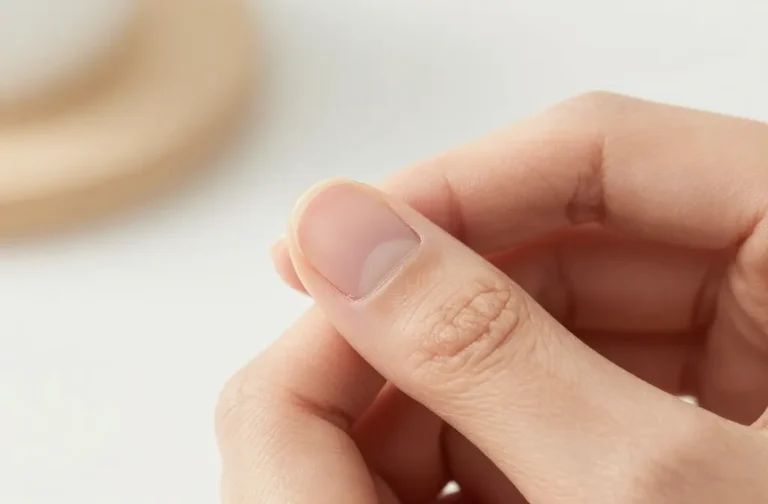
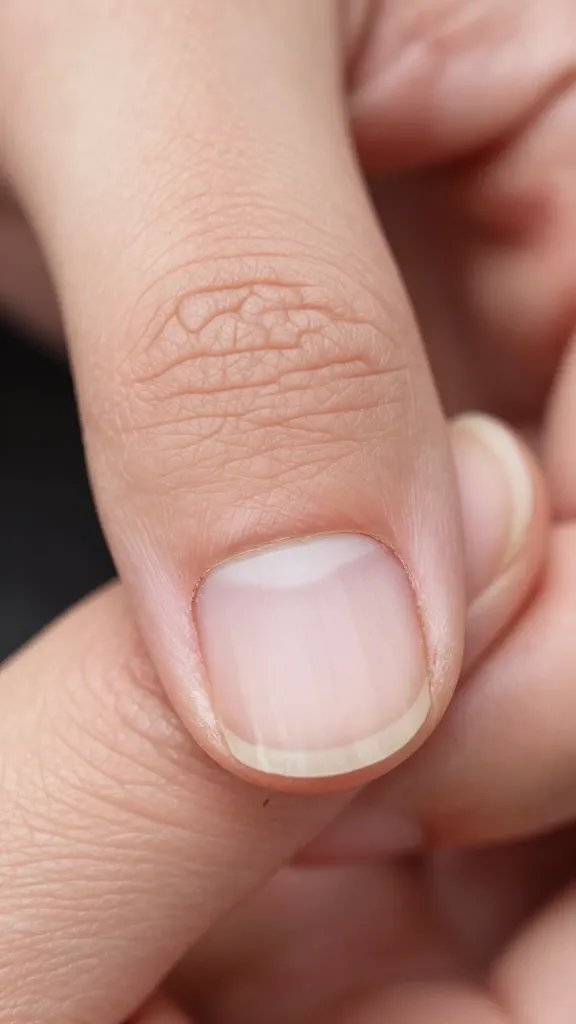
Once all the gel is off, your nails might look a little dry or dull. That’s perfectly normal! Acetone is harsh, but we’re going to fix it.
- Buff Away Residue: Use your fine-grit nail buffer to *gently* smooth out any remaining tiny bits of gel or unevenness on your natural nail. Again, light hand!
- Hydrate, Hydrate, Hydrate: This is the most important step. Drench your nails and cuticles in nail oil or cuticle oil. Massage it in thoroughly.
- Moisturize Your Hands: Follow up with a rich, nourishing hand cream. Slather it on.
- Give Them a Break (Optional but Recommended): If you can, let your nails breathe for a day or two before applying anything new. This gives them a chance to rehydrate and recover.
Your nails might feel a little softer than usual immediately after removal. This is temporary! With proper hydration, they’ll bounce back quickly. The key is never to force the gel off, and always to moisturize like crazy afterward.
FAQ: Your Burning Questions Answered
Can I use non-acetone nail polish remover for gel?
Absolutely not! Non-acetone removers are designed for regular lacquer and are completely ineffective against gel polish. You’ll just end up with a sticky mess and a lot of frustration. Stick to 100% pure acetone for proper gel removal.
How long should I really soak my nails?
The initial soak should be at least 10-15 minutes. If the gel isn’t flaking off easily, don’t hesitate to re-soak for another 5-10 minutes. Thicker gel layers, glitter gels, or certain brands might require a bit more time. Patience truly pays off here.
My nails feel weak and thin after removing gel. Is this normal?
It’s common for nails to feel a little softer or more pliable immediately after gel removal, especially due to the drying effect of acetone. This is usually temporary. The key is consistent hydration with cuticle oil and hand cream. If your nails are truly damaged, it’s likely from improper removal (e.g., peeling or aggressive scraping), not the gel itself or the acetone soak.
Can I just peel my gel polish off? It’s already lifting!
Please, for the love of all that is holy, NO! Peeling gel polish off is the quickest way to rip off layers of your natural nail, leading to severe damage, thinning, and weakness. Even if it’s lifting, follow the proper soaking method to ensure safe removal.
Is there a faster way to remove gel polish?
While there are electric files and specialized tools, these are best left to trained professionals. For safe at-home removal, the acetone soak method is the most effective and least damaging. Any shortcuts often lead to nail damage, which takes much longer to fix than a proper soak.
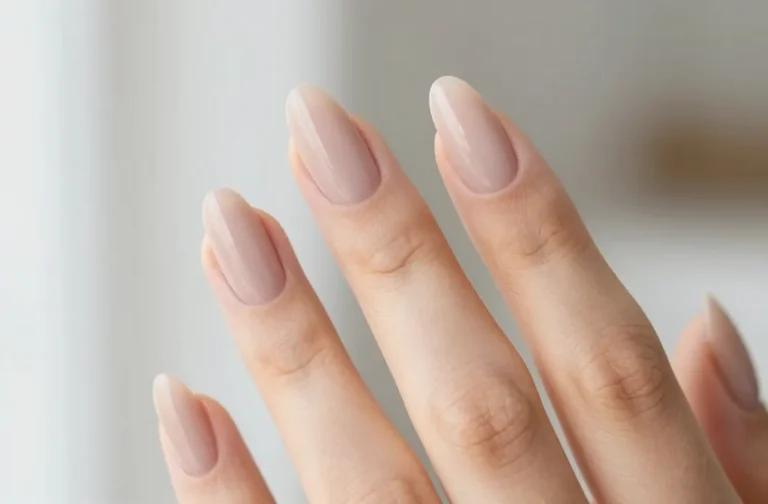
The Takeaway: Happy Nails, Happy Life
Removing gel polish at home doesn’t have to be a daunting task. With the right tools, a little patience, and a gentle touch, you can keep your nails looking fabulous and healthy. Remember, your nails are not tools; treat them with kindness, and they’ll reward you with strength and beauty. So go forth, conquer those gels, and give your nails the TLC they deserve!