Banish Yellow! How to Prevent Yellow Nails After Nail Polish
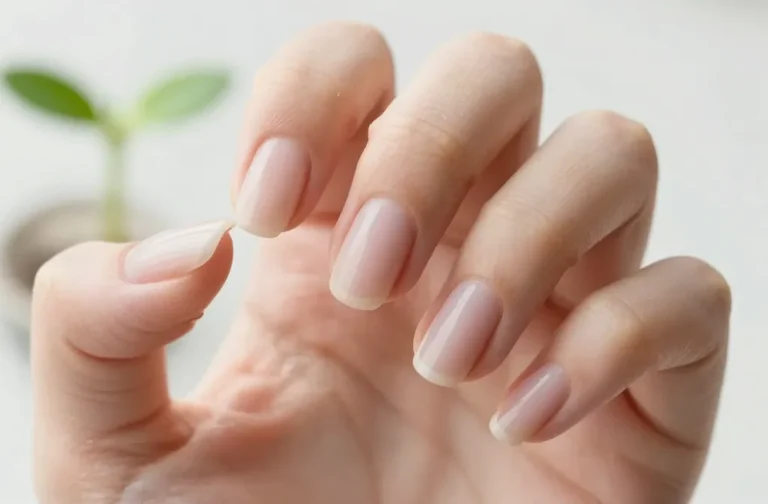
You just peeled off your favorite deep red or vibrant blue polish, ready to admire your natural nails, only to find them sporting a sickly, jaundiced yellow hue. Ugh, the absolute worst, right? It’s like your nails are screaming, “I’ve been holding a turmeric latte for weeks!” This annoying phenomenon is super common, but it doesn’t have to be your nail story. Let’s dive into how you can banish that yellow tint for good and keep your natural nails looking fresh and fabulous.
The Culprit: Why Do Nails Turn Yellow Anyway?
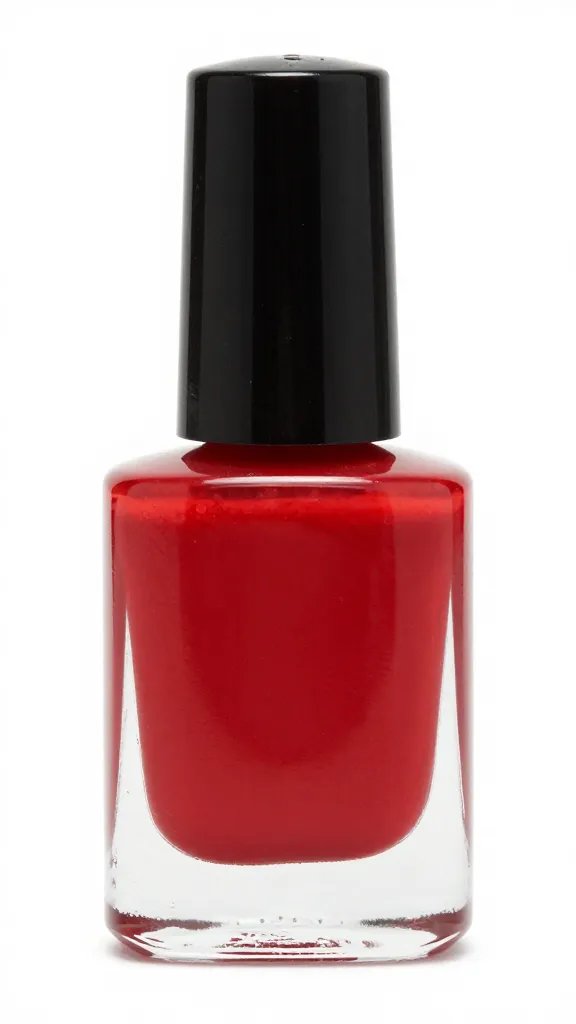
So, what’s the deal with the yellowing? It’s usually not a sign your nails are secretly plotting against you, though it often feels that way. The main culprit is the pigment in your nail polish, especially those gorgeous, highly saturated shades. Your nails are porous, kind of like tiny sponges, and they can absorb those color molecules directly into the nail plate.
Think of it this way: if you spill red wine on a white carpet, it stains, right? Your nails are that white carpet, and your polish is the wine. The longer the polish sits, and the more vibrant the color, the higher the chance of a little pigment transfer. It’s an unwelcome souvenir from your manicure.
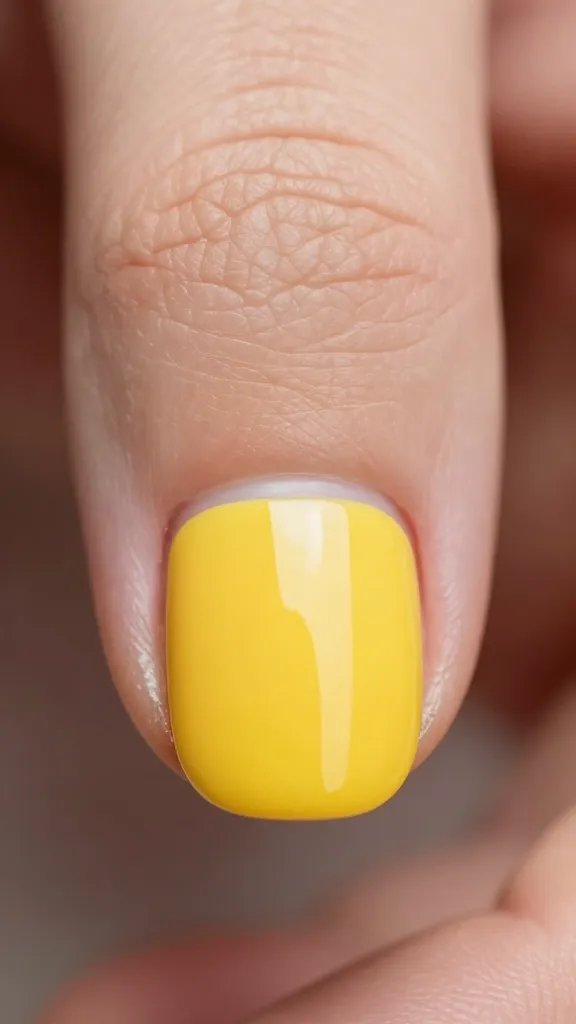
The Pigment Problem Child: Darker Shades
Let’s be real, we all adore a vampy red, a chic navy, or a mysterious plum. But these are often the biggest offenders when it comes to leaving their mark. The darker and more intense the pigment, the more likely it is to seep into your nail plate. It’s not the polish’s fault, really; it’s just doing its job of being super pigmented.
Some brands use higher quality pigments that are less prone to staining, but even then, prevention is key. Don’t ditch your favorite dark shades, just be smarter about how you wear them. Your nails will thank you later.
Your First Line of Defense: The Mighty Base Coat
If you take away one thing from this article, let it be this: never, ever skip your base coat! Seriously, this isn’t just a suggestion; it’s a commandment in the world of healthy nails. A good base coat acts as a protective barrier between your natural nail and the colored polish. It’s like putting down a tarp before you start painting a room.
The base coat seals the nail plate, preventing those pesky pigments from soaking in and turning your nails yellow. It also helps your polish adhere better, meaning a longer-lasting manicure. Win-win, anyone?
Not All Base Coats Are Created Equal
Just grabbing any old base coat off the shelf might not cut it. Look for formulas specifically designed to prevent staining or those that offer “color protection.” Some base coats also have strengthening properties or ridge-filling capabilities, which are extra perks.
Here’s what to look for when choosing your base coat:
- Stain-preventing formulas: These often contain ingredients that create a stronger barrier.
- Ridge-filling base coats: They smooth out the nail surface, creating a more even canvas and reducing areas where pigment can pool.
- Nourishing ingredients: Some base coats include vitamins or oils that benefit your nail health, making them less porous over time.
Apply a thin, even layer, making sure to cap the free edge of your nail. This little step can make a huge difference, trust me.
Give Your Nails a Breather: The Naked Truth
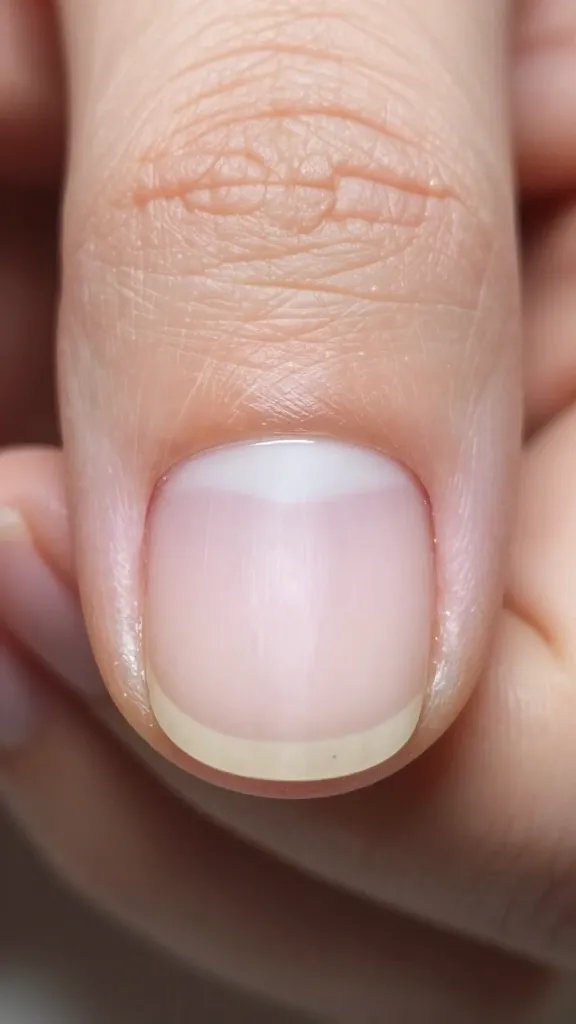
We love a fresh manicure, but our nails need a break, too! Constantly keeping your nails covered in polish, especially dark shades, can contribute to yellowing and overall nail dryness. Your nails need to breathe and absorb natural oils and moisture from the air.
Aim for a “naked nail” period between manicures. How long? A few days to a week is usually sufficient. This gives your nails a chance to recover, rehydrate, and just, well, be nails. Plus, it’s a great opportunity to give them some extra TLC with cuticle oil and hand cream. Let them chill; they work hard for you!
The Art of Application: Thin Coats Rule!

You might think slathering on a thick coat of polish will give you better coverage and reduce staining, but it’s actually the opposite. Thick layers of polish take ages to dry properly, trapping solvents and pigments against your nail plate for longer. This increases the likelihood of staining and makes your manicure more prone to chipping.
Instead, apply two to three thin, even coats of color. Each thin layer dries faster and more thoroughly, allowing the base coat to do its job effectively. It’s the “less is more” philosophy in action, and your nails will thank you for it.
Drying Time is Your Friend
Patience is a virtue, especially when it comes to nail polish. Make sure each coat of polish (base, color, and top coat) is completely dry before applying the next. Rushing the process can lead to smudges, bubbles, and an uneven finish, which can also contribute to pigment transfer. Grab a book, watch an episode of your favorite show, or just scroll mindlessly through social media – whatever it takes to let those layers set!
Post-Polish TLC: Brighten Up, Buttercup!
Okay, so you followed all the rules, but maybe a tiny bit of yellow still snuck through. Don’t panic! There are a few things you can do to lighten and brighten your nails after polish removal.
* Lemon Juice Soak: Mix the juice of half a lemon with a bowl of warm water. Soak your nails for 5-10 minutes. Lemon is a natural whitener, but be careful not to overdo it, as it can be drying. Always follow up with a good moisturizer.
* Baking Soda Paste: Create a paste with baking soda and a little water. Gently scrub your nails with a soft brush (like an old toothbrush) for a minute or two, then rinse. Baking soda is a mild abrasive that can help lift surface stains.
* Gentle Buffing: Use a very fine-grit buffer to gently buff the surface of your nails. This can remove the top layer of stained nail cells. Be super gentle and do not over-buff, as this can thin and weaken your nails. Use it sparingly, IMO.
* Whitening Toothpaste: Some people swear by applying a small amount of whitening toothpaste to their nails, letting it sit for a few minutes, then scrubbing gently. The mild abrasives and whitening agents can help lift stains.
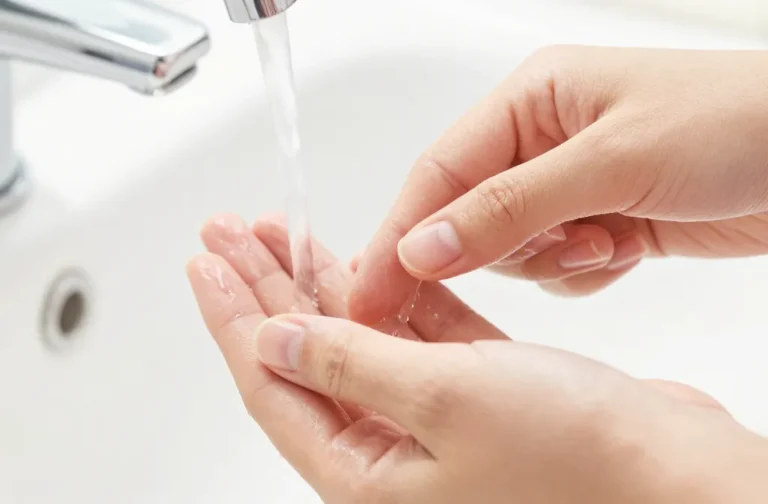
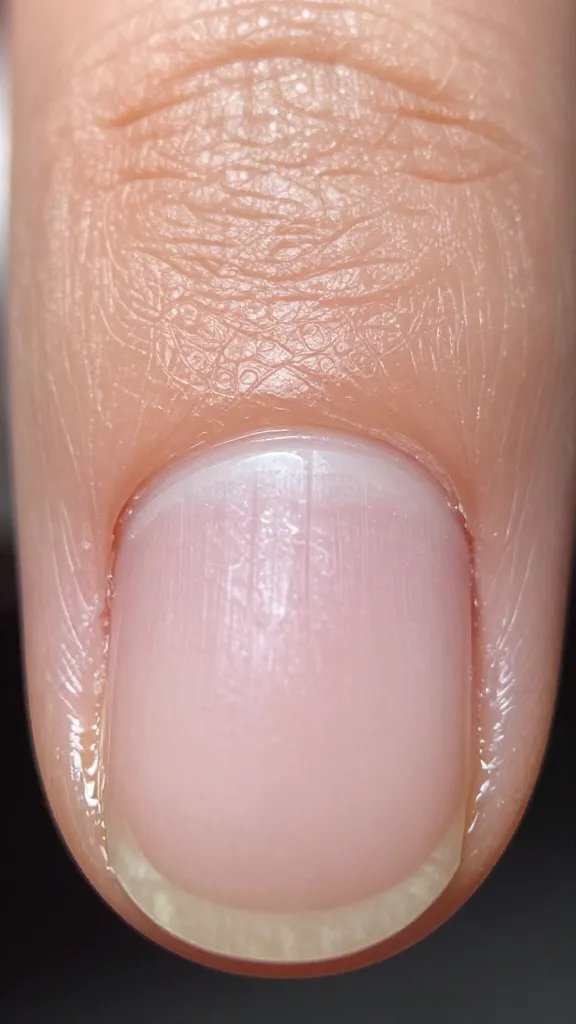
Hydration Station: Keep Those Nails Happy
Healthy nails are strong nails, and strong nails are less prone to staining. Keeping your nails and cuticles hydrated is crucial for preventing dryness, brittleness, and yes, even yellowing. Dry, unhealthy nails tend to be more porous, making them more susceptible to absorbing pigments.
Make cuticle oil your new best friend. Apply it daily, massaging it into your cuticles and nails. This keeps them supple and nourished. Also, don’t forget a good hand cream throughout the day. And hey, while we’re on the topic, remember to drink plenty of water! Hydration from the inside out benefits your entire body, including your nails.
FAQ
Can yellow nails be a sign of a health issue?
While most yellowing is cosmetic and related to nail polish, persistent yellow nails that don’t improve with polish breaks or home remedies *can* sometimes indicate an underlying health condition. These might include fungal infections, thyroid issues, or, in rare cases, more serious concerns. If you’re worried or notice other symptoms, it’s always best to consult a doctor. But for the vast majority of us, it’s just our beloved polish being a bit too enthusiastic.
How often should I use a base coat?
Every. Single. Time. You. Apply. Polish. This isn’t a “sometimes” thing; it’s a non-negotiable step in your manicure routine if you want to protect your nails from staining and help your polish last longer.
Are all base coats created equal?
Definitely not! While any base coat is better than none, some are specifically formulated to prevent staining, strengthen nails, or fill ridges. Look for products that explicitly mention “stain prevention” or “color protection” for the best results against yellowing.
Does buffing my nails help with yellowing?
Yes, gentle buffing can help remove the very top layer of stained nail cells, making your nails appear brighter. However, it’s crucial to use a fine-grit buffer and buff very lightly and infrequently. Over-buffing can thin and weaken your nails, making them more susceptible to damage.
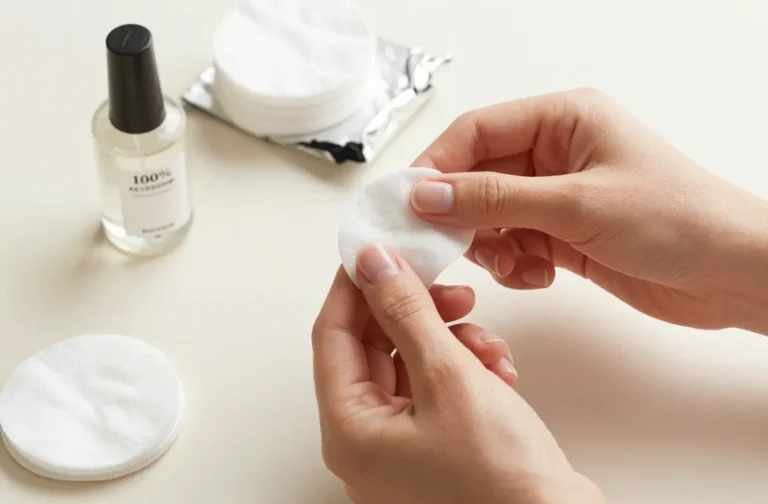
Is it okay to use nail polish remover frequently?
Using nail polish remover frequently is generally fine, especially if you opt for acetone-free formulas, which are less drying. Acetone can be very effective, but it’s also harsh. Regardless of the type, always follow up with cuticle oil and hand cream to rehydrate your nails and skin after removal.
What if my nails are already yellow? Can I fix it?
Absolutely! While it might take a little time and consistent effort, you can significantly improve the appearance of yellowed nails. Incorporate the post-polish TLC remedies like lemon soaks or baking soda pastes, commit to regular polish breaks, and prioritize hydration. Patience is key, but you’ll see results!
Conclusion
Yellow nails after a beautiful manicure are a total buzzkill, but they don’t have to be a permanent fixture in your life. By consistently using a good base coat, giving your nails regular breaks, applying thin layers of polish, and showing them some post-polish love, you can keep those natural nails looking bright and healthy. So go ahead, rock that dark polish, but do it smart! Your nails will thank you for the extra care, and you’ll never have to dread polish removal day again.