How to Prevent Nail Polish on Skin Like a Pro
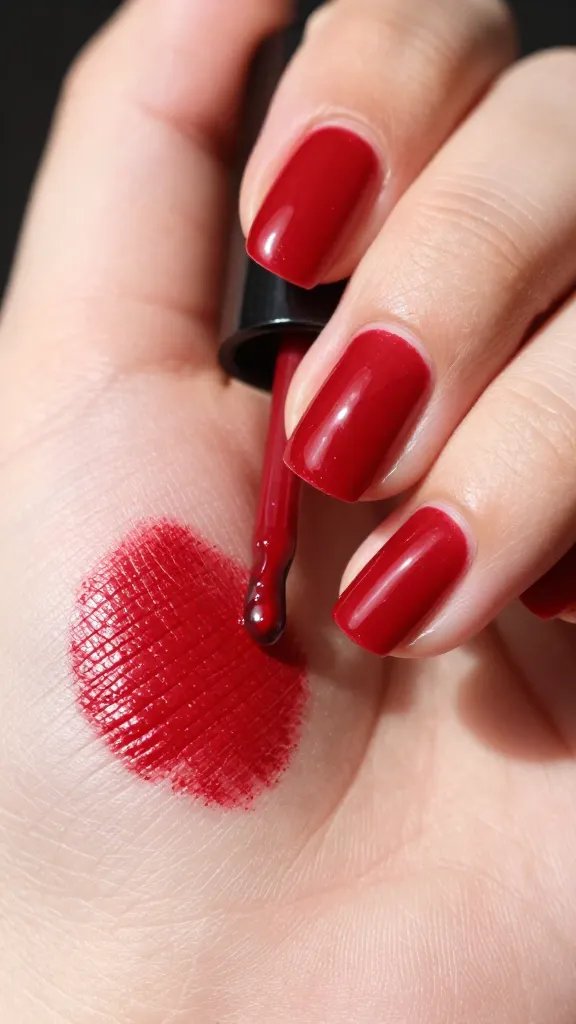
Ever spent ages perfecting your manicure, only to realize you’ve painted half your finger along with your nail? We’ve all been there, staring at that rogue streak of polish on our skin, wondering if anyone else notices our “artistic” flair. It’s frustrating, time-consuming to clean, and frankly, ruins the whole vibe. But what if I told you there are ways to minimize, if not eliminate, this common nail polish mishap?
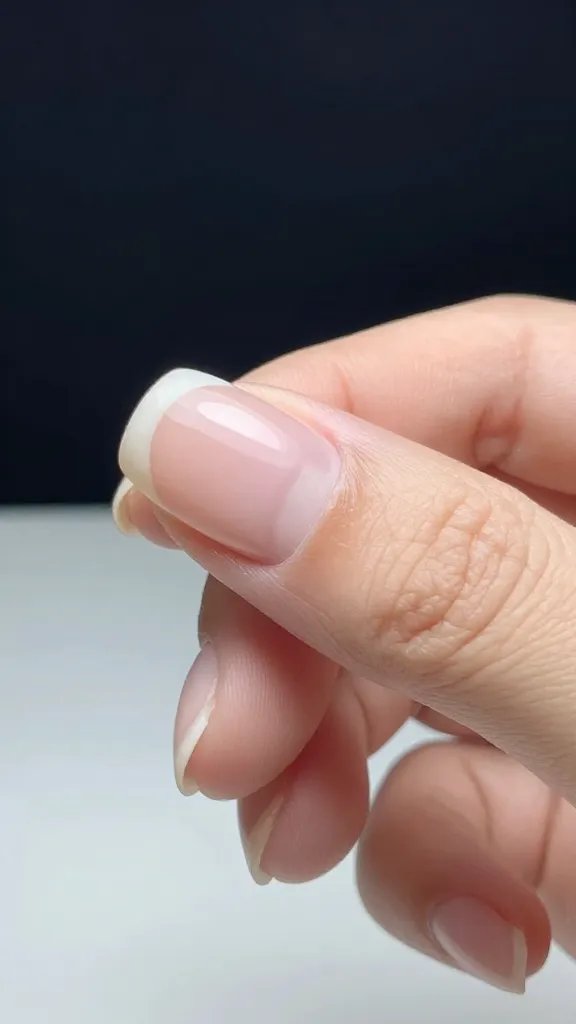
The Foundation: Nail Prep is Your Best Friend
Before you even think about uncapping that gorgeous shade, let’s talk prep. This isn’t just about making your polish last longer; it’s about creating a clean, defined canvas that practically *rejects* errant polish. Think of it as laying down the groundwork for a masterpiece, not a messy finger painting.
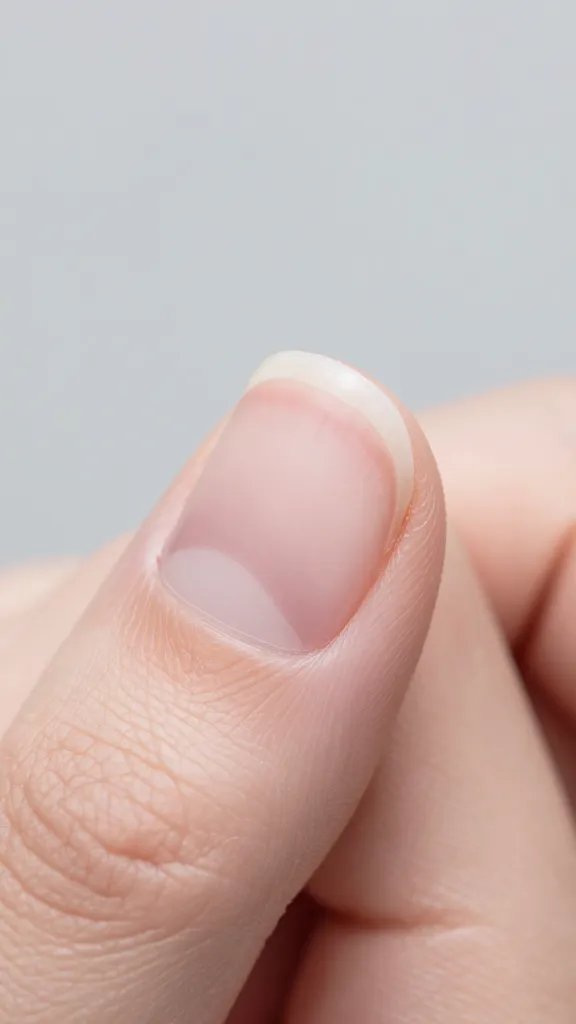
Cleanliness is Next to Nail-liness
First things first: your nails need to be squeaky clean. Any oils, lotions, or old polish residue are like slippery slopes for new polish, making it more likely to spread where it doesn’t belong. Grab a non-acetone polish remover or rubbing alcohol and give those nails a good wipe. This ensures your polish has something solid to grip onto.
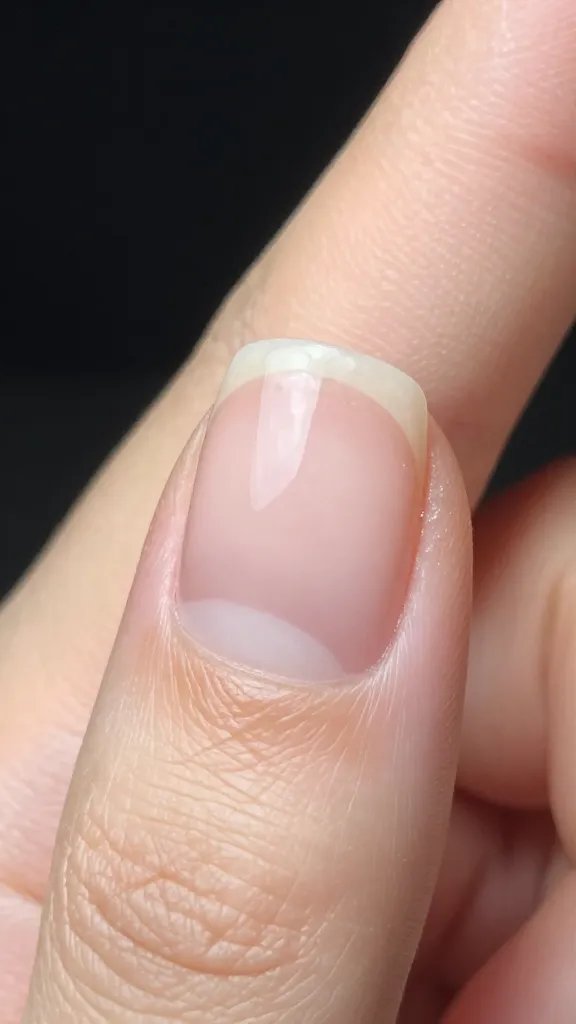
Befriend Your Cuticles
Your cuticles are the unsung heroes of a clean manicure, but only if they’re properly managed. Pushing them back creates more nail real estate and a clear boundary. Gently push them back after a shower or using a cuticle remover. Don’t go wild with clipping, though – that’s a whole other can of worms and can lead to infections. We’re aiming for neat, not mangled, here.
The Barrier Brigade: Protecting Your Skin
This is where the magic really happens for preventing polish on skin. Creating a temporary barrier around your nail is like putting up a tiny fence. If polish tries to escape, it hits the fence, not your skin. Genius, right?
Liquid Latex: The Holy Grail
If you’re serious about mess-free manicures, liquid latex is your secret weapon. You simply paint a thin layer around your nail, covering the skin you want to protect. Once it dries (which is usually super fast), you can paint your nails with abandon. When you’re done, just peel it off, taking any stray polish with it. It’s incredibly satisfying, IMO.
Petroleum Jelly: The OG Protector
Don’t have liquid latex? No problem! A thin layer of petroleum jelly (like Vaseline) applied with a cotton swab or small brush around your nail works wonders. The polish won’t adhere to the greasy surface, making cleanup a breeze. Just be careful not to get any on your actual nail plate, or your polish won’t stick there either!
Scotch Tape: The DIY Defender
For those truly in a pinch, clear scotch tape can be your unexpected ally. Cut small pieces and carefully apply them around your nail, hugging the cuticle and sidewalls. It takes a bit more precision than liquid latex, but it’s effective. Just make sure the edges are pressed down firmly to prevent polish from seeping underneath.
Mastering the Tools: It’s All in the Brush
You wouldn’t use a house paint roller for a delicate watercolor, would you? The same logic applies to nail polish. The right brush and how you use it make a huge difference.
Size Matters: The Right Brush for the Job
Many polish brushes are, frankly, a bit too big for our tiny nail beds, especially on smaller fingers. If your polish brush is too wide, it’s practically inviting polish onto your skin. Some brands offer slimmer brushes, or you can even buy separate, finer brushes for more intricate work. A smaller brush gives you far more control.
Wipe, Don’t Drip: The Polish Load
Overloading your brush is a one-way ticket to polish-on-skin city. Always wipe one side of the brush against the neck of the bottle before applying. You want enough polish to cover the nail in one or two strokes, but not so much that it’s pooling or dripping. Less is definitely more here.
Technique Talk: Painting Like a Pro
Alright, barriers are up, brush is loaded. Now for the actual painting. This isn’t rocket science, but there are a few tried-and-true methods that make a world of difference.
The Three-Stroke Method
This is the gold standard for a reason.
- Start with a single stroke down the center of your nail, from cuticle to tip.
- Then, one stroke down each side, following the curve of your nail.
This method helps keep the polish contained and minimizes the need for multiple, messy passes. Aim to leave a tiny gap between the polish and your cuticle – this prevents flooding and gives a cleaner look.
Thin Coats, Always Thin Coats
Resist the urge to glob on a thick layer to save time. Thick coats are not only more prone to smudging and bubbling, but they also spill over onto your skin much more easily. Two to three thin coats will always look better, dry faster, and be less likely to end up on your fingers. Plus, it gives you more control with each layer.
The Clean-Up Crew: Fixing the Inevitable
Let’s be real, even with all these tips, a tiny bit of polish might still make a break for it. The key is to clean it up *before* it dries completely.
The Angled Brush and Acetone Duo
Forget cotton swabs; they’re too bulky and leave fuzzy bits. Invest in a small, flat, angled brush (often marketed as an eyeliner or lip brush) and a bottle of pure acetone. Dip the brush in acetone and carefully trace around your nail, erasing any mistakes with surgical precision. This is how the pros do it, FYI.
Wooden Cuticle Sticks: Your Emergency Eraser
For bigger blobs or fresh mistakes, a wooden cuticle stick wrapped in a tiny bit of cotton (or just the stick itself for very wet polish) can be a lifesaver. It’s firm enough to push polish away without smearing it too much. Just be gentle!
Patience, My Friend: Don’t Rush the Process
This might be the hardest tip for many of us, but rushing is the enemy of a perfect manicure. Each step, from prep to polish to cleanup, benefits from a moment of calm.
Allow Drying Time Between Coats
Applying a second coat before the first is tacky (not fully dry) is asking for trouble. It makes the polish drag, clump, and, you guessed it, spread onto your skin. Give each thin coat a few minutes to set before going in with the next.
Top Coat Last, But Not Least
Your top coat seals everything in, adds shine, and helps your manicure last. Apply it carefully, using the same three-stroke method, making sure it doesn’t flood your cuticles. A good top coat can truly elevate your manicure, making all your hard work worthwhile.
FAQ: Your Burning Questions Answered
Can I use regular white glue instead of liquid latex?
Yes, absolutely! Many people use regular school glue (like Elmer’s Glue) as a DIY peel-off barrier. Apply a thin layer, let it dry completely, and then proceed with your polish. It works much like liquid latex and peels off easily. It’s a fantastic budget-friendly alternative.
What if I don’t have a small angled brush for cleanup?
No worries! A toothpick or an orange wood stick with a tiny bit of cotton wrapped around the tip (secured with a little clear tape if needed) can work in a pinch. Just be extra careful and precise. Some people even use an old, cleaned-up eyeliner brush.
Does cuticle oil help prevent polish from sticking to skin?
Not directly, but indirectly, yes! Well-hydrated cuticles and skin around your nails are less likely to absorb polish, making cleanup easier if you do get some on them. Plus, healthy cuticles make your manicure look better overall. Apply it *after* your polish is completely dry.
How do professional nail technicians manage to be so precise?
It’s a combination of all the techniques we’ve discussed: meticulous prep, precise application, and often, the use of liquid latex or a very skilled cleanup technique with a fine brush and acetone. Practice truly makes perfect, and they do it all day, every day!
My hands are shaky. Any tips for a steadier application?
Oh, I feel you! Try resting your painting hand on a flat surface, and then rest the pinky finger of your painting hand on your other hand or the table for extra stability. This creates an anchor point and can significantly reduce shakiness. Taking a deep breath before each stroke also helps!
Conclusion: Embrace the Journey to Perfect Nails
Preventing nail polish on your skin isn’t some mythical art reserved for salon pros. It’s a combination of smart preparation, clever barrier methods, precise tools, and a little bit of patience. You’ve got this! So go ahead, grab your favorite polish, try out these tips, and enjoy the satisfaction of a beautifully polished, skin-free manicure. Your fingers (and your sanity) will thank you.