The Secret to How to Prevent Bubbles in Nail Polish
You’ve just meticulously painted your nails, admiring the smooth, glossy finish, only to watch in horror as tiny, infuriating bubbles start to appear, marring your perfect manicure. It’s a total buzzkill, right? Those pesky air pockets are the bane of every nail enthusiast’s existence, turning a salon-worthy look into something resembling a carbonated beverage. But fear not, fellow polish lovers! I’m here to spill the tea on how to banish those bubbles for good, ensuring your next mani is flawlessly smooth.
The Culprit: Why Do Bubbles Even Happen?
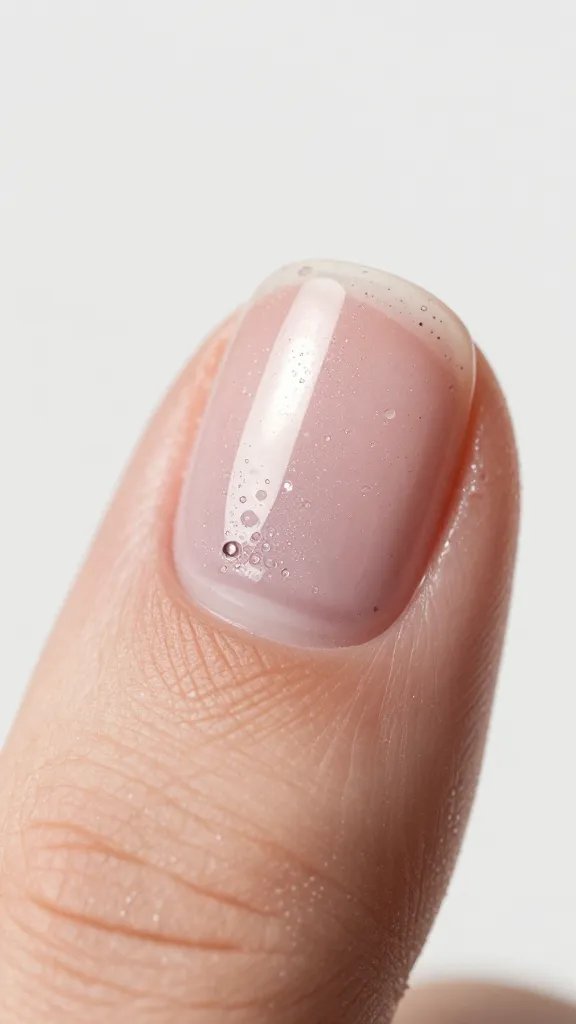
Let’s get real: nobody *wants* bubbles. So, why do they show up uninvited? Most often, it’s trapped air. Think of it like this: your polish is a liquid, and air loves to sneak in wherever it can. This can happen from shaking your polish like a maraca, applying coats that are too thick, or even from the environment around you.
Sometimes, the culprit is simply old or thick polish. As polish ages, its solvents evaporate, making it gloopy and more prone to trapping air. Other times, it’s a battle against humidity or temperature. It’s a delicate balance, but once you understand the enemy, you can totally outsmart it.
The Prep Work: It’s All in the Foundation
Before you even think about cracking open that polish bottle, let’s talk about your nail canvas. A perfect manicure starts with perfectly prepped nails. Seriously, this step is non-negotiable if you want a bubble-free finish.
Nail Plate Nirvana
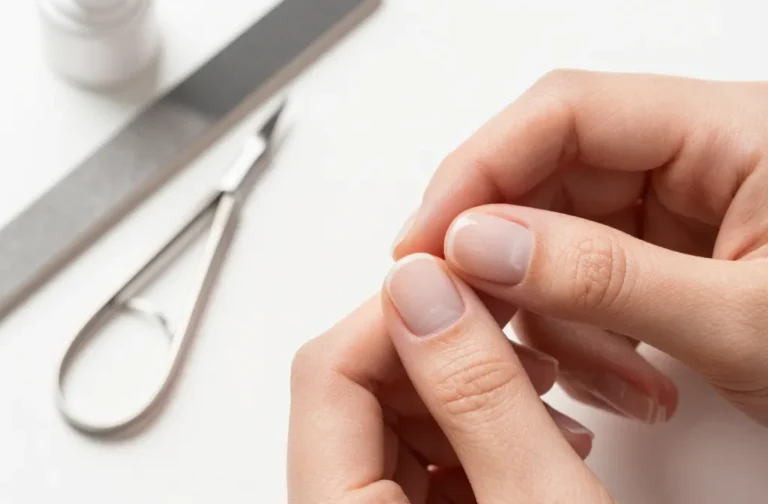
First things first: clean nails are happy nails. Any oils, lotions, or residue on your nail plate can create a barrier that prevents polish from adhering properly, leading to all sorts of issues – including bubbles. Grab a lint-free wipe and some rubbing alcohol or a dedicated nail dehydrator. Swiping your nails thoroughly will remove any lingering oils and dust, giving your polish a pristine surface to bond with.
Don’t skip buffing either! A gentle buff can smooth out any ridges or imperfections on your nail surface, making it easier for your polish to glide on evenly. Remember, we’re aiming for a smooth, clean slate here, not a bumpy road.
The Polish Playbook: Application Techniques That Matter
This is where most of the magic (or disaster) happens. How you apply your polish is critical. Forget everything you thought you knew about painting your nails quickly; we’re going for precision and patience.
The ‘Float, Don’t Push’ Method
One of the biggest bubble culprits is overworking the polish or pressing the brush too hard. This pushes air into the polish, creating those annoying little bubbles. Instead, try to “float” the brush over your nail. Load your brush with enough polish to cover the nail in one or two strokes, but not so much that it’s dripping.
Apply polish in thin, even coats. I know, I know, it’s tempting to glob it on for full opacity, but thick coats are a bubble magnet. They take forever to dry, and as the solvents evaporate, they can trap air underneath, creating those frustrating little craters. Aim for two to three *thin* coats rather than one thick one. Your patience will be rewarded, trust me.
Patience, My Friend, Patience
This might be the hardest rule for instant gratification seekers, but it’s crucial. You absolutely *must* let each coat dry sufficiently before applying the next. If you apply a new coat over wet polish, you’re essentially trapping solvents and air, which will inevitably lead to bubbles as the polish tries to cure.
How long is “sufficiently dry”? It varies, but generally, give it at least 2-5 minutes between coats. If you can lightly tap the nail without leaving an imprint, you’re probably good to go. Don’t rush it! Put on a podcast, scroll through TikTok, do whatever you need to, but let those layers set.
The Polish Itself: Age, Consistency, and Storage
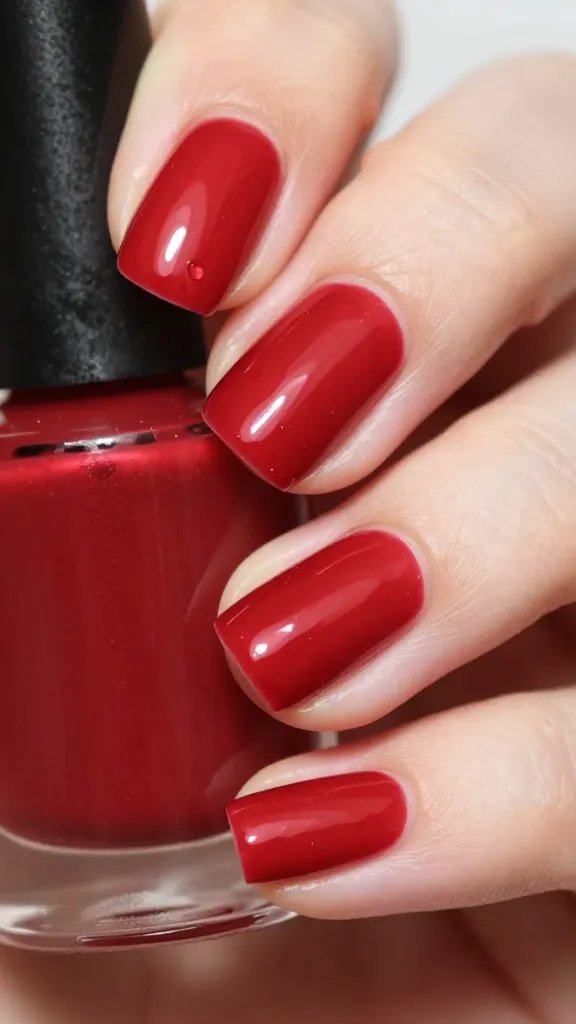
Your nail polish isn’t immortal. It has a shelf life, and how you treat it matters.
Old and Thick? Time for a Polish Purge (or Thinner)
As I mentioned, old polish gets thick and gloopy. This isn’t just annoying; it makes it much harder to apply thin, even coats, practically guaranteeing bubbles. If your polish is looking more like molasses than a smooth liquid, it might be time to toss it.
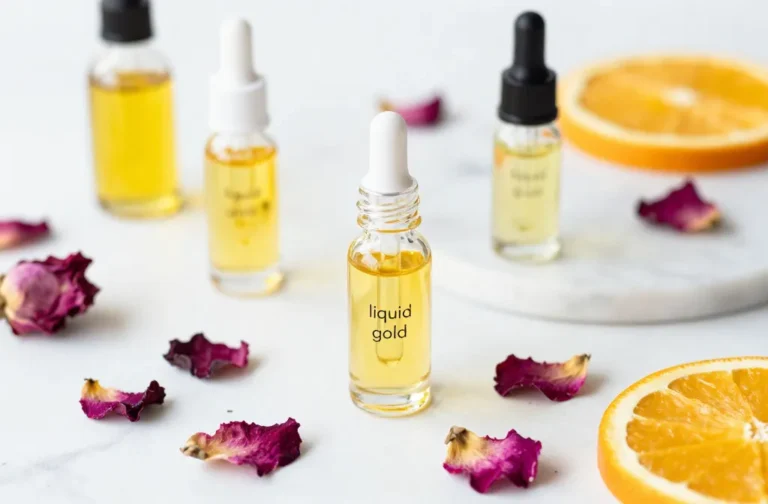
However, if it’s a beloved shade, you can try a *nail polish thinner* (not nail polish remover, FYI!). Add a few drops, shake gently (more on that in a sec!), and let it sit. This can often bring your polish back to life. Just don’t overdo it, or you’ll ruin the formula.
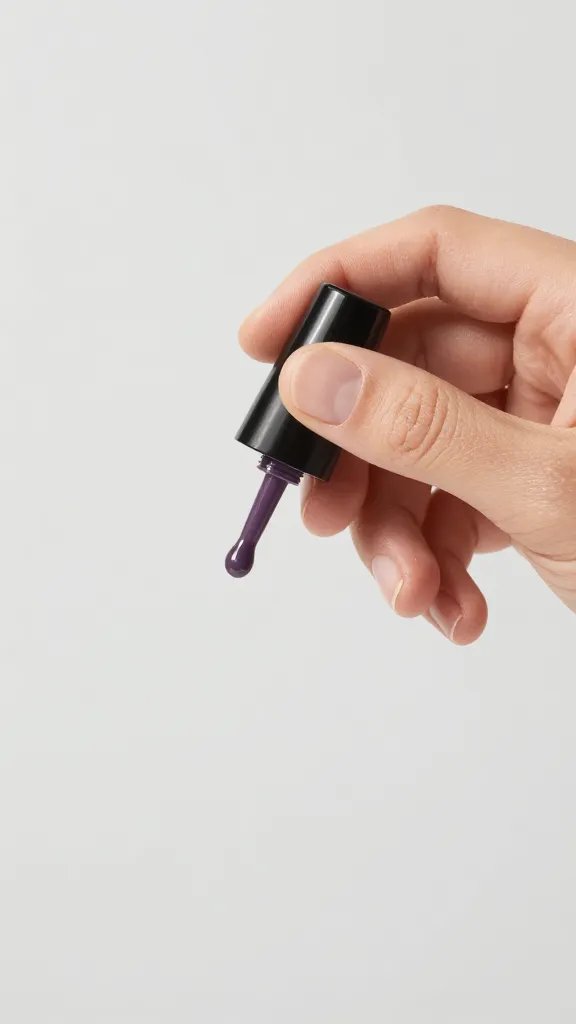
Roll, Don’t Shake!
This is a big one. Shaking your nail polish bottle vigorously introduces tons of air into the formula, turning it into a bubbly mess before you even start painting. Instead of shaking, gently *roll* the bottle between your palms for about 30 seconds. This warms the polish slightly and mixes it without creating air bubbles. It’s a small change that makes a huge difference.
Storage Savvy
Where do you keep your polish? If it’s baking in direct sunlight or chilling in a super cold spot, you might be contributing to its premature demise. Store your polishes in a cool, dark place, away from direct heat or extreme temperature fluctuations. This helps maintain their consistency and extends their life.
The Environment: Your Mani Sanctuary
Your surroundings play a bigger role than you might think in achieving a bubble-free mani.
Humidity and Airflow: The Silent Saboteurs
High humidity can be a real pain. When there’s a lot of moisture in the air, your polish takes longer to dry, increasing the chances of bubbles forming. If you live in a humid climate, try to paint your nails in an air-conditioned room or use a dehumidifier.
Conversely, too much direct airflow from a fan or open window can also be problematic. While a gentle breeze might seem helpful for drying, a strong, direct blast can dry the *surface* of the polish too quickly, trapping wet polish and air underneath, leading to bubbles. Find a happy medium: a well-ventilated room, but avoid direct drafts.
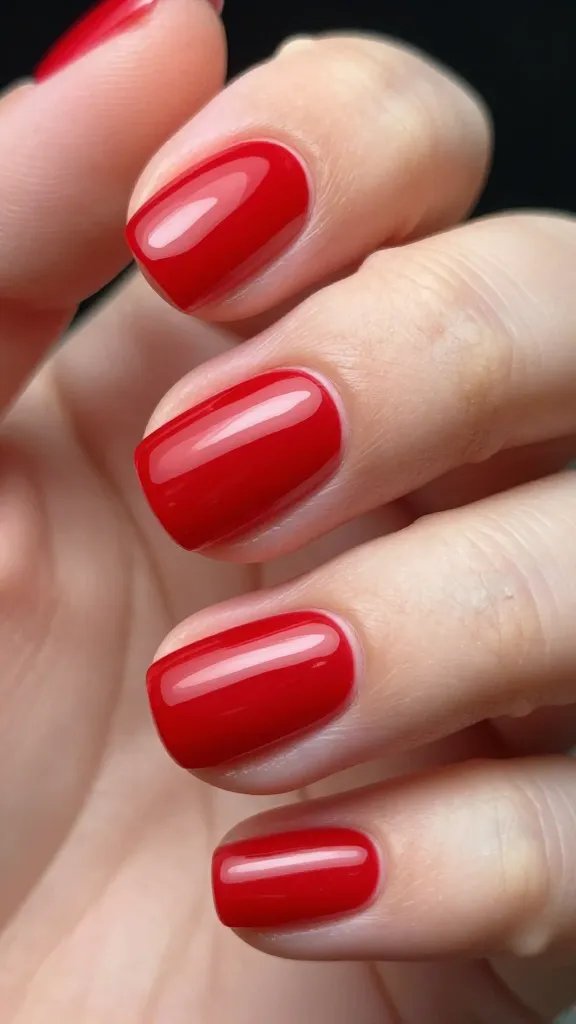
The Top Coat Trick: Sealing the Deal Smoothly
You’ve done all the hard work, now don’t mess it up at the finish line! Your top coat is the final layer of protection and shine, so apply it with the same care as your color coats.
Just like your color polish, apply your top coat in a thin, even layer. Don’t press too hard or overwork the brush. A quick, smooth application is all you need to seal everything in without introducing new bubbles. And yes, let it dry completely too!
FAQ: Your Bubble-Busting Questions Answered
Can old polish really cause bubbles?
Absolutely, yes! As nail polish ages, the solvents inside it evaporate, causing the formula to thicken. This thicker consistency makes it much harder to apply smoothly and significantly increases the likelihood of trapping air bubbles during application. If your polish is gloopy, it’s a prime suspect for bubble trouble.
Is shaking polish *always* bad?
For the most part, yes, shaking polish vigorously is a big no-no. It introduces air into the bottle, creating tiny bubbles within the formula before you even open it. These bubbles then transfer directly to your nails. Instead, gently roll the bottle between your palms to mix the ingredients without aerating the polish.
Does applying polish too thick always create bubbles?
Not *always*, but it’s a major contributing factor. Thick coats of polish take much longer to dry. As the top surface dries, it can seal off the still-wet layers beneath. As the solvents in those lower layers try to evaporate, they can get trapped, pushing up against the dried surface and forming bubbles. Thin coats are the way to go for a smooth finish.
What if I live in a humid climate?
High humidity makes polish dry slower, increasing the chance of bubbles. If you’re in a humid area, try to paint your nails in an air-conditioned room or use a dehumidifier. Also, avoid painting right after a shower or bath when the air is particularly moist. Creating a drier environment for your manicure is key.
Can base coat or top coat also bubble?
Yes, they absolutely can! Base coats and top coats are still nail polish formulas, and they are susceptible to the same bubble-causing factors: improper application (too thick, overworking), trapped air from shaking, and environmental conditions. Always apply all layers – base, color, and top – with the same care and attention to detail.
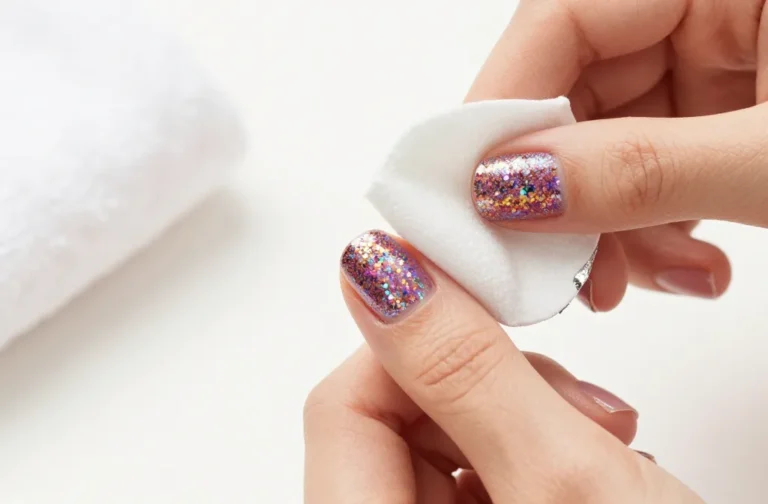
How do I fix a bubbly manicure *after* it’s done?
Honestly? Once bubbles have formed and the polish is dry, it’s incredibly difficult to fix them without completely restarting. Trying to file or buff them out often makes it look worse. Your best bet is to remove the polish and start fresh, keeping all these bubble-prevention tips in mind for your next attempt. It’s frustrating, but sometimes a do-over is the only way to achieve perfection.
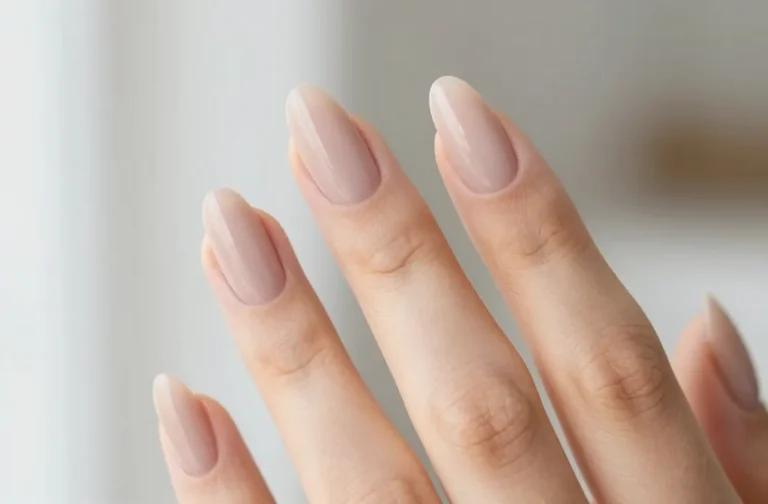
Conclusion: Banish Those Bubbles!
So there you have it, folks! Preventing bubbles in your nail polish isn’t rocket science, but it does require a little patience, some smart techniques, and a healthy respect for your polish and its environment. By paying attention to your prep, application, polish condition, and surroundings, you can dramatically reduce those frustrating air pockets. Go forth and create flawlessly smooth, bubble-free manicures! Your nails (and your sanity) will thank you.