Banish Grime! How to Effectively Clean Under Nails
Let’s be real: nobody wants to look down at their hands and see a tiny, dark ecosystem thriving under their nails. It’s not just unsightly; it’s a little bit gross and a whole lot unsanitary. If you’ve ever wondered how to banish that pesky grime effectively, you’re in the right place. Get ready to level up your nail hygiene game, because those hidden horrors are about to meet their match.
The Unsung Heroes (and Villains) of Under-Nail Grime

Ever pondered what exactly lurks beneath your fingernails? It’s a fascinating, if somewhat disgusting, mix. From garden dirt and kitchen crumbs to pet hair and skin cells, your nails are like tiny, curved shovels, constantly scooping up the detritus of daily life. They’re surprisingly efficient at it, too.
Think about it: every time you scratch an itch, type on a keyboard, or even just run your fingers through your hair, you’re collecting microscopic souvenirs. These aren’t just cosmetic issues; they create a cozy little home for all sorts of unwelcome guests.
The Gross Reality: Bacteria and Beyond
That dark line isn’t just dirt; it’s often a thriving metropolis of bacteria, fungi, and other microorganisms. Your warm, moist nail beds provide the perfect environment for them to multiply. This is why neglecting under-nail cleaning isn’t just about aesthetics; it’s about preventing potential infections and keeping your hands truly clean. You don’t want to accidentally ingest those microscopic party-goers, do you? No, you do not.
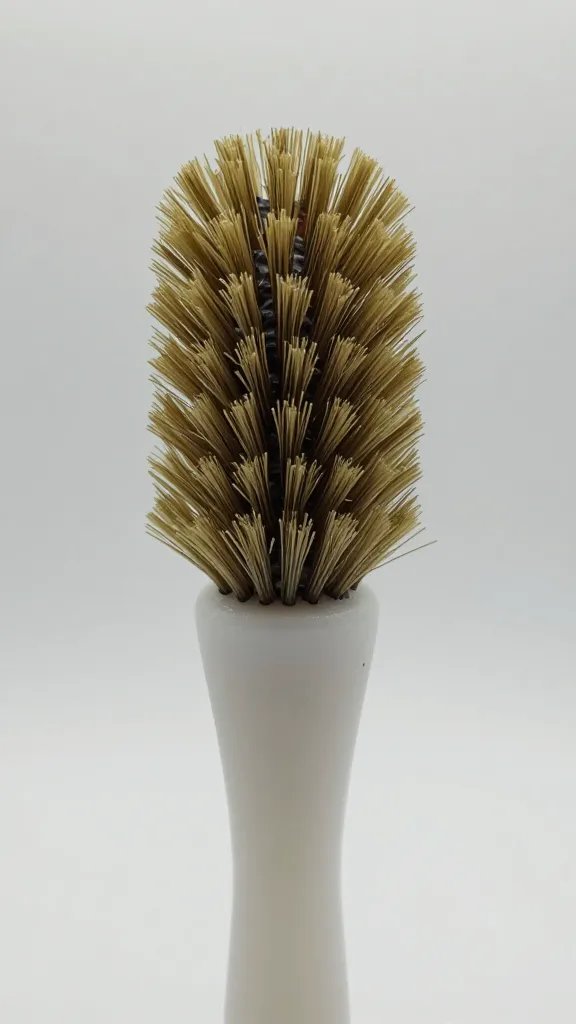
Your Arsenal: Essential Tools for the Job
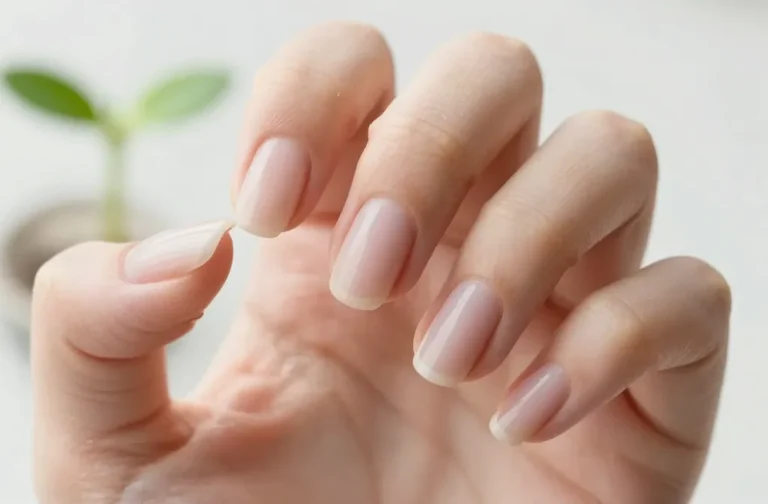
Forget those fancy, overpriced gadgets. Cleaning under your nails effectively doesn’t require a trip to a specialized store. You probably already own most of what you need. The key is choosing the right tools and, more importantly, using them correctly. We’re aiming for clean, not mangled.
The Holy Trinity: Brush, Scraper, Soap
Here’s what you absolutely need for a thorough, safe clean:
* A soft-bristled nail brush: This is your MVP. Look for one specifically designed for nails, often with a handle that’s easy to grip. A toothbrush works in a pinch, but a dedicated nail brush usually has stiffer, more effective bristles.
* A gentle nail scraper or orangewood stick: These are fantastic for dislodging stubborn gunk. The trick is *gentle*. We’re not excavating for ancient artifacts here.
* Good old soap and warm water: Nothing beats the classics. An antibacterial soap is a bonus, but any liquid hand soap will do the trick.
The “Don’t Even Think About It” List
Seriously, put these down. Right now.
* Metal nail files: The pointy end might seem convenient, but it’s often too sharp and can easily damage the delicate skin under your nail, creating an entry point for bacteria.
* Your other nails: While tempting, using one nail to scrape under another is a surefire way to transfer germs and potentially cause micro-tears. Plus, it’s just not as effective.
* Anything sharp or pointy that isn’t specifically designed for nails: Scissors, knives, pen caps – just no. You risk injury and infection. IMO, it’s not worth the emergency room visit for a bit of dirt.
The Art of the Scrub: A Step-by-Step Guide
Now that you have your tools and know what to avoid, let’s get down to business. This isn’t rocket science, but there’s a technique to getting it right without causing damage or discomfort.
Pre-Soak Perfection
Before you even think about scrubbing, give your hands a little spa treatment.
1. Fill a small basin with warm water. Not scalding, just comfortably warm.
2. Add a few drops of mild soap. A little goes a long way.
3. Soak your fingertips for 2-3 minutes. This softens the skin and the grime, making it much easier to remove. It’s like pre-washing dishes, but for your hands!
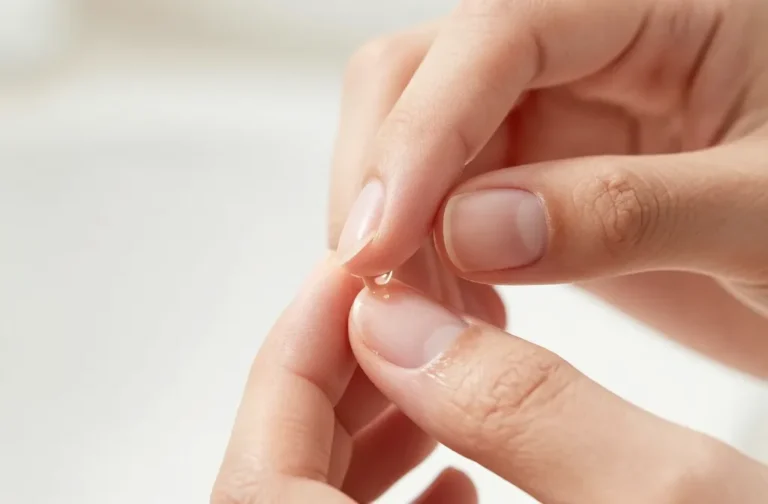
Gentle Does It
Once your nails are softened, it’s time for the main event. Remember, we’re being gentle.
1. Apply a small amount of soap to your nail brush.
2. Gently scrub the underside of each nail. Use short, back-and-forth motions. Don’t press too hard; let the bristles do the work.
3. Pay attention to the sides of your nails too. Grime loves to hide in those little crevices.
4. For stubborn bits, carefully use your orangewood stick. Gently push it under the nail, moving from one side to the other. Avoid digging deep or scraping aggressively. You’re lifting the dirt, not performing surgery.
Rinse and Repeat (If Necessary)
After scrubbing, rinse your hands thoroughly under running water, making sure to flush out any loosened debris. If you still see some stubborn spots, don’t be afraid to repeat the process. Sometimes, a second, gentler pass is all it takes. Once clean, pat your hands dry and apply a good hand cream to keep your cuticles happy.
Beyond the Basics: Advanced Tips for Pristine Paws

You’ve mastered the basic scrub, but what if you want to go the extra mile? Or prevent the problem in the first place? I’ve got you covered.
Lemon Love and Whitening Wonders
For those pesky stains or just an extra brightening boost, consider these natural remedies:
* Lemon Juice Soak: Slice a lemon in half and press your nails into the pulp for a few minutes. The natural acids can help lighten stains and leave your nails looking brighter. Just make sure you don’t have any open cuts, or it’ll sting like crazy!
* Baking Soda Paste: Mix a small amount of baking soda with water to form a paste. Apply it under and over your nails, let it sit for a minute, then scrub gently with your nail brush. Baking soda is a mild abrasive and can work wonders on discoloration.
The Power of Prevention
An ounce of prevention is worth a pound of cure, right?
* Wear Gloves: When gardening, cleaning, or doing anything messy, slip on some gloves. This is the easiest way to keep dirt from burrowing under your nails.
* Regular Trimming: Keep your nails at a manageable length. Shorter nails naturally collect less grime. Plus, they look tidier.
* Moisturize Regularly: Healthy nails and cuticles are less prone to issues. A good hand cream keeps everything supple and less likely to crack, giving dirt fewer places to hide.
When to Call in the Pros (or Just Get a New Hobby)

Sometimes, what looks like dirt is actually something more. If you notice persistent discoloration that doesn’t scrub away, unusual odors, swelling, redness, or pain around your nails, it’s time to seek professional advice. These could be signs of a fungal infection or other medical issues that require a doctor’s attention. Don’t try to self-diagnose or treat anything that seems suspicious; your health is too important.
FAQ Section
How often should I clean under my nails?
Ideally, you should clean under your nails every time you wash your hands, especially after performing activities that might introduce dirt (like cooking or gardening). A thorough scrub with a brush and soap once a day, usually during your shower or evening routine, is a great habit to maintain optimal hygiene.
Can I use hand sanitizer to clean under my nails?
Hand sanitizer is great for killing germs on the surface of your hands, but it’s not effective for physically removing dirt and debris from under your nails. Think of it like this: hand sanitizer disinfects, but it doesn’t clean. You still need soap, water, and a brush for that.
Is it bad to pick under my nails with my other nails?
Yes, it’s generally not a good idea. Using your other nails can transfer bacteria, potentially damage the delicate skin under your nail bed, and isn’t as effective as a proper tool. Stick to a dedicated nail brush or an orangewood stick for the best results.
What if I have an infection under my nail?
If you suspect an infection (redness, swelling, pain, pus, or unusual odor), do not try to treat it yourself. See a doctor or dermatologist immediately. They can properly diagnose the issue and prescribe the correct treatment, which might include antibiotics or antifungal medication.
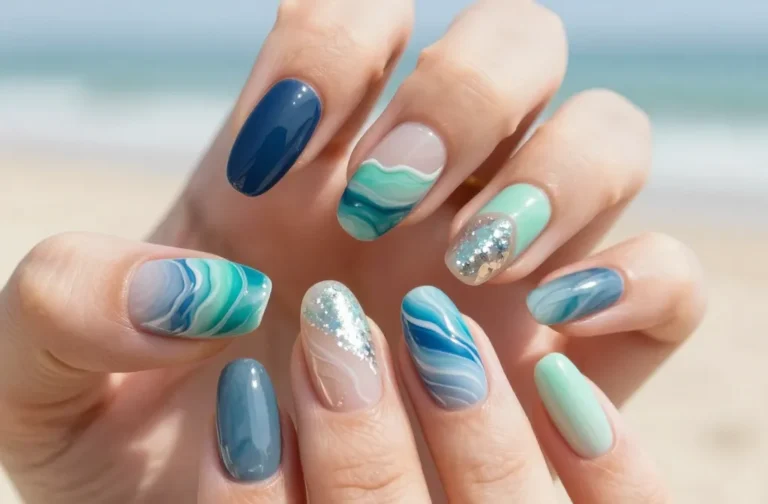
Does nail polish affect under-nail cleanliness?
Nail polish itself doesn’t directly cause dirt to accumulate more, but it can make it harder to *see* the dirt under your nails. This might lead you to clean less thoroughly. Always remove polish before a deep clean, and ensure your nails are completely clean and dry before applying new polish.
Keeping It Clean: Your Hands Will Thank You
There you have it! Cleaning under your nails effectively isn’t a chore; it’s a small act of self-care that makes a big difference. It prevents those cringe-worthy moments, keeps your hands looking their best, and most importantly, protects your health. So grab your brush, embrace the suds, and let’s keep those hidden horrors at bay. Your hands (and everyone who shakes them) will definitely appreciate it.