Cookies Aesthetic: The Scroll-Stopping, Feed-Perfect Treat You’ll Bake on Repeat
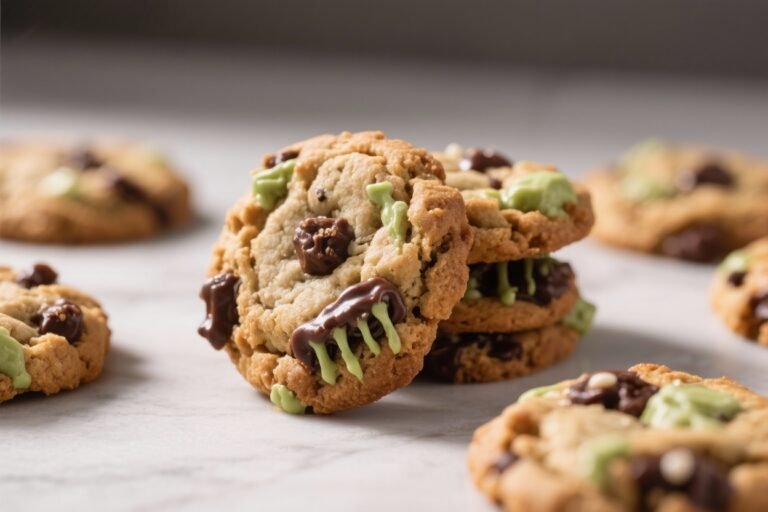
Picture this: a tray of golden, thick-edged cookies with shiny pools of chocolate and a sprinkle of flaky salt—so gorgeous your camera opens itself. That’s the cookies aesthetic, and yes, it tastes as good as it looks. We’re not chasing bland Pinterest bait; we’re baking cookies that stop thumbs and start cravings.
Crisp edges, soft centers, dramatic chocolate contrast, and intentional styling—this is dessert with a vibe. Ready to make your oven your content engine and your kitchen smell like a bakery that went to art school?
What Makes This Recipe Awesome
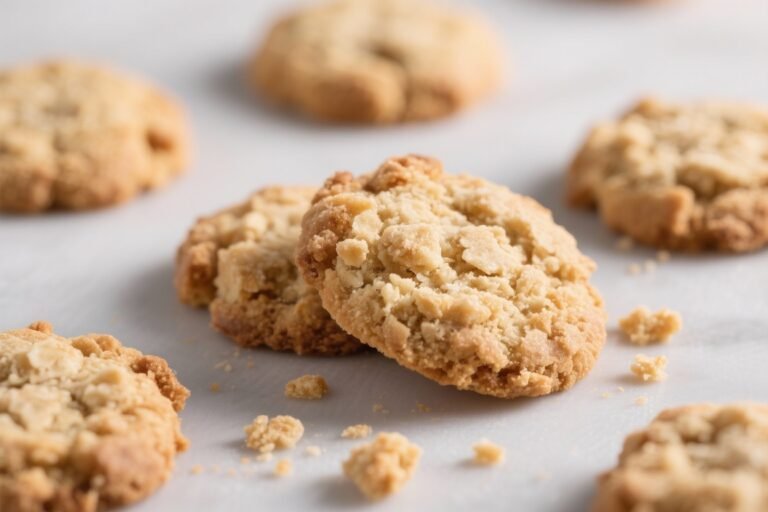
- Texture goals: Crisp edges, gooey centers, and melty chocolate puddles. The holy trinity of cookie perfection.
- Glow-up ingredients: Two sugars for caramel notes, browned butter for depth, and sea salt for that “chef’s kiss” finish.
- Photo-friendly design: Chunky chocolate shards, visible pools, and a dramatic crackly top that looks intentional (because it is).
- Smart technique: A chill step for thicker cookies, a mid-bake pan bang to help the cracks and pools form.
- Versatile, not fussy: No stand mixer required.
Works with chips or chopped bars. Scales for a crowd, or just you and your late-night snack era.
What You’ll Need (Ingredients)
- 1 cup (225 g) unsalted butter, browned and cooled to room temp
- 1 cup (200 g) packed dark brown sugar
- 1/2 cup (100 g) granulated sugar
- 2 large eggs, room temperature
- 2 tsp vanilla extract
- 2 1/4 cups (280 g) all-purpose flour
- 1 tsp baking soda
- 1/2 tsp baking powder
- 3/4 tsp fine sea salt
- 8 oz (225 g) dark chocolate, chopped into varied chunks (some big shards, some small)
- Flaky sea salt, for finishing
- Optional: 1 tsp espresso powder (for mood), 1/2 cup toasted walnuts or pecans
The Method – Instructions
- Brown the butter: Melt butter in a light-colored pan over medium heat. Stir until it foams, the milk solids turn amber, and it smells nutty.
Remove from heat and cool 20–30 minutes until just slightly warm, not hot.
- Whisk the sugars and butter: In a large bowl, whisk browned butter with brown and granulated sugars until glossy and cohesive, about 1 minute.
- Add eggs and vanilla: Whisk in eggs one at a time, then vanilla, until the mixture thickens and lightens slightly. This builds structure without a mixer—yes, your arms can handle it.
- Combine dry ingredients: In a separate bowl, whisk flour, baking soda, baking powder, and fine sea salt. Add espresso powder if using.
- Mix to a dough: Fold dry ingredients into wet just until a few streaks of flour remain.
Don’t overmix unless you prefer sad, tough cookies.
- Add chocolate: Fold in chopped chocolate, reserving a handful of bigger shards for pressing on top before baking. This is the aesthetic cheat code.
- Chill: Cover and chill dough 45–60 minutes for thicker cookies and better flavor. Overnight is elite if you can wait.
IMO, worth it.
- Preheat and prep: Heat oven to 350°F (175°C). Line two baking sheets with parchment. Use a 2–3 tbsp scoop for medium cookies or 1/4 cup for bakery-size.
- Scoop and style: Roll dough into balls, then press a couple of reserved chocolate shards on top of each.
Leave space—these spread.
- Bake: Bake 9–11 minutes for medium cookies or 12–14 for large. Edges should be set and lightly golden; centers will look soft. That’s correct.
- Pan bang (optional but gorgeous): At the 8-minute mark, lift the tray a few inches and gently tap it on the rack.
Repeat once more at the end. This creates crackly ripples and glossy pools.
- Finish: Immediately sprinkle with flaky sea salt. Let cool on the sheet 5–7 minutes to set, then transfer to a rack.
How to Store
- Room temperature: In an airtight container 3–4 days.
Add a slice of bread to keep them soft (grandma hack, zero shame).
- Freeze baked cookies: Layer with parchment in a freezer bag up to 2 months. Thaw at room temp or warm 3–4 minutes at 300°F (150°C).
- Freeze dough: Scoop, freeze solid, then bag. Bake from frozen at 350°F (175°C), adding 1–2 minutes to the time.
Benefits of This Recipe
- High-impact visuals: Chunk shapes and pan bangs give those glossy, craggly tops that photograph like a dream.
- Flavor depth: Browned butter + dark brown sugar = caramelized, nutty richness that feels bakery-level with minimal effort.
- Texture control: Chill time and bake time let you choose gooey vs. chewy.
You’re the boss.
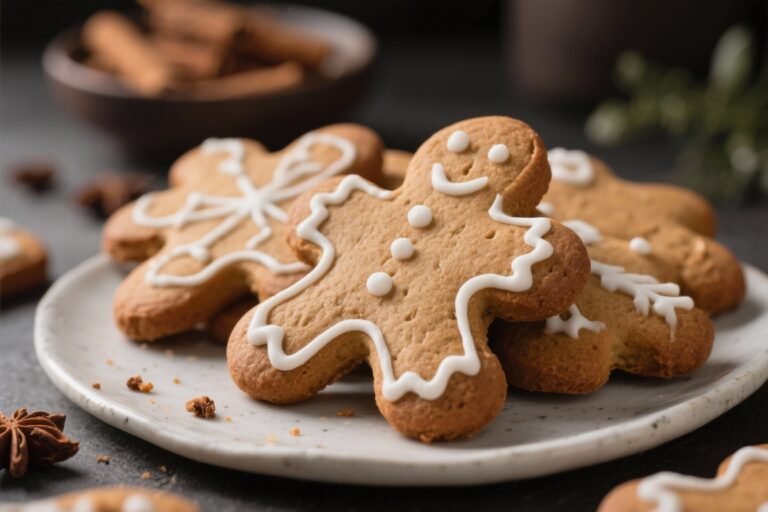
- Customizable: Works with nuts, spices, different chocolates, or gluten-free swaps without losing the aesthetic.
Common Mistakes to Avoid
- Using hot butter: Melted-but-hot butter will melt your sugars and flatten cookies into edible coasters.
- Skipping the chill: No chill = excessive spread and meh texture. Even 30 minutes helps.
- Overmixing: Overworking the dough develops too much gluten. Stir just until combined.
- Tiny chocolate chips only: Uniform chips don’t create dramatic puddles.
Mix sizes or use chopped bars.
- Overbaking: Pull them when the centers look slightly underdone. They finish on the sheet.
Variations You Can Try
- Salted Tahini Swirl: Fold in 2–3 tbsp tahini with the butter for nutty depth and swirl patterns.
- Brown Butter Espresso: Add 1–2 tsp espresso powder to the dry mix for a latte-adjacent vibe.
- Triple Chocolate: Use a mix of milk, semisweet, and dark chunks for contrast and dramatic marbling.
- Toasted Pecan Crunch: Add 1/2 cup chopped toasted pecans and a pinch of cinnamon.
- GF Friendly: Swap flour for a 1:1 gluten-free blend with xanthan. Chill at least 1 hour for best structure.
- Stuffed Center: Wrap dough around a caramel or a square of chocolate.
Slightly longer bake, insanely photogenic ooze.
FAQ
Can I skip browning the butter?
Yes, but you’ll lose some nutty complexity. If you skip it, use softened butter and beat it with sugars for 2–3 minutes to aerate for similar lift.
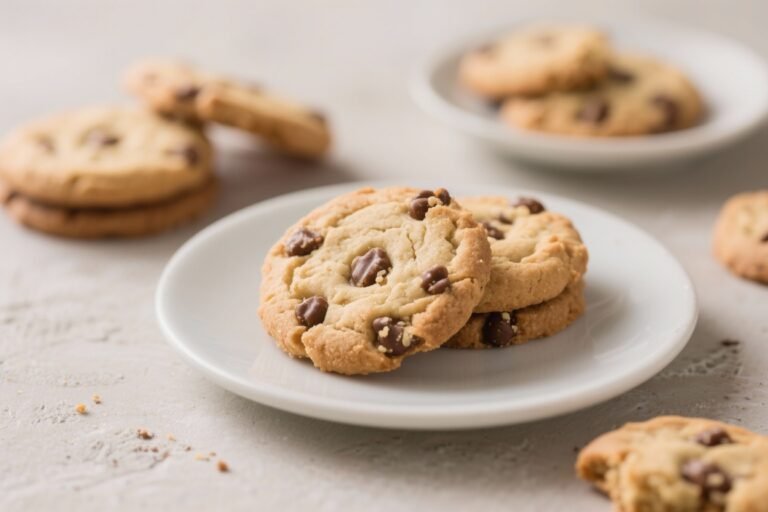
Why use chopped chocolate instead of chips?
Chopped bars melt into glossy puddles and irregular shapes that look and taste more artisanal. Chips contain stabilizers, so they hold shape—less dramatic, still tasty.
Do I really need flaky sea salt on top?
You don’t need it, but you’ll miss the sweet-salty pop that makes flavors feel louder.
A little Maldon turns “good” into “wow.”
How do I make the cookies thicker?
Chill longer (up to overnight), use slightly higher hydration flour brands carefully, and scoop larger portions. Bake at 350°F and pull when edges set.
What if my dough is too soft?
Chill it 20–30 minutes more. If it’s still loose, fold in 1–2 tablespoons flour.
Don’t panic—soft dough is normal after browning butter.
Can I halve the recipe?
Absolutely. Halve all ingredients and use one egg plus 1 tablespoon beaten egg from the second if you want precise ratios—otherwise one egg is fine.
How do I get those crackly, rippled edges?
Use the pan-bang technique: mid-bake, tap the tray on the rack to collapse the centers and push edges out. Repeat once when they come out.
My Take
The “cookies aesthetic” isn’t just about looks—it’s a mindset: intentional ingredients, simple technique, and a tiny bit of drama.
Browned butter and mixed chocolate sizes do 80% of the heavy lifting; a sprinkle of flaky salt finishes the job. These cookies earn compliments online and silence in person (because everyone’s busy eating). Bake them for the gram, keep them for yourself.
FYI, the overnight chill? Non-negotiable if you want maximum wow.