Bento Cake Blowup: The Tiny Cake Trend That’s Stealing Birthdays, Breakups, and Your Feed
Imagine a cake so cute it makes grown adults whisper “omg.” It fits in your palm, looks like a minimalist art piece, and still hits like a full-size celebration. That’s the bento cake—Korean-style lunchbox cakes designed to impress with tiny decadence and big attitude. You don’t need a bakery or a trust fund to make one.
You just need a few smart moves, a steady hand, and the willingness to have way too much fun with frosting.
What Makes This Recipe So Good
- Personal-sized perfection: No awkward slicing. Each cake serves 1–2 people—maximum flavor, zero leftovers.
- Minimalist design, maximum wow: Clean lines, cute doodles, and a tidy shape. Even simple piping looks pro at this scale.
- Faster than full-size cakes: Bakes in minutes, cools quickly, decorates easily.Great for last-minute “I totally remembered” moments.
- Budget-friendly: Small cake = fewer ingredients. You can experiment without wasting an entire bag of flour.
- Customizable flavor base: Vanilla, chocolate, matcha, strawberry milk—whatever your vibe, it fits.
- Portable and giftable: Boxes like a dream. Toss it in a paper lunchbox with parchment and boom—instant aesthetic.
What You’ll Need (Ingredients)
Cake
- 1 cup (120g) all-purpose flour
- 3/4 cup (150g) granulated sugar
- 1 1/2 tsp baking powder
- 1/4 tsp fine salt
- 1/2 cup (120ml) whole milk, room temp
- 1/4 cup (60ml) neutral oil (canola or vegetable)
- 1 large egg, room temp
- 1 1/2 tsp vanilla extract
- Optional: 1 tbsp sour cream or yogurt for extra moisture
Simple Syrup (for moisture)
- 2 tbsp sugar
- 2 tbsp water
- Optional: 1/4 tsp vanilla or flavored extract
Stabilized Whipped Cream Frosting (classic K-cake style)
- 1 cup (240ml) heavy cream, cold
- 3 tbsp powdered sugar
- 1/2 tsp vanilla extract
- Optional stabilizer: 1 tsp instant pudding mix or 1 tsp cornstarch
- Gel food colors for decoration
Filling Ideas (choose one)
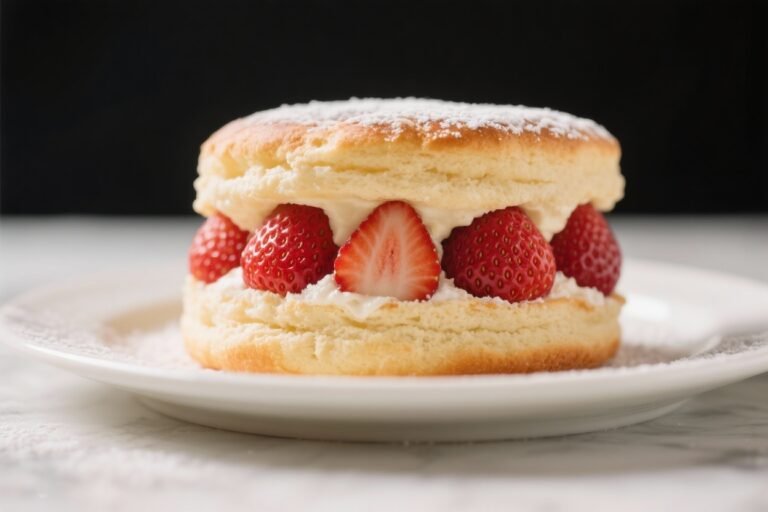
- 2–3 tbsp strawberry jam
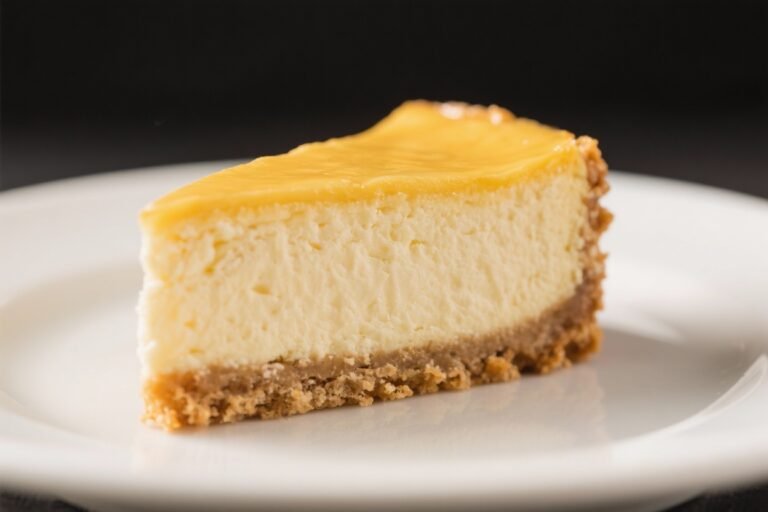
- 2–3 tbsp lemon curd
- Sliced berries (thin)
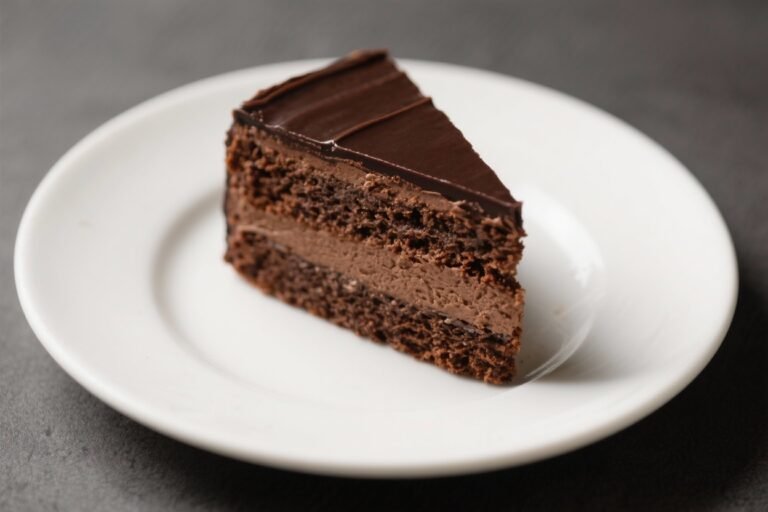
- Chocolate ganache (cooled and spreadable)
Tools
- 6-inch square or round pan (or bake in a sheet and cut rounds)
- 3.5–4-inch ring cutter or a small bowl as a template
- Offset spatula, piping bags, small round tip
- Lunchbox or clamshell container, parchment paper
Cooking Instructions
- Preheat and prep: Heat oven to 350°F (175°C).Line a 6-inch pan or an 8×8 sheet pan with parchment. Lightly grease.
- Make the batter: In a bowl, whisk flour, sugar, baking powder, and salt. Add milk, oil, egg, vanilla, and optional yogurt.Whisk until smooth—30 seconds. Don’t overmix.
- Bake: Pour batter into pan. Bake 16–20 minutes (thinner layers) or until a toothpick comes out clean.Edges should be lightly golden.
- Cool: Let cake sit in the pan 5 minutes, then transfer to a rack to cool completely. Warm cake + cream = slip-n-slide chaos. Wait.
- Simple syrup: Heat sugar and water until dissolved.Cool. Stir in optional flavoring.
- Cut the layers: If you baked a sheet, use a 3.5–4-inch cutter to punch out two rounds. If you baked a small round, level and slice into two layers.Save scraps for cake truffles (snacks > waste).
- Whip the frosting: Beat cold cream, powdered sugar, vanilla, and stabilizer until medium-firm peaks. It should hold shape but still spread smoothly.
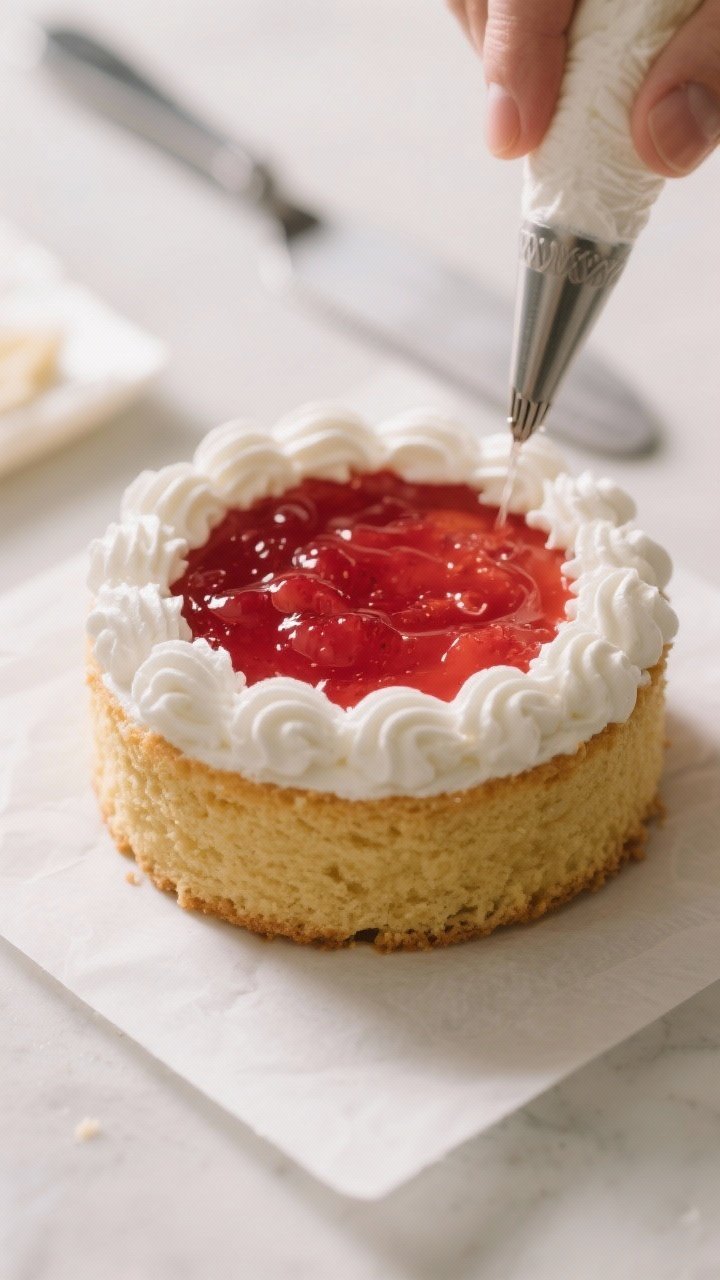
- Build the cake: Place a cake round on a parchment square. Brush with simple syrup (don’t drench).Add a thin layer of cream, pipe a ring “dam,” then add jam or filling. Top with second layer. Syrup again.
- Crumb coat: Apply a thin layer of whipped cream to seal crumbs.Chill 10–15 minutes.
- Final coat: Add a smooth finishing layer. Keep it minimal and clean. Chill briefly to set.
- Decorate: Tint small amounts of cream with gel colors.Pipe tiny hearts, flowers, squiggles, or a sassy message. Clean lines = small round tip + steady wrist.
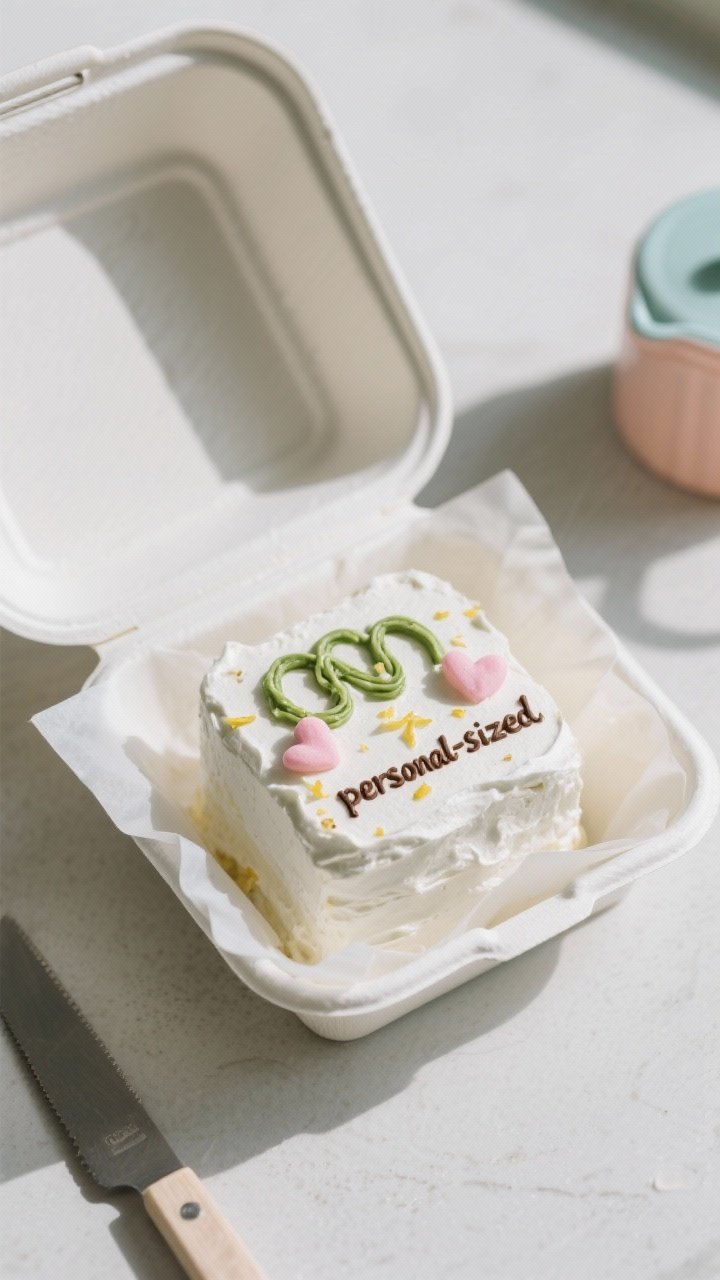
- Box it up: Place the cake on parchment in a lunchbox container. Seal and refrigerate until serving.
Preservation Guide
- Short-term: Refrigerate, covered, for up to 2 days.Whipped cream stays fresh, and the cake remains moist.
- Transport: Chill at least 30 minutes before traveling. Keep flat. If it’s hot, use an ice pack under the box—basic physics beats frosting meltdowns.
- Freezing: Unfrosted cake layers freeze well for 2 months (wrap tightly).Thaw in the fridge, then assemble. Avoid freezing fully decorated whipped-cream cakes.
- Leftovers: If any survive (lol), keep in an airtight container and eat within 24–36 hours for best texture.
Health Benefits
- Portion control by design: Smaller cakes reduce the “accidental five-slice” scenario. Built-in moderation FTW.
- Lighter frosting option: Whipped cream has less sugar and fat than heavy buttercream, making each bite feel less heavy.
- Customizable ingredients: Use yogurt in the batter for protein and moisture, and add fresh fruit for vitamins and fiber.
- Mindful indulgence: Personal-sized treats encourage savoring instead of mindless snacking.Your dopamine will cope.
Common Mistakes to Avoid
- Overbaking: Tiny cakes dry out fast. Start checking at 15 minutes.
- Warm assembly: If the cake or cream is warm, your layers will slip. Chill between steps.
- Thin cream: Under-whipped cream won’t hold designs.Aim for medium-firm peaks, not butter vibes.
- Soaking with syrup: A brush, not a bath. Too much leads to soggy, unstable layers.
- Chunky fillings: Thick fruit pieces can make the cake uneven. Slice thin or mash slightly.
- Heavy decor: Keep it light.Overloaded toppings can collapse small cakes, IMO.
Recipe Variations
- Matcha Cloud: Add 1–2 tsp matcha powder to the dry ingredients. Fill with sweetened red bean paste or yuzu curd.
- Strawberry Milk: Replace 2 tbsp milk with strawberry syrup; fill with strawberry jam and sliced berries.
- Chocolate Fudge: Swap 2 tbsp flour for cocoa powder; fill with ganache and top with chocolate shavings.
- Lemon Dream: Add 1 tsp lemon zest to the batter; fill with lemon curd and decorate with tiny daisies.
- Tiramisu Bento: Brush layers with espresso syrup, fill with mascarpone cream, dust with cocoa. Dangerously good.
- Funfetti Birthday: Fold 2 tbsp rainbow sprinkles into the batter.Pipe a cheeky message—“ur old.”
FAQ
Can I use buttercream instead of whipped cream?
Yes. American or Swiss meringue buttercream works great and holds designs longer at room temp. It’s richer and sweeter, so apply thinner layers to keep the tiny-cake balance.
How do I get super smooth sides on such a small cake?
Chill after the crumb coat, then use a small offset spatula and a warm bench scraper.
Short strokes, frequent cleaning, and patience. The chill step is the cheat code.
What’s the best box for a bento cake?
A 5–6 inch paper lunchbox or clamshell with parchment underneath. Look for 2–3 inch height so the decorations don’t get smushed.
Some people even tape the parchment to keep the cake from sliding.
Can I bake the cake a day ahead?
Absolutely. Wrap cooled layers tightly and refrigerate up to 24 hours. Brush with simple syrup during assembly to restore that just-baked moisture.
How do I color whipped cream without watering it down?
Use gel food color, not liquid.
Fold gently with a spatula. For vivid shades, tint a small portion darker and swirl into the base to avoid overmixing.
How many servings does a bento cake have?
Typically 1–2 modest servings. For party favors, plan one cake per person.
For dessert tables, one cake can serve two if there are other treats, FYI.
My cake domed. Should I level it?
Yes, trim the dome for stability. Use a serrated knife and keep your hand steady.
Save the scraps for mini cake pops or baker’s snacks—no crumb left behind.
My Take
Bento cakes are proof that tiny doesn’t mean timid. They’re fast, elegant, and weirdly empowering—like you just became your own boutique bakery. I love the clean look and the creative freedom: one minute it’s matcha minimalism, the next it’s a meme in frosting.
If you want maximum delight per square inch, this is the cake. And honestly? The world needs more portable joy in cute lunchboxes.
Printable Recipe Card
Want just the essential recipe details without scrolling through the article? Get our printable recipe card with just the ingredients and instructions.
Printable Recipe Card
Want just the essential recipe details without scrolling through the article? Get our printable recipe card with just the ingredients and instructions.