Sos! How to Fix Smudged Nail Polish After It Dries
That gut-wrenching moment. You’ve just finished a flawless manicure, waited *forever* for it to dry, and then—BAM!—you bump it. Or maybe you thought it was dry, only to find a colossal dent or smear hours later. Don’t despair, my friend. We’ve all been victims of the dreaded dried smudge, but a ruined mani doesn’t have to mean starting over.
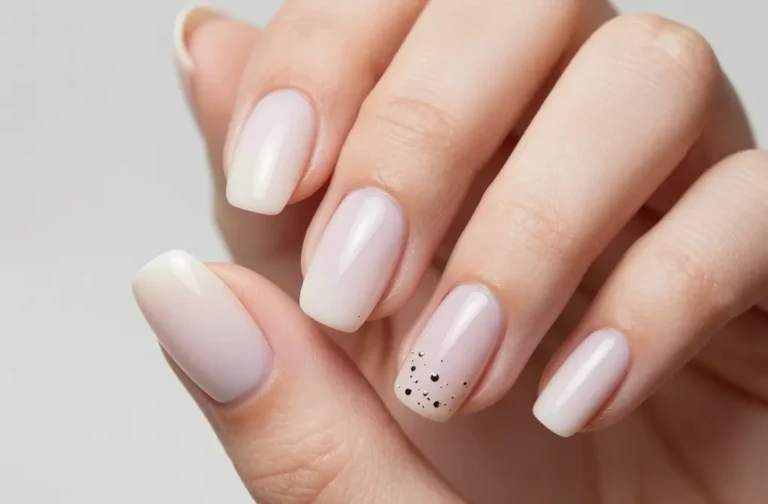
That Heart-Sinking Moment: When the Smudge Has Dried

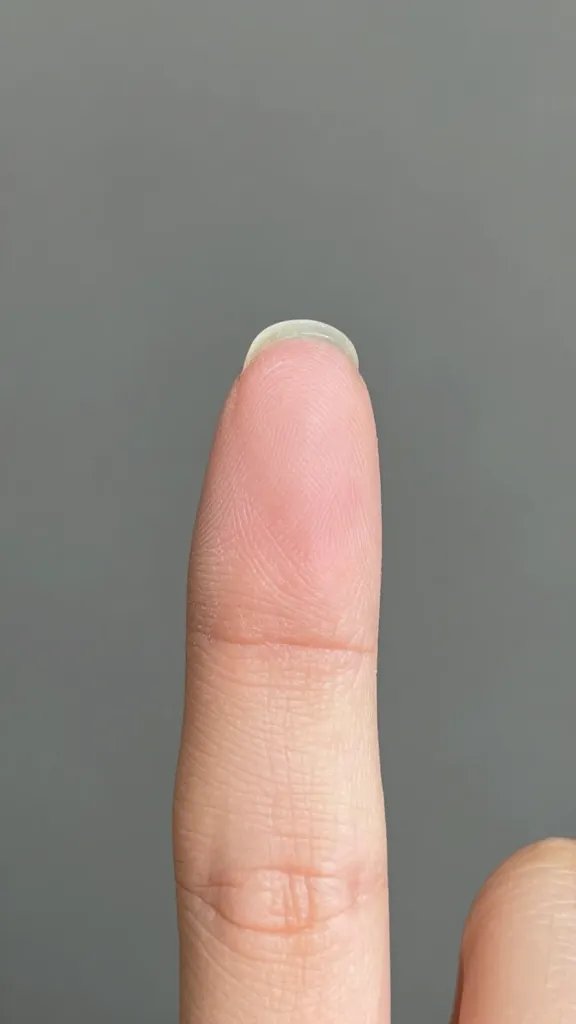
Let’s be real, a fresh smudge is one thing, but a *dried* smudge? That feels like a whole different level of betrayal. You see that divot or smear, and your heart just sinks. You’ve invested time, effort, and probably a decent chunk of change into that polish, right?
First things first, take a deep breath. Panicking only leads to more nail mishaps, trust me. We need to assess the damage. Is it a subtle dent? A surface scratch? Or a full-blown crater that looks like a tiny meteor hit your nail? The severity of the smudge dictates your repair strategy.
The Top Coat Tango: Your First Line of Defense
This is your go-to move for most dried smudges, especially those that are more of a surface impression or a slight unevenness. Think of your top coat as a magical self-leveling elixir. It’s surprisingly effective at smoothing things out.
You see that dent? A good, thick top coat can often fill it in, creating a new, smooth surface. The trick is to work quickly and with purpose. Don’t glob it on, but don’t skimp either.
The Magic of Self-Leveling
Most top coats are formulated to “self-level,” meaning they naturally spread out evenly as they dry. This property is your best friend when tackling a dried smudge. It allows the top coat to settle into the imperfections, creating a uniform surface without you having to be a Picasso with your brush. It’s like a mini-renovation project for your nail.
Application is Key: A Light Hand Wins
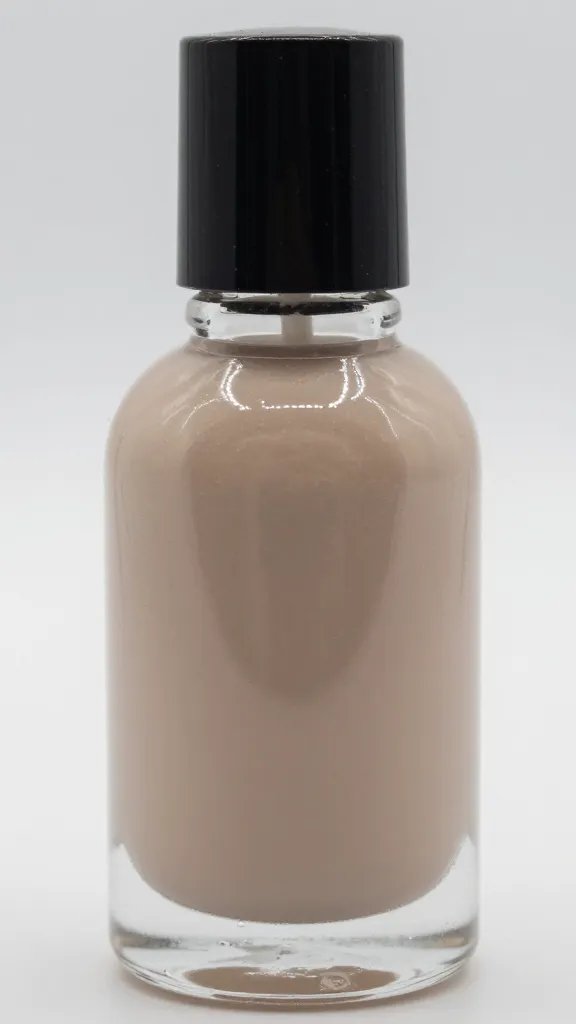
Grab your favorite quick-dry top coat. You’ll want one that’s a bit on the thicker side, as it has more “filling” power.
- Clean the area: Gently wipe away any dust or oils around the smudge with a dry brush or lint-free cloth.
- Load your brush: Dip your top coat brush and make sure it has a good, but not dripping, amount of product.
- Float it on: Starting just above the smudge, gently float the top coat over the affected area, letting it spread naturally. Don’t press down too hard; you’re not trying to scrub the polish.
- Extend the love: Extend the top coat over the entire nail to ensure a seamless finish. This prevents an obvious “patch” job.
- Let it dry (for real this time!): Give it ample time to dry completely. FYI, quick-dry top coats are crucial here.
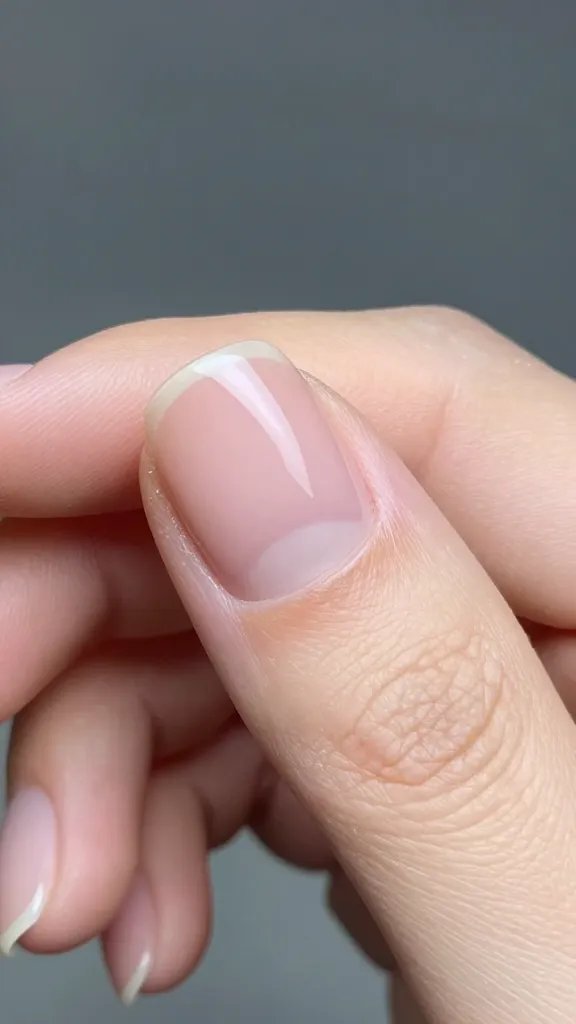
This method works wonders for minor dents and surface scratches. You’ll be amazed at how well it can camouflage imperfections.
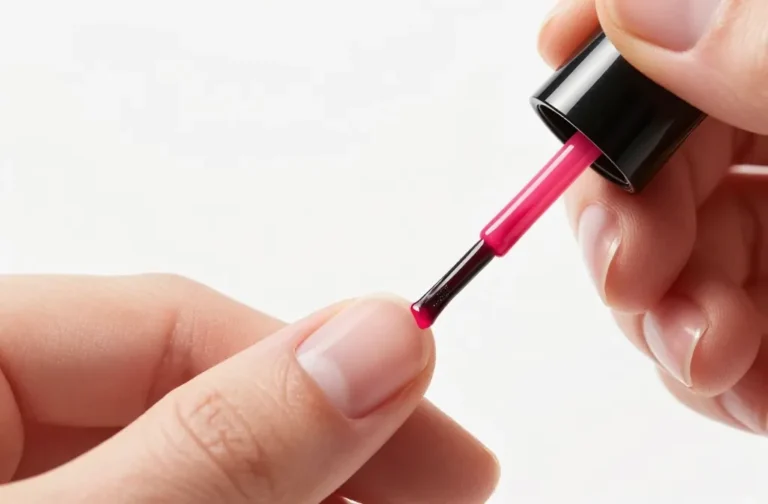
Precision Polish Power: When You Need More Control
Sometimes, a top coat just isn’t enough. Maybe the smudge is deeper, or it’s a raised lump rather than a dent. This is when we bring in the big guns – well, the tiny guns, actually: a small amount of nail polish remover and a very precise tool. This technique requires a steady hand, but it’s incredibly satisfying when it works.
The Q-Tip Whisperer Method
For slightly more pronounced smudges, particularly those with a raised edge or a noticeable lump, a Q-tip can be your best friend. The goal here is to carefully melt and re-smooth the existing polish without dissolving too much of it.
- Gather your tools: You’ll need a fresh Q-tip and a bottle of non-acetone nail polish remover (acetone is too aggressive here, IMO).
- Dip and dab: Dip the very tip of the Q-tip into the remover, then immediately dab it onto a paper towel. You want it barely damp, not soaking wet. This is critical!
- Gentle strokes: Lightly, *very lightly*, roll or dab the damp Q-tip over the smudged area. You’re trying to gently soften the polish just enough to re-smooth it. Work in tiny, circular motions or light strokes.
- Re-smooth: As the polish softens, you might be able to gently push it back into place or smooth out a raised edge.
- Top coat finish: Once you’re satisfied with the texture, let it dry for a minute, then apply a fresh layer of top coat over the entire nail to seal and unify the surface.
Remember, less is more with this method. Too much remover, and you’ll create a bigger mess than you started with.
Tiny Brush, Big Impact
If the smudge is a small, precise divot that needs filling with the original color, or if the Q-tip method feels too broad, reach for a tiny detail brush (like one you’d use for nail art).
- Matching polish: Get out the exact polish color you used.
- Tiny drop: Put a tiny drop of the polish onto a palette (foil, plastic lid, whatever).
- Fill the gap: Dip your clean detail brush into the polish and carefully fill in the smudged area. Feather the edges so it blends seamlessly with the existing polish.
- Let it dry: Allow this tiny patch to dry thoroughly.
- Top coat seal: Finish with a full layer of top coat to blend everything together and add shine.
This is like performing micro-surgery on your nail, but the results can be incredibly satisfying.
The Layering Lifesaver: Adding More Color
Sometimes, the smudge isn’t just a surface issue; it’s a deep gouge that’s gone through one or more layers of color. In these cases, you might need to strategically add more of the original polish color before sealing it all in.
This method works best when the smudge isn’t too wide. You’re essentially rebuilding the layers in that specific spot.
- Identify the color layer: Determine if the smudge went through to the base coat or just through the top color layer.
- Apply thin layers: Using the original polish brush (or a detail brush for smaller areas), apply a very thin layer of the color directly into the divot. Feather the edges to blend.
- Dry time is crucial: Let each thin layer dry completely before adding another. Patience here prevents further smudging.
- Repeat if necessary: Continue adding thin layers until the divot is filled and the surface looks even.
- Top it off: Once the color layers are dry, apply a generous layer of top coat over the entire nail to smooth everything out and add shine.
This method is a bit more time-consuming, but for those deeper smudges, it’s often the only way to get a truly undetectable fix.
Camouflage & Creativity: Distraction is Your Friend
Okay, so you’ve tried the above, and maybe it’s still not perfect, or perhaps the smudge is just too big/awkward to fix perfectly. Don’t throw in the towel! This is where your inner artist comes out. Sometimes, the best fix isn’t a fix at all, but a clever distraction.
* Glitter bomb it: A strategic sprinkle of glitter polish over the smudged area can hide a multitude of sins. It adds sparkle and makes the “imperfection” look intentional.
* Nail art rescue: Can you turn that smudge into part of a design? A tiny dot, a stripe, or even a small decal placed directly over the offending mark can transform a mistake into a masterpiece.
* Embrace the uniqueness: Hey, maybe it’s a feature, not a bug! Sometimes, you just have to lean into it. Call it “abstract art” or “deconstructed chic.” Your secret’s safe with me.
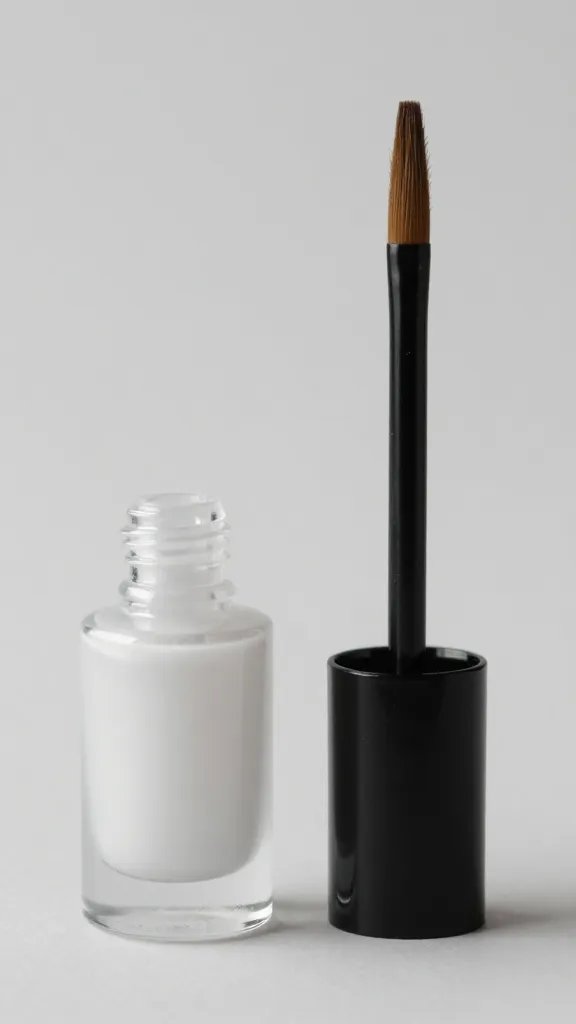
Your Smudge-Fixing Arsenal: What to Keep Handy
Being prepared is half the battle. Keep these items close by for quick smudge repairs:
- Quick-dry top coat: Essential for smoothing and sealing.
- Non-acetone nail polish remover: For precision work.
- Q-tips: Your best friend for gentle spot treatment.
- Detail brush: For filling in tiny divots with color.
- Original polish color: For layering or targeted fills.
- Lint-free wipes or paper towels: For cleaning and dabbing.
- Patience: Arguably the most important tool!
FAQ: Your Smudged Nail Worries Answered
Can I really fix a completely dry smudge?
Absolutely! While it might take a bit more finesse than a fresh smudge, the methods described above, especially using a top coat or a tiny bit of non-acetone remover, are specifically designed for dried smudges. Don’t give up before you try!
What if the smudge is really deep or wide?
For very deep divots, the layering method with the original polish color is your best bet. For wide, extensive smudges, you might consider the camouflage approach (glitter, nail art) or, as a last resort, removing and re-polishing just that one nail. Sometimes, starting fresh on one nail is less frustrating than trying to perfect a massive repair.
Will fixing a smudge make my polish chip faster?
If done correctly, fixing a smudge shouldn’t significantly impact the longevity of your manicure. The key is to ensure each layer (original polish, repair layers, top coat) is completely dry before moving on. Applying a fresh, even top coat over the entire nail helps seal everything in and protect the repair.
Is there a difference between fixing gel polish vs. regular polish?
Yes, a big difference! These tips are exclusively for traditional nail lacquer. Gel polish cures under a UV/LED light, and a dried smudge means the gel has hardened. Fixing a gel smudge usually requires filing down the affected area and then reapplying gel layers, followed by re-curing. It’s a much more involved process, often best left to a professional if you’re not experienced with gel application.
How long should I wait after fixing before I trust my nails again?
Give it a good 30-60 minutes, especially if you used multiple layers or a thicker top coat. While quick-dry top coats speed things up, the underlying layers still need to set fully. When in doubt, err on the side of caution and give it more time. Better safe than sorry, right?
The Smudge-Free Future (Mostly)
So there you have it! The next time you find yourself staring down a dried smudge, don’t reach for the remover bottle in despair. Instead, grab your top coat, channel your inner nail technician, and get ready to work some magic. You’ve got the tools, you’ve got the know-how, and you’ve definitely got the ability to save that beautiful manicure. Happy fixing!