Diy Liquid Gold How to Make Cuticle Oil at Home
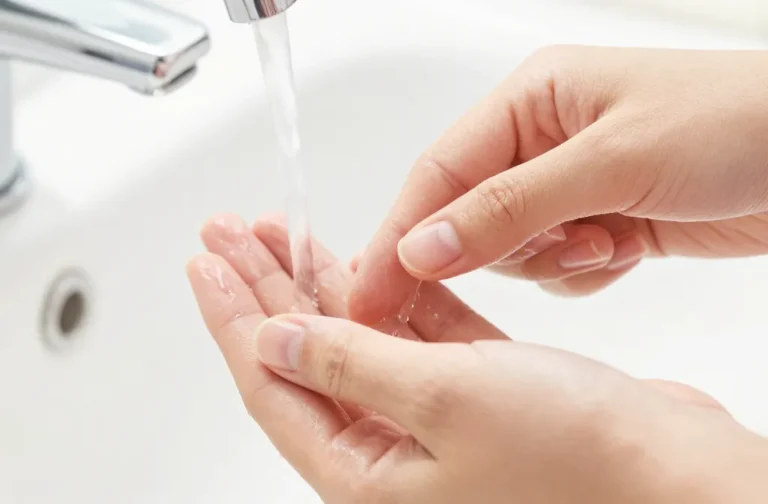
Tired of raggedy cuticles making your manicure look like a crime scene? Ditch the expensive, store-bought potions filled with ingredients you can’t pronounce. It’s time to take matters into your own hands and whip up some liquid gold right in your kitchen. Trust me, your nail beds (and your wallet) will thank you.
Why Bother Making Your Own? (Besides Saving a Few Bucks)
Let’s be real, commercial cuticle oils can be pricey, and often, they’re just glorified mineral oil with a splash of fragrance. When you DIY, you’re the boss of your blend. You get to cherry-pick high-quality, nourishing ingredients, ensuring your cuticles get the VIP treatment they deserve. Plus, there’s something incredibly satisfying about creating your own beauty concoctions, isn’t there? It’s like being a tiny, fabulous alchemist.
Think about it: no questionable chemicals, no weird dyes, just pure, unadulterated goodness tailored exactly to your needs. Are you prone to super dry cuticles? Boom, extra moisturizing oils. Do you love a specific scent? Add it in! It’s all about customization, baby. And FYI, the cost savings are pretty significant over time, especially if you’re a regular cuticle oil user like moi.
The Essential Building Blocks: Carrier Oils
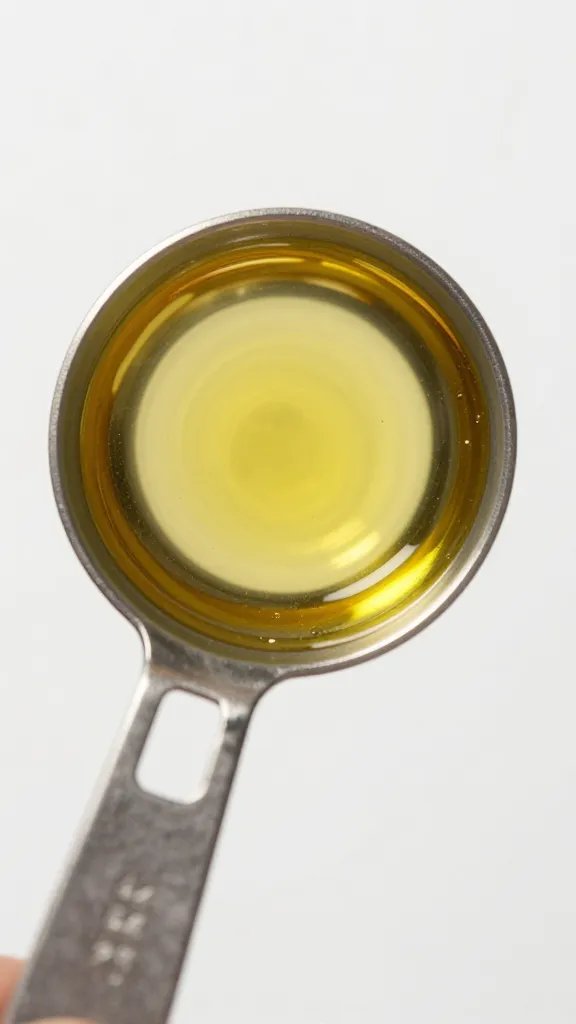
Every great cuticle oil starts with a stellar carrier oil. These are the base oils that “carry” the beneficial properties to your skin and dilute any potent essential oils. They’re like the unsung heroes of your DIY project – doing all the heavy lifting without hogging the spotlight. Choosing the right carrier oil is crucial, as each one brings its own unique set of benefits to the table.
You want something that’s deeply moisturizing, easily absorbed, and packed with vitamins. Avoid anything too heavy or greasy that just sits on top of your skin. We’re aiming for hydration, not a slip-and-slide situation.
My Top Picks for Happy Cuticles
* Jojoba Oil: This is my absolute favorite, hands down. Why? Because it’s technically a wax ester, not an oil, and it’s incredibly similar to our skin’s natural sebum. This means it absorbs beautifully, moisturizes deeply, and won’t leave you feeling greasy. It’s a cuticle game-changer.
* Sweet Almond Oil: A fantastic all-rounder. It’s rich in Vitamins A, E, and B, very moisturizing, and relatively inexpensive. It’s light, gentle, and perfect for sensitive skin. A solid choice if you’re just starting out!
* Grapeseed Oil: Super light and non-comedogenic, meaning it won’t clog pores. It’s rich in antioxidants and linoleic acid, which is great for skin health. If you prefer a really light feel, this one’s for you.
* Argan Oil: Often called “liquid gold,” argan oil is packed with Vitamin E and fatty acids. It’s incredibly nourishing and great for strengthening nails and softening cuticles. A bit pricier, but a little goes a long way.
* Avocado Oil: A thicker, richer oil that’s excellent for severely dry or damaged cuticles. It’s loaded with vitamins (A, D, E) and penetrates deeply. Just be aware it’s a bit heavier than the others.
You can absolutely mix and match these! A blend of jojoba and sweet almond oil, for example, gives you the best of both worlds: superb absorption and rich nourishment.
Adding Some Oomph: Essential Oils & Vitamin E
Now for the fun part: adding the extra pizzazz! Essential oils aren’t just for making things smell nice; many have powerful therapeutic properties that can seriously boost your cuticle oil’s effectiveness. And then there’s Vitamin E, the unsung hero of skin repair.
Safety First, Always!
Before we dive into the fragrant world of essential oils, a quick but important PSA: essential oils are potent! They need to be diluted in a carrier oil before applying them to your skin. A general rule of thumb for cuticle oil is a 1-2% dilution. For every 10ml of carrier oil, use 2-4 drops of essential oil. And please, please, please do a patch test on a small area of skin first to check for any sensitivities. Pregnant or nursing, or have underlying health conditions? Consult a doctor before using essential oils. Your health is more important than perfectly pampered cuticles, IMO.
* Lavender Essential Oil: The ultimate chill-out oil. It’s incredibly soothing, anti-inflammatory, and promotes healing. Plus, it smells divine. What’s not to love?
* Tea Tree Essential Oil: A powerhouse for its antiseptic and antifungal properties. If you’re prone to nail infections or just want an extra layer of protection, this is your guy. Use sparingly, as it can be strong.
* Lemon Essential Oil: Great for brightening nails and cuticles. It has antiseptic properties and provides a lovely, fresh scent. Just a heads-up: lemon oil can be photosensitive, so it’s best to apply this blend at night or avoid direct sun exposure immediately after use.
* Frankincense Essential Oil: Fantastic for skin regeneration and reducing the appearance of scars. It’s a bit more luxurious but oh-so-good for overall nail and cuticle health.
* Vitamin E Oil: This is a non-negotiable for me. Vitamin E is a powerful antioxidant that helps repair damaged skin, strengthens nails, and extends the shelf life of your oil by preventing oxidation. You can buy it in liquid form or snip open a capsule.
Gather Your Gear: What You’ll Need
Making cuticle oil isn’t rocket science, but having the right tools makes the process smooth and mess-free. You probably have most of this stuff lurking in your kitchen or bathroom already.
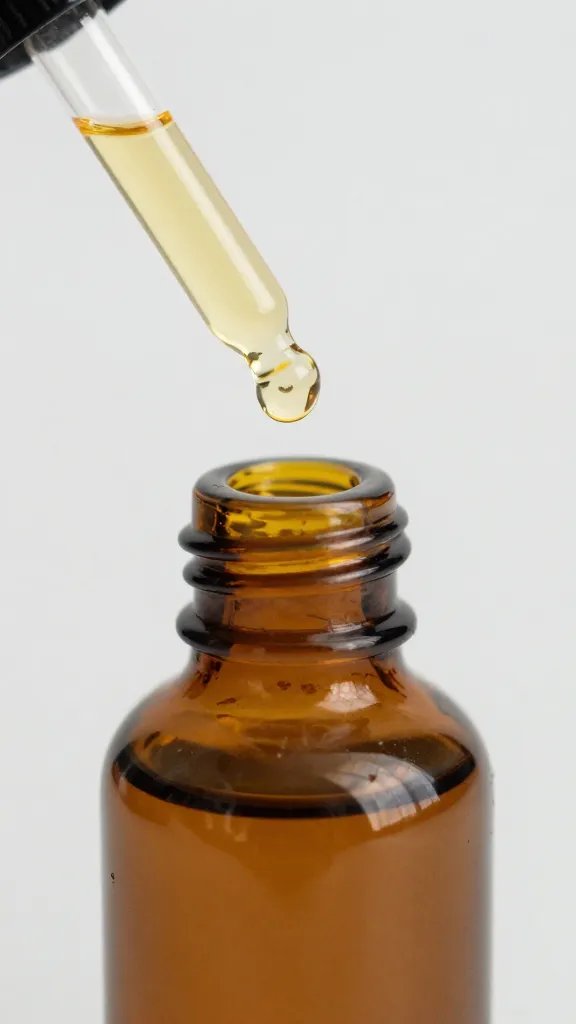
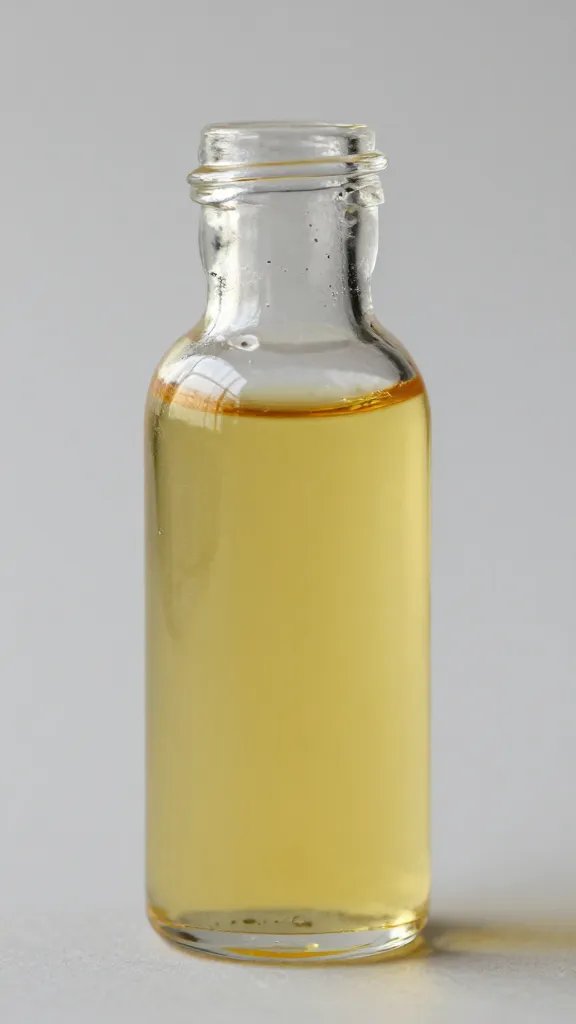
* Small Glass Bottles with Droppers or Rollerballs: These are crucial for easy application and precise dispensing. Dark amber or cobalt blue glass is best as it protects your oils from light degradation, extending their shelf life. You can find these online or at craft stores.
* Measuring Spoons: For accurate measuring of your carrier oils.
* Small Funnel: Trust me, you’ll thank yourself for this. Pouring oil into tiny dropper bottles without a funnel is an exercise in frustration.
* Small Mixing Bowl or Beaker: To combine your oils.
* Labels: So you remember what’s in your magical blend and when you made it!
The Recipe: Mixing Your Magic Potion
Alright, let’s get down to business! This is a super simple formula, perfect for beginners. Feel free to adjust ratios based on your bottle size and preference.
Here’s a basic recipe for a 10ml dropper bottle:
1. Choose your carrier oil(s): Fill your 10ml bottle about 3/4 full with your primary carrier oil (e.g., Jojoba Oil). If you’re mixing, do about half jojoba, half sweet almond.
2. Add Vitamin E: Squeeze in about 1/4 teaspoon (or the contents of one Vitamin E capsule). This is roughly 5-10 drops.
3. Introduce your essential oils: Add 2-4 drops of your chosen essential oil(s). Remember, less is more here! For example, 2 drops of lavender and 1 drop of tea tree.
4. Top it off: Fill the rest of the bottle with your carrier oil, leaving a tiny bit of room at the top.
5. Seal and Shake: Secure the dropper lid tightly and give it a good shake to thoroughly combine all the ingredients.
6. Label It: Don’t forget to label your bottle with the ingredients and the date you made it.
Customizing Your Blend
Feeling adventurous? Here are some ideas for different needs:
* Strengthening Blend: Jojoba oil + Argan oil + 2 drops Lemon EO + 1 drop Frankincense EO + Vitamin E.
* Healing Blend: Sweet Almond oil + Jojoba oil + 2 drops Lavender EO + 1 drop Tea Tree EO + Vitamin E.
* Brightening & Refreshing: Grapeseed oil + 3 drops Lemon EO (use at night!) + Vitamin E.
* Super Hydrating: Jojoba oil + Avocado oil + 2 drops Lavender EO + Vitamin E.
Storage & Shelf Life: Keeping Your Elixir Fresh
You’ve made your glorious cuticle oil, now how do you keep it potent and effective? Proper storage is key. Always store your homemade oil in those dark glass bottles you wisely chose, away from direct sunlight and extreme temperatures. A cool, dark cabinet or drawer is perfect.
Because you’re using natural oils, they do have a shelf life. Generally, your homemade cuticle oil should last anywhere from 6 months to a year, depending on the carrier oils you used (some oils, like grapeseed, have a shorter shelf life than jojoba). Adding Vitamin E helps extend this, but always give it a sniff test. If it smells rancid or “off,” it’s time to make a fresh batch. Don’t risk applying funky oil to your precious cuticles!
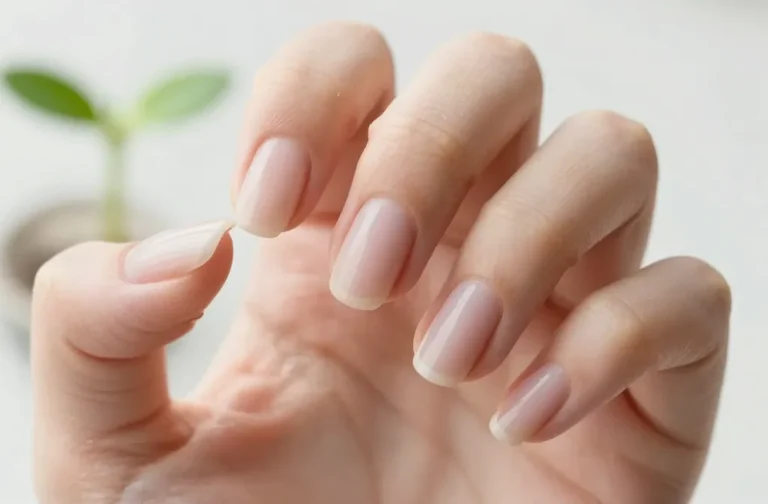
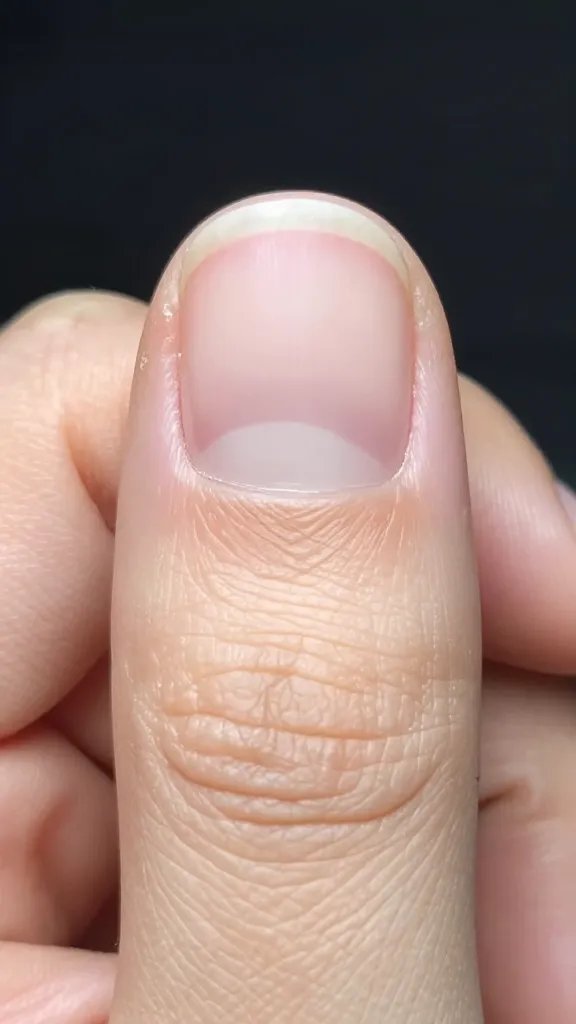
How to Use Your Homemade Goodness
Using your DIY cuticle oil is super simple, and consistent application is where you’ll see the best results.
1. Clean Hands: Start with clean, dry hands.
2. Apply: Use the dropper or rollerball to apply a small drop of oil to each cuticle. You don’t need much – a little goes a long way.
3. Massage: Gently massage the oil into your cuticles and the skin around your nails. Take your time, push back your cuticles gently if you like, and let the oil absorb. This also stimulates blood flow, which is great for nail growth.
4. Frequency: Aim for at least once a day, ideally before bed. If your cuticles are particularly dry or you’re trying to recover from a harsh manicure, apply it two or three times a day.
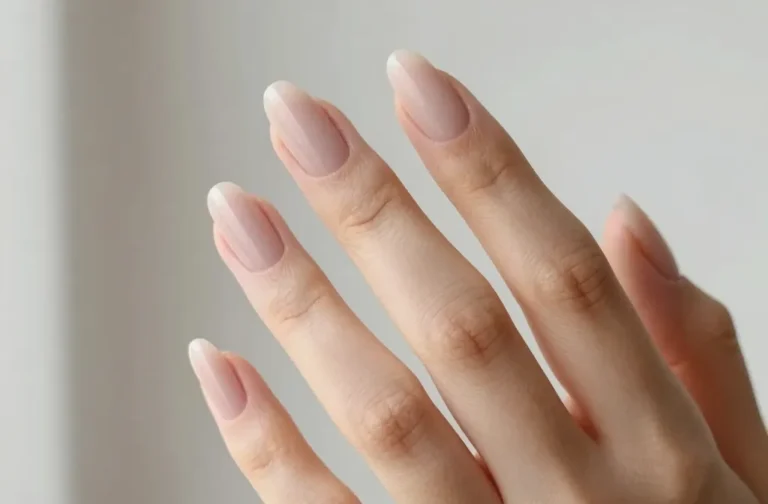
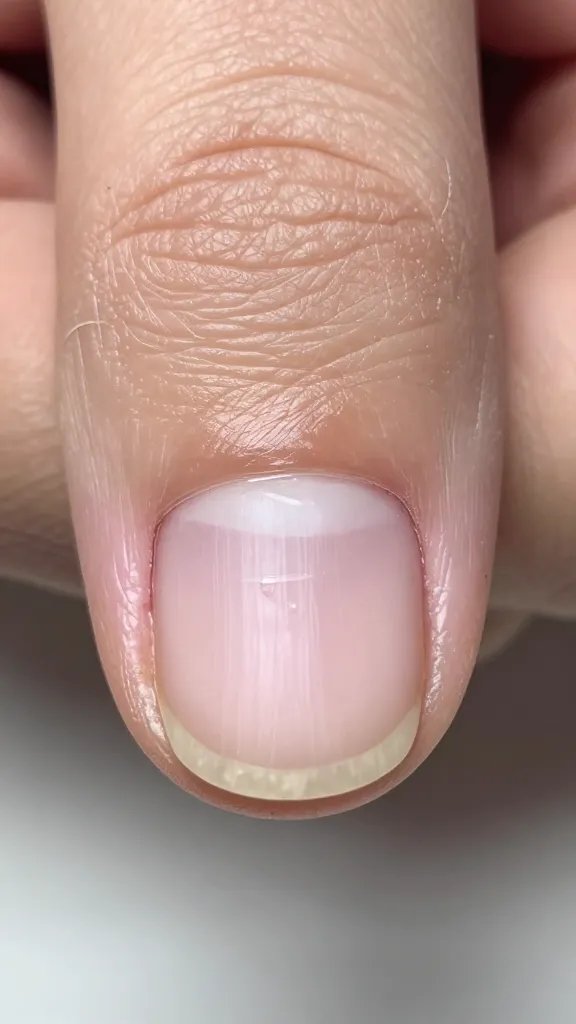
It’s a small ritual that makes a huge difference. Trust me, once you start, you’ll wonder how you ever lived without it!
FAQ
Can I use olive oil for my cuticle oil?
Absolutely! Olive oil is a common kitchen staple and a decent option for cuticle oil. It’s rich in vitamins and antioxidants, making it quite nourishing. However, it can be a bit heavier and absorb slower than some other carrier oils like jojoba or sweet almond, and it has a distinct scent. If it’s all you have, go for it, but for a lighter, faster-absorbing, and less aromatic experience, consider the other oils mentioned.
How often should I apply cuticle oil?
For best results, aim to apply cuticle oil at least once a day, preferably before bed so it has ample time to soak in overnight. If your cuticles are particularly dry, cracked, or you’re actively trying to improve their condition, you can apply it two or three times a day. Consistency is truly key here for soft, healthy cuticles and stronger nails.
What if I don’t have essential oils? Can I still make it?
Yes, definitely! Essential oils add extra therapeutic benefits and a lovely scent, but they are not strictly necessary. A high-quality carrier oil like jojoba, sweet almond, or argan oil alone will provide fantastic hydration and nourishment for your cuticles. Adding Vitamin E oil is still highly recommended for its antioxidant properties and shelf-life extension, even without essential oils.
Is homemade cuticle oil safe for sensitive skin?
Generally, yes, if you choose your ingredients wisely. Stick to gentle, hypoallergenic carrier oils like sweet almond oil or jojoba oil. If you have sensitive skin, it’s best to omit essential oils entirely or choose very mild ones like lavender, and always perform a patch test on a small area of skin (like your inner wrist) 24 hours before applying it to your cuticles. If any irritation occurs, discontinue use.
Can I make a solid cuticle balm instead of an oil?
You bet! Making a solid cuticle balm is another fantastic DIY project. The process involves melting down a wax (like beeswax or candelilla wax) with your chosen carrier oils and Vitamin E, and then pouring the mixture into small tins or tubes to solidify. It’s a great option for on-the-go application and can be less messy than an oil for some people.
The Cuticle Revolution Starts Now!
There you have it! Making your own cuticle oil is ridiculously easy, incredibly cost-effective, and gives you total control over what goes onto your skin. No more mystery ingredients, just pure, nourishing goodness for your nails. So, go forth, embrace your inner beauty chemist, and give your cuticles the love they truly deserve. Your hands will look more polished, your nails will be stronger, and you’ll have the satisfaction of knowing you made it yourself. Pretty cool, right?