Look Longer! Which Nail Shapes for Wide Nail Beds
Ever feel like your nail beds are staging a hostile takeover, making every shape look… well, wider? You’re not alone in this beautiful struggle! Finding the perfect nail shape when you’ve got a bit more real estate on your nail plate can feel like a mythical quest, but trust me, it’s totally doable. We’re about to unlock the secrets to making your nails look long, elegant, and perfectly proportioned, no matter how wide they naturally are.
Decoding the Wide Nail Bed Dilemma
First things first, let’s define what we’re talking about. A wide nail bed simply means the width of your nail plate is more prominent, sometimes even wider than its length before the free edge. This is a super common trait, and absolutely nothing to be self-conscious about. Our goal isn’t to “fix” anything, but rather to use clever shaping and styling to create an illusion of length and slenderness.
Think of it like choosing clothes that flatter your body type. You wouldn’t wear horizontal stripes if you wanted to look taller, right? The same principle applies to your nails. We want shapes that draw the eye upwards and inwards, making your fingers look longer and more graceful.
The “No-Go” Zone: Shapes to Sidestep
Alright, let’s rip off the band-aid. Some nail shapes are just not going to be your best friends when you have wider nail beds. It’s not personal, it’s just physics (and aesthetics). Avoiding these shapes can save you from that “stubby” feeling.
* True Square: This is probably the biggest culprit. A harsh, straight-across free edge with sharp corners will only emphasize the width of your nail bed. It creates a blocky look that can make your fingers appear shorter and wider than they are. We’re trying to create length, not halt it!
* Very Short, Wide Shapes: If your nails are super short and you maintain a blunt, wide shape, you’re essentially mirroring the width of your nail bed. This can make your entire hand look a bit squatter.
* Flared Shapes: While not super common, any shape that widens significantly at the free edge (think duck nails, but even a subtle flare) will only exaggerate width. Just don’t.
If you’ve been rocking one of these shapes and feeling a bit meh about your nails, don’t fret! Now you know why, and we’re moving on to better, brighter things.
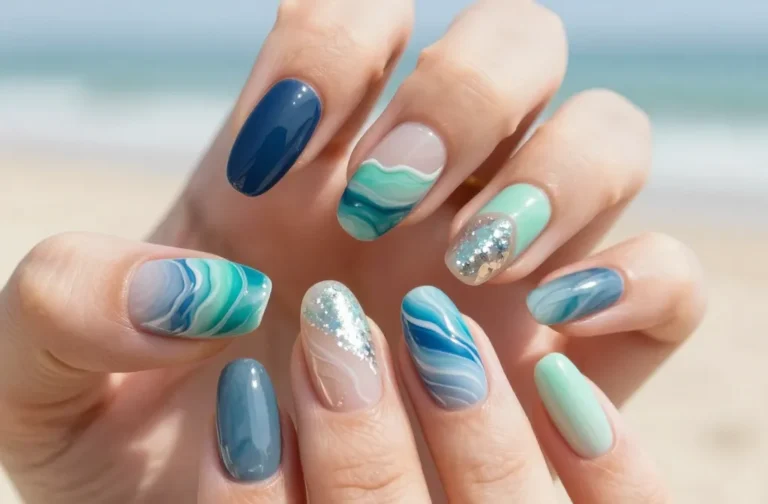
The Superstars: Shapes That Flatter Wide Nail Beds
Now for the good stuff! These are the shapes that truly shine on wider nail beds, working *with* your natural anatomy to create a stunning, elongated look. The key here is always a gentle taper or curve that draws the eye away from the widest point.
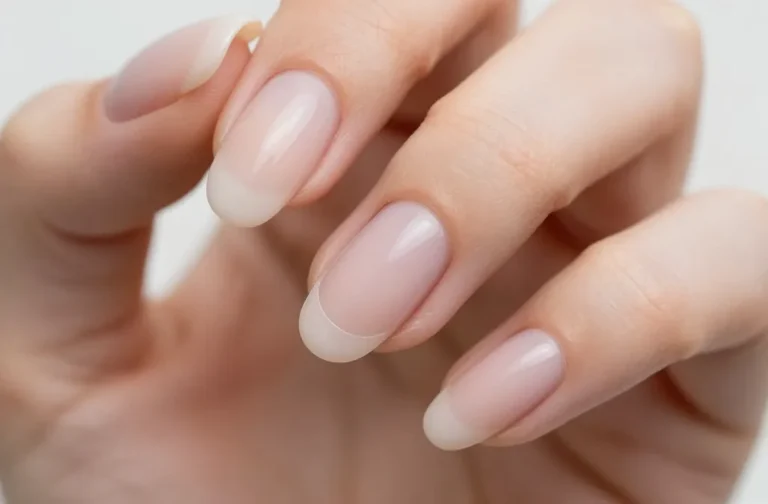
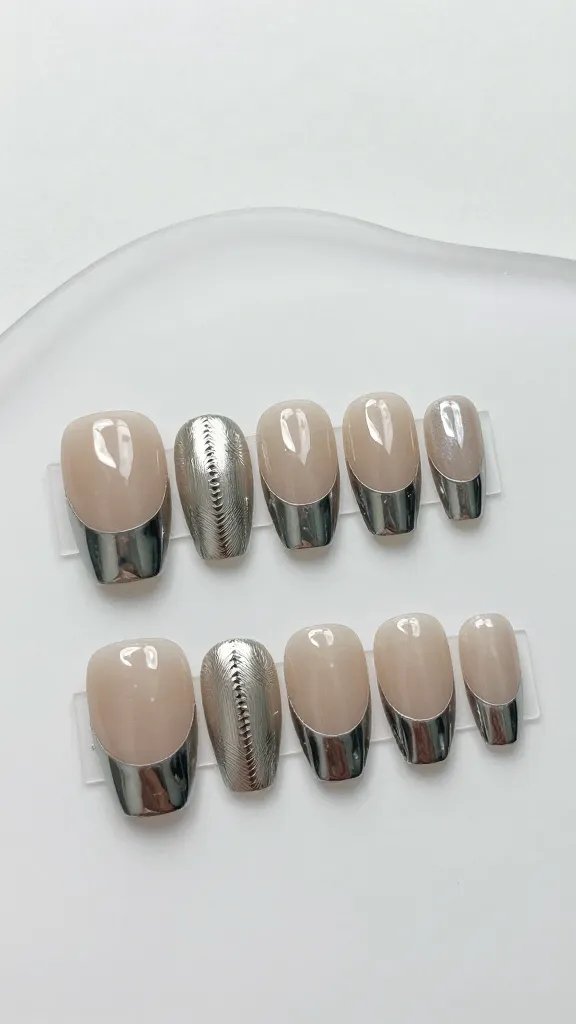
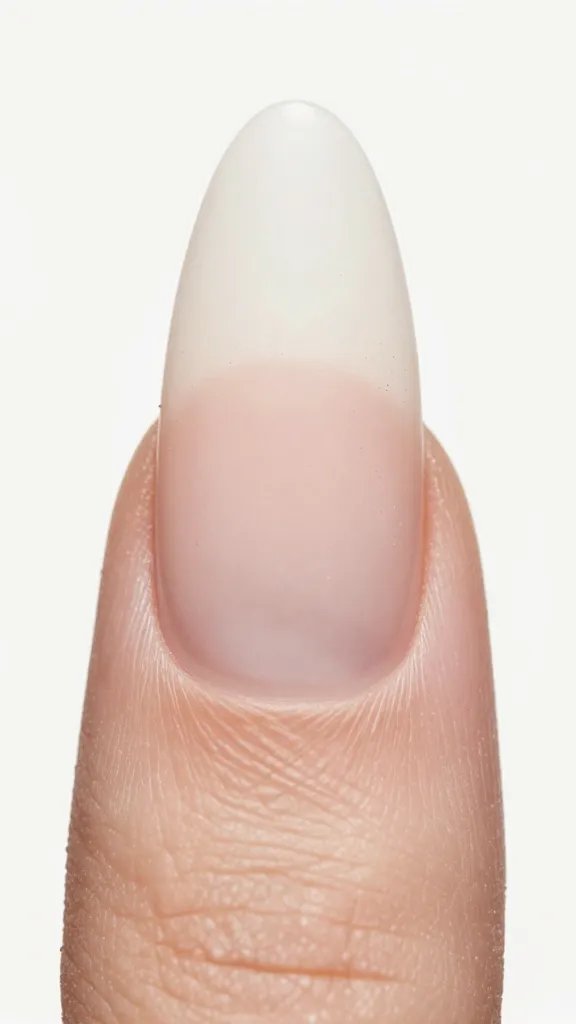
Oval: The Gentle Lengthener
The oval shape is a classic for a reason – it’s universally flattering, and it’s a total MVP for wide nail beds. It mimics the natural curve of your cuticle, tapering gently towards the free edge.
* Why it works: The soft, rounded edges create a subtle elongating effect without being too dramatic. It softens the overall look of your hand and makes your fingers appear more slender.
* How to achieve it: File the sides of your nail straight, then round the tip into a perfect egg-like oval. Think of it as a slightly more tapered version of a classic round.
Almond: The Elegant Taper
If you’re ready to step up the elegance, almond is your go-to. This shape is similar to oval but has a more pronounced taper to a soft, rounded point, much like an almond nut.
* Why it works: The more dramatic taper really draws the eye upwards, making your nail beds (and fingers!) appear significantly longer and narrower. IMO, this is one of the most sophisticated choices for wide nail beds.
* How to achieve it: File the sides of your nail more aggressively towards the center, creating a graceful peak. Make sure the point isn’t too sharp; it should still be softly rounded.
Coffin/Ballerina: The Bold Statement (with a caveat)
For those who love a bit of drama and have some length to play with, coffin (or ballerina) nails can absolutely work. This shape features strong, tapered sides that lead to a flat, blunt tip.
* Why it works: The strong taper from the sides helps to narrow the appearance of the nail bed. The blunt tip, when done correctly, can look chic and modern without adding width.
* The Caveat: This shape *needs* length. If your nails are too short, a coffin shape can end up looking like a blunt square, which, as we discussed, is a no-go. With enough length, the taper does its magic.
* How to achieve it: File the sides in a straight line towards the center, then square off the tip cleanly.
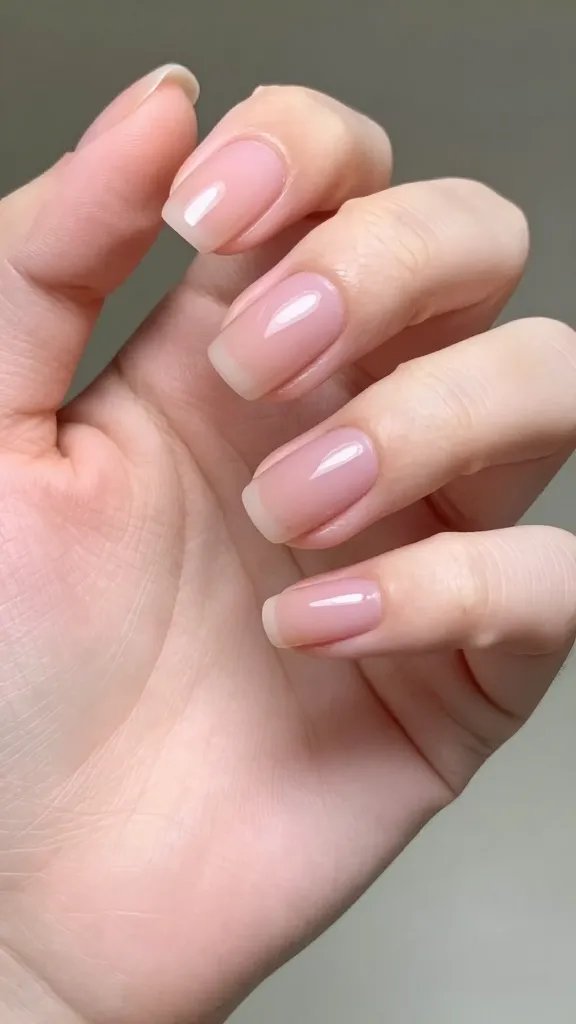
Soft Square/Squoval: The Everyday Hero (with a twist)
Okay, I know I said true square is out, but a *soft* square or squoval is a different beast entirely. This is a square shape with the corners gently rounded off, like a hybrid between square and oval.
* Why it works: It offers the neatness of a square without the width-emphasizing harshness of sharp corners. The rounded corners prevent that blocky look, making it a great everyday option that still looks polished.
* How to achieve it: File your nails straight across the top, then very gently round off the sharp corners. The key is *gentle* rounding – you don’t want to lose the square essence, just soften the edges.
The Magic of Manicuring: Beyond the Shape
Choosing the right shape is half the battle, but a few pro tips can take your wide nail beds from good to absolutely gorgeous. It’s all about creating illusions, my friends!
* Cuticle Care is King: Pushing back and maintaining your cuticles regularly is crucial. A clean, pushed-back cuticle line creates the illusion of a longer nail bed, which in turn makes your entire nail appear more elongated. This is probably the most underrated tip!
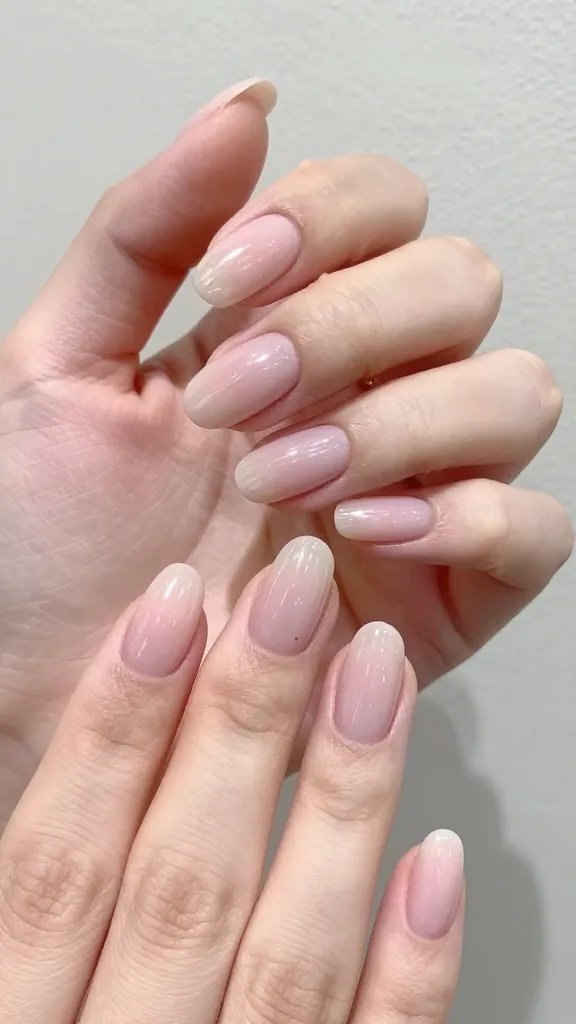
* Strategic Polish Application: This is where the real magic happens. When applying polish, try leaving a tiny, barely-there gap on either side of your nail. Don’t paint all the way to the side walls. This narrow strip of unpolished nail on the sides creates an optical illusion, making your nail look narrower than it actually is. Seriously, try it!
* Side Wall Filing: When filing, ensure your side walls are straight and not flaring out. You want a clean, consistent line from your nail bed to the free edge. Avoid filing too much into the sides near the free edge, as this can weaken the nail.
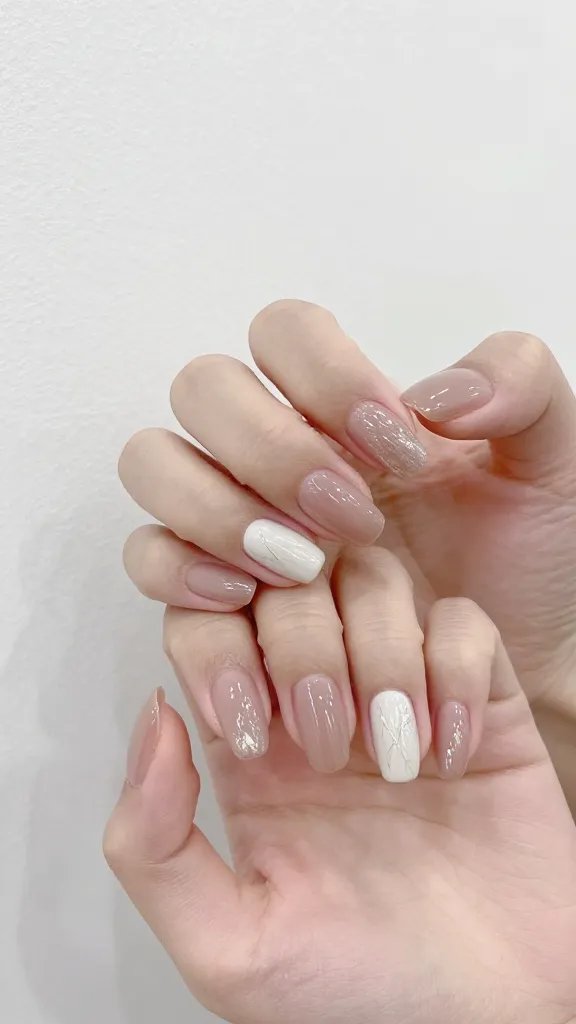
* Nail Art & Color Choices:
* Vertical Lines: Nail art with vertical stripes or designs will naturally draw the eye upwards, enhancing the elongating effect.
* Negative Space: Designs that incorporate negative space (unpolished nail) strategically can also create the illusion of a narrower nail.
* Darker Colors: While not a hard and fast rule, darker, solid colors can sometimes have a slimming effect, much like a little black dress.
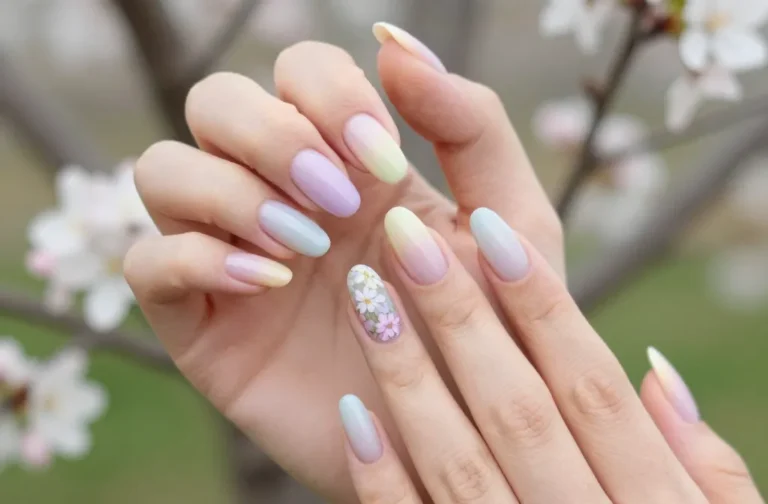
Length Matters: Finding Your Sweet Spot
For wide nail beds, length is generally your friend. Super short nails tend to emphasize width because there’s less “canvas” to create an elongating shape.
* Mid-Length is Ideal: A medium length (where the free edge extends a bit past your fingertip) often provides the best balance. It gives you enough room to create a flattering taper without being cumbersome.
* Longer Can Be Better: If you’re comfortable with longer nails, going a bit longer can enhance the elegant, slenderizing effect of almond or coffin shapes. Just make sure the shape is maintained well.
* Avoid Too Short: Unless you’re going for a very specific, minimalistic look, try to avoid nails that are cut right down to the quick. This often makes wide nail beds look even wider and stubbier.
FAQ
Can I ever wear a true square shape if I have wide nail beds?
While not ideal, if you absolutely adore the square look, opt for a “soft square” or “squoval” shape where the corners are gently rounded. This softens the harsh lines that emphasize width without losing the essence of the square. For truly wide nail beds, a sharp square will almost always make them appear wider and shorter.
Does nail polish color make a difference for wide nail beds?
Yes, to some extent! Darker, solid colors can sometimes create a slimming effect, much like how dark clothing can be flattering. However, the biggest impact comes from *how* you apply the polish. Leaving a tiny, unpolished margin on the sides of your nail (the “strategic polish application” trick) is far more effective than color choice alone.
What about cuticle care for wide nail beds?
Cuticle care is paramount! Regularly pushing back and maintaining your cuticles makes a huge difference. By exposing more of your natural nail plate, you create the illusion of a longer nail bed, which in turn makes the entire nail appear more elongated and less wide. It’s a simple step with a big payoff.
Should I grow my nails long if I have wide nail beds?
Generally, yes! Mid-length to longer nails are often more flattering for wide nail beds because they provide more surface area to create those elongating, tapering shapes like oval, almond, or coffin. Shorter nails tend to emphasize the width. However, comfort and practicality are key, so find a length that works for you.
Is there a difference in shaping for natural vs. acrylic/gel nails on wide nail beds?
The principles of flattering shapes (oval, almond, tapered coffin) remain the same whether your nails are natural or enhanced. However, acrylic or gel extensions offer more flexibility. You can sometimes create a more dramatic taper or achieve significant length more easily with enhancements, giving you more freedom to perfect the desired shape.
Embrace Your Beautifully Wide Nails!
There you have it! Navigating the world of nail shapes with wide nail beds doesn’t have to be a frustrating experience. It’s all about understanding how different shapes create illusions and choosing the ones that work *for* you, not against you. Experiment with oval, almond, soft square, or even a long coffin, and don’t forget those amazing polish application tricks. Go forth, confidently rock your beautiful nails, and enjoy the compliments!