The Secret to How to Prep Nails for Gel Polish
So, you’re ready to dive into the glorious world of gel polish, huh? Fantastic! But before you start slapping on those vibrant colors, let’s have a little chat. Skipping proper nail prep is like trying to build a mansion on quicksand – it just won’t last. Trust me, your future chip-free, long-lasting manicure will thank you for taking the time to do it right.
Why Nail Prep Isn’t Just “Extra Credit”
Look, I get it. You’re excited to get to the fun part: painting! But think of your nails as tiny, demanding canvases. They need to be absolutely pristine, free of any oil, dust, or microscopic debris if you want that gel to adhere like superglue. If you skip the prep, you’re basically inviting your gel polish to lift, chip, and peel off prematurely. And nobody wants that kind of heartbreak, do they?
Proper preparation creates the ideal surface for gel polish to bond, ensuring maximum wear time and a flawless finish. It’s the secret sauce, the unsung hero, the MVP of your at-home gel mani. Don’t underestimate its power.
Gather Your Nail Prep Arsenal
Before we even *think* about touching your nails, let’s make sure you have all the right tools. You wouldn’t go into battle without your armor, right? This isn’t just a suggestion; it’s a non-negotiable step.
Here’s what you’ll need to assemble:
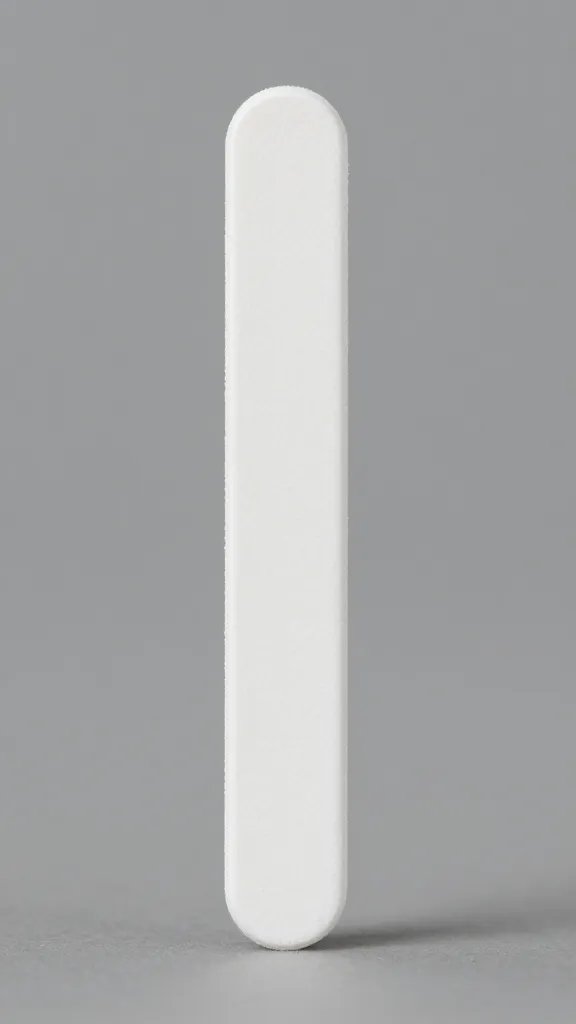
- Nail file: A good quality 180/240 grit file is perfect for natural nails.
- Cuticle pusher: Metal or orange wood stick – your choice!
- Cuticle nippers: Only if you have *actual* hangnails or excess cuticle skin. Be careful!
- Nail buffer: A fine-grit buffer (220/280 grit or higher) to gently remove shine.
- Lint-free wipes: Crucial for cleansing without leaving fuzz.
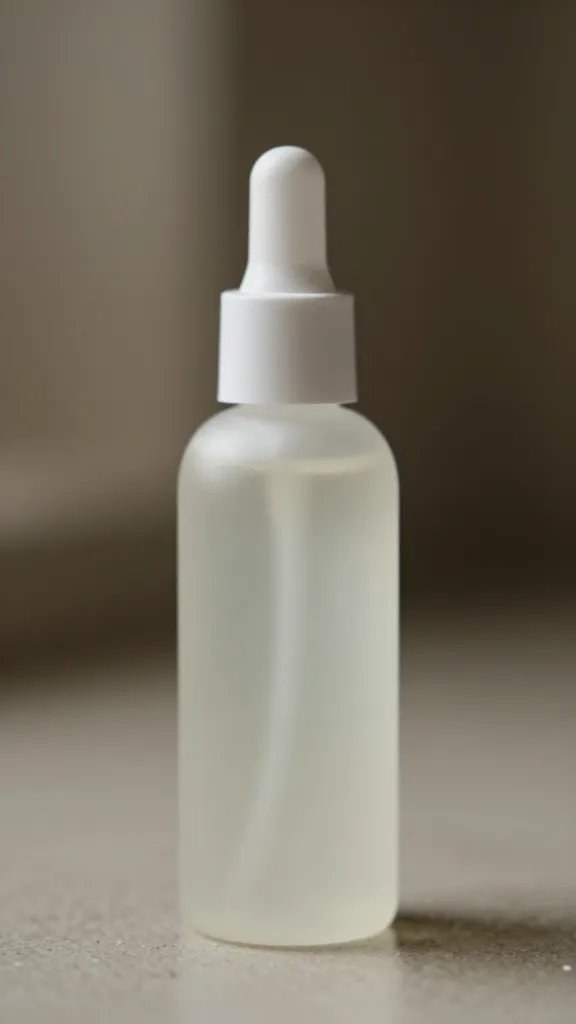
- Nail cleanser/dehydrator: Often 90%+ isopropyl alcohol or a specialized nail dehydrator.
- Gel base coat: The foundation!
Seriously, don’t skimp on these. Using cotton balls instead of lint-free wipes is a rookie mistake that leaves tiny fibers under your gel, creating bumps and potential lifting points. You’ve been warned!
Shape Up and Tidy Up Those Cuticles
Now that you have your tools, let’s get down to business. This stage is all about creating the perfect canvas and pushing back those pesky cuticles.
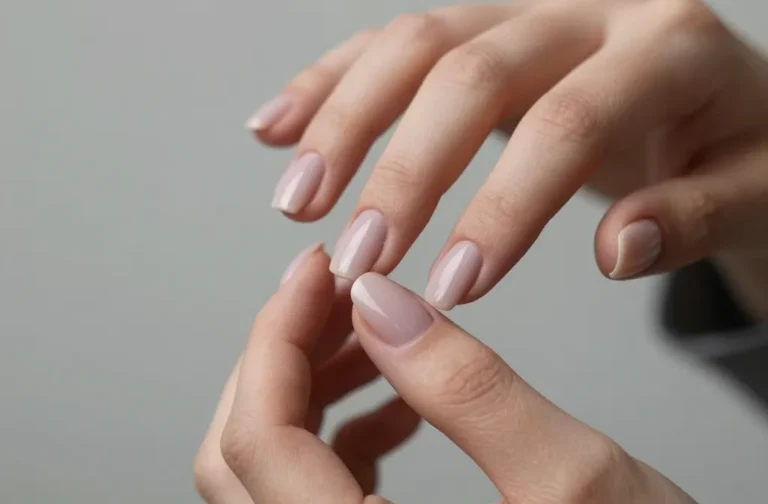
Filing and Shaping
First things first, grab your nail file. Gently file your nails to your desired shape. Do you prefer a classic oval, a trendy coffin, or a practical squoval? The world is your oyster! Always file in one direction to prevent fraying and weakening your nail plate. Avoid sawing back and forth like you’re trying to cut down a tree. Your nails are delicate, treat them nicely.
The Cuticle Conundrum
Ah, cuticles. The bane of many a DIY nail enthusiast’s existence. Resist the urge to aggressively cut them! Your cuticles protect your nail matrix from bacteria and infection. Instead, gently push them back.
Here’s the drill:
- Soften your cuticles (a quick hand wash or cuticle remover helps).
- Using your cuticle pusher, *gently* push back the skin at the base of your nail. Don’t apply too much pressure – we’re not trying to excavate anything here.
- If you have any *actual* hangnails or bits of dead, detached skin, *carefully* snip them with your nippers. If you’re unsure, just leave it. Better safe than sorry, IMO.
The goal is a clean, neat nail bed, not a bloody mess.
Buff, Dehydrate, and Cleanse: The Holy Trinity of Prep
This is where we really get serious about creating that perfect, sticky surface for your gel. Don’s skip these steps, or you’ll be crying into your chipped manicure later.
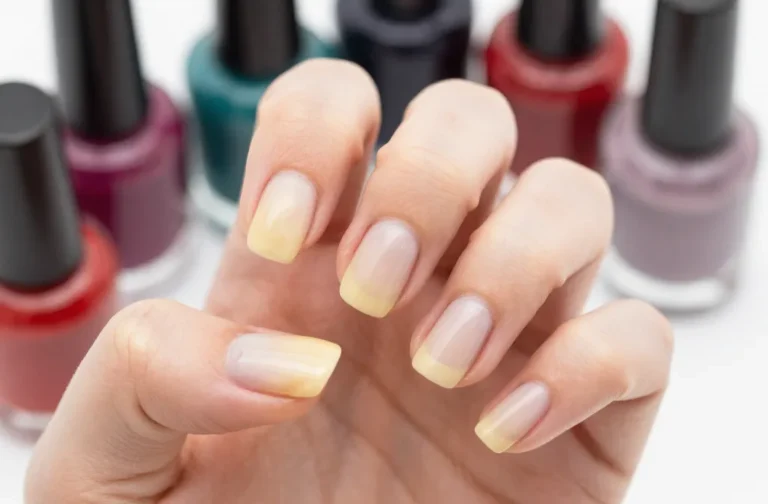
Gentle Buffing
Grab your fine-grit buffer. Lightly buff the entire surface of each nail. The aim isn’t to thin your nails, but to remove the natural shine and create a slightly textured surface for the gel to grip onto. Think of it like sanding wood before painting – it helps the paint stick better. A few gentle swipes are all you need.
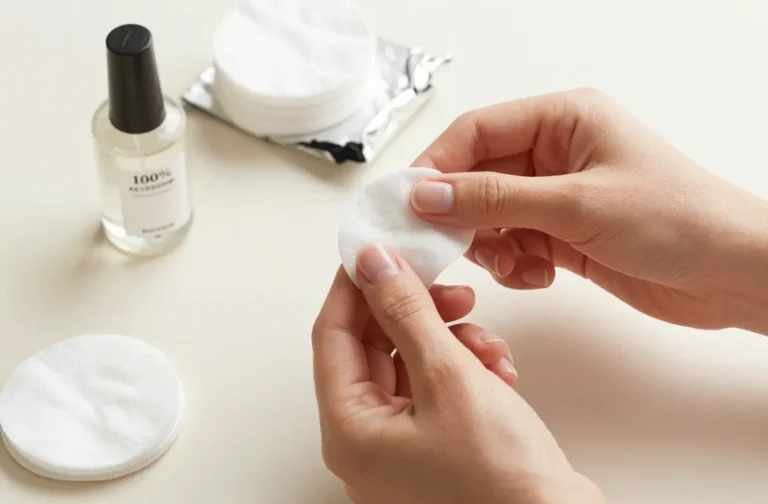
Dust Off and Dehydrate
After buffing, you’ll have some dust. Brush it off thoroughly. Now, for the crucial dehydration step. Grab your lint-free wipe and saturate it with your nail cleanser or 90%+ isopropyl alcohol.
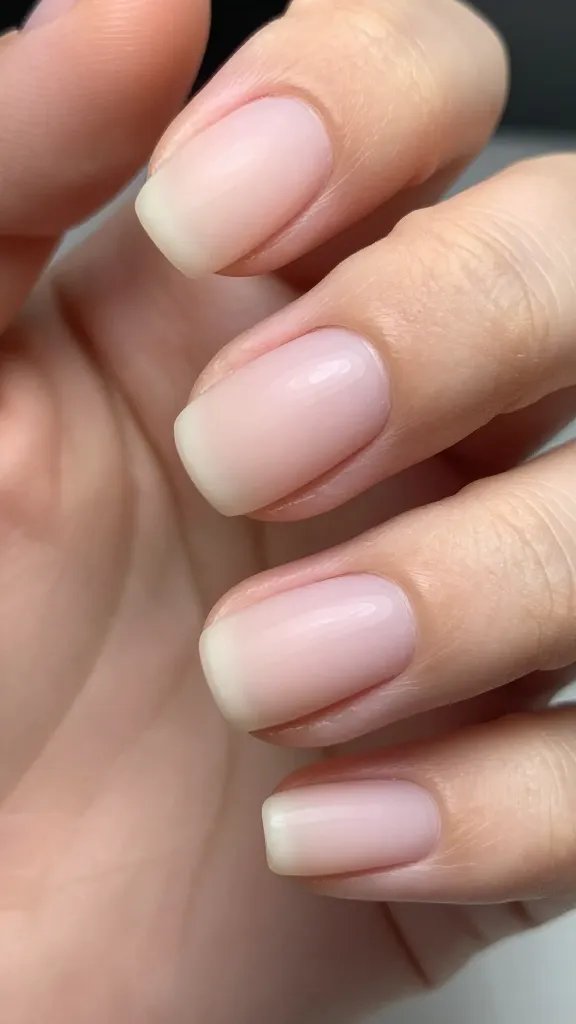
Wipe down each nail plate thoroughly, making sure to get into the sidewalls and under the free edge. This removes any remaining dust, oils, and contaminants. Your nail should look dull and feel “squeaky clean.” This is exactly what we want! Seriously, this step is a game-changer for gel longevity.
Primer Power: To Use or Not to Use?
Once your nails are perfectly prepped and dehydrated, you might be wondering about primer or bonder. These tiny bottles pack a punch, but not everyone needs them.
When to Reach for Primer
Nail primers essentially create a super-sticky surface for your gel. There are typically two types:
- Acid-free primer: This acts like double-sided tape, creating a tacky layer for better adhesion. Most people find this sufficient.
- Acid primer: A stronger option, usually for clients with very oily nail beds or those who experience persistent lifting. Use sparingly and carefully, as it’s more aggressive.
If your gel usually lifts quickly, a primer is your new best friend. Apply a *tiny* amount, just a thin layer, to the nail plate. Let it air dry completely – it should look matte when dry. If you use too much, it can actually hinder adhesion, so less is definitely more here.
Common Prep Pitfalls to Avoid
Even with the best intentions, it’s easy to make mistakes. Here are a few common ones I see all the time:
* Touching your nails: After cleansing and dehydrating, resist the urge to touch your nail plates with your fingers. Your skin has natural oils, and you’ll undo all your hard work.
* Using lotion/oil beforehand: Hydrating your hands is great, but do it *after* your gel manicure is complete. Any residue will prevent proper adhesion.
* Over-buffing: You want to remove the shine, not thin your nails down to paper. Be gentle!
* Leaving dust: Even tiny specks of dust can cause lifting. Be meticulous with your cleansing wipes.
* Cutting cuticles too much: This can lead to infection and damage. Push back, don’t chop.
FAQ: Your Pressing Prep Questions Answered
Why does my gel lift even after I prep?
There are a few culprits! You might not be thoroughly dehydrating your nails, touching your nail plate after cleansing, using too much primer, or inadvertently getting gel on your cuticles or skin (which is a guaranteed lifting ticket). Re-evaluate each step and be extra meticulous.
Can I just use nail polish remover instead of a dehydrator?
No, absolutely not! Regular nail polish remover (especially acetone-free) often contains oils and conditioning agents that will leave a residue, which is the exact opposite of what we’re trying to achieve. Stick to 90%+ isopropyl alcohol or a dedicated nail dehydrator.
Do I really need lint-free wipes?
Yes, you absolutely do! Cotton balls or regular tissues leave tiny fibers on your nail plate. When you apply gel over these fibers, they become trapped, creating bumps and weak points where lifting can start. Invest in lint-free wipes; they are worth every penny.
How often should I push back my cuticles?
You should only push back your cuticles right before a manicure. Overly frequent or aggressive pushing can damage the cuticle and the nail matrix, leading to potential issues with nail growth or infection.
What if I don’t have a buffer? Can I skip it?
While not ideal, if you’re in a pinch, you *can* skip it, but your gel might not last as long. The buffer creates a microscopic texture that helps the gel adhere better. If you absolutely must skip it, ensure your nails are impeccably clean and dehydrated, and consider using a primer.
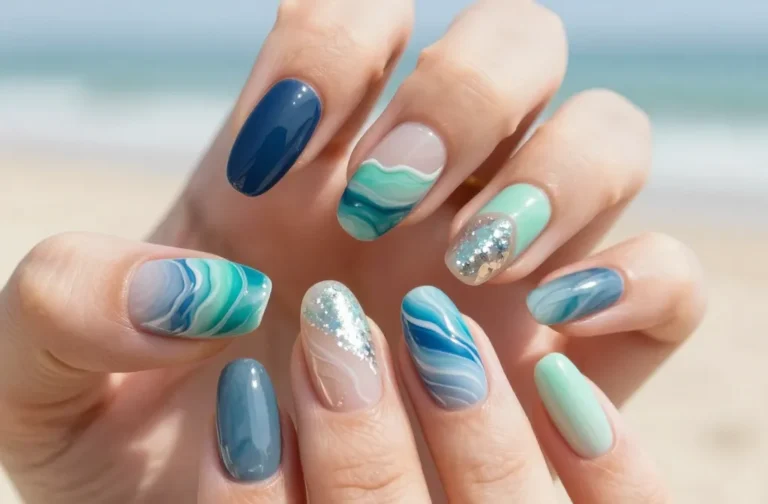
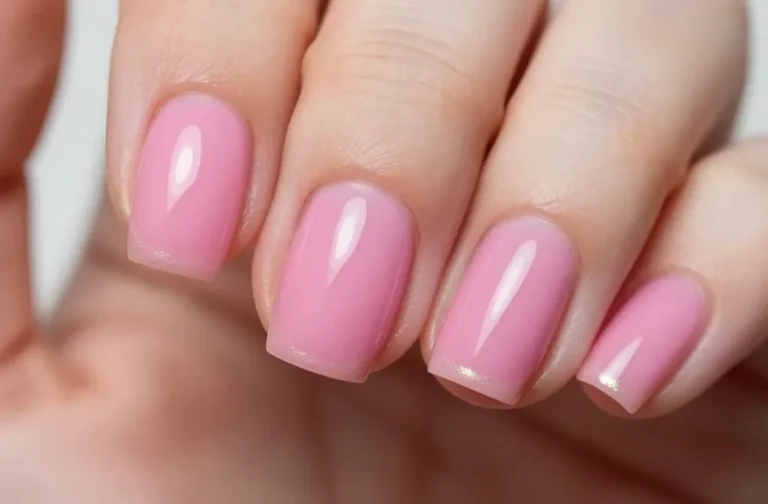
The Payoff: Flawless, Long-Lasting Gel
Phew! That might seem like a lot of steps, but trust me, once you get into the rhythm, it becomes second nature. Proper nail prep for gel polish isn’t just a recommendation; it’s the foundation of a beautiful, long-lasting manicure. You put in the effort, and your nails will reward you with weeks of chip-free, glossy perfection. So go forth, my friend, and conquer those gel manis with confidence!