The Secret How to Stop Nail Polish Chipping
Ever spent ages perfecting your manicure, only for it to look like a tiny, colorful crime scene within 24 hours? You know the drill: one moment your nails are pristine works of art, the next they are betraying you with unsightly chips. It’s frustrating, it’s annoying, and frankly, it’s a waste of good polish and even better time.
But fear not, fellow mani-mavens! Chipping isn’t always inevitable. Often, it comes down to a few simple tweaks in your routine and a sprinkle of insider knowledge. Let’s dive into how you can make your gorgeous nail color last longer than your latest Netflix binge.
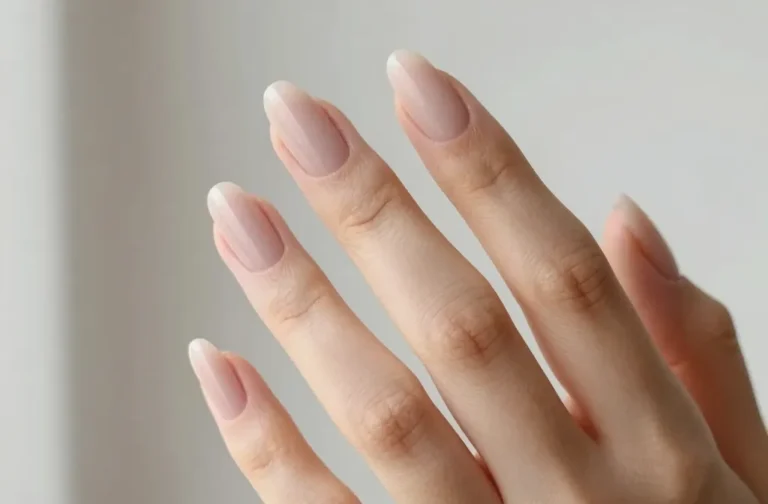
Prep Work is Your Manicure’s Best Friend
Listen, you wouldn’t paint a wall without cleaning and priming it first, right? The same goes for your nails. Skipping the crucial prep steps is like building a skyscraper on quicksand – it’s just not going to last. This is where most chipping nightmares begin.
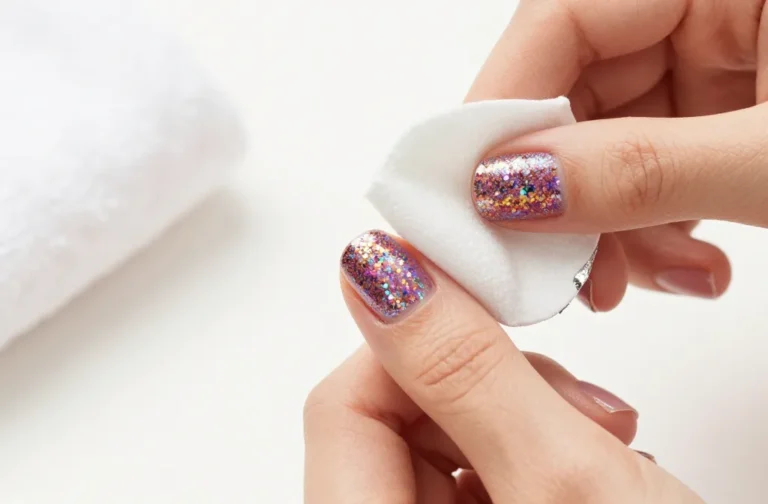
The Almighty Dehydration Step
Before you even think about base coat, your nails need to be squeaky clean and dry. And I mean *really* dry. Natural oils, hand cream residue, even the oils from your own fingers can create a barrier that prevents polish from adhering properly.
* Cleanse: Start by washing your hands thoroughly with soap and water.
* Dehydrate: Follow up with a cotton pad soaked in pure acetone or rubbing alcohol. Swipe it over each nail plate to remove any lingering oils. This step is a game-changer, trust me. Your polish needs a clean slate to cling to, not a greasy slip-n-slide.
Don’t Skimp on the Base Coat (Seriously!)
A good base coat is like the foundation of a house – invisible but absolutely essential. It creates a sticky layer for your polish to grab onto, protecting your natural nail from staining and, most importantly, significantly reducing chipping.
Think of it this way: your polish wants to bond with something. Without a base coat, it’s trying to bond directly with your nail, which has its own natural oils and texture. A base coat provides a uniform, ideal surface. Plus, it adds an extra layer of strength and flexibility. Don’t just grab any old clear polish; invest in a dedicated base coat. Your nails will thank you.
The Art of Thin Coats and Capping the Free Edge
This is where many people go wrong. We all want opaque color in one swipe, but that’s a recipe for disaster. Thick coats are notorious for bubbling, taking forever to dry, and, you guessed it, chipping faster.
Layer Up, Buttercup!
Apply your polish in thin, even coats. Two or three thin coats are always better than one thick, gloopy one. This allows each layer to dry completely and bond properly, creating a much more durable finish. Patience is a virtue, especially when it comes to nails.
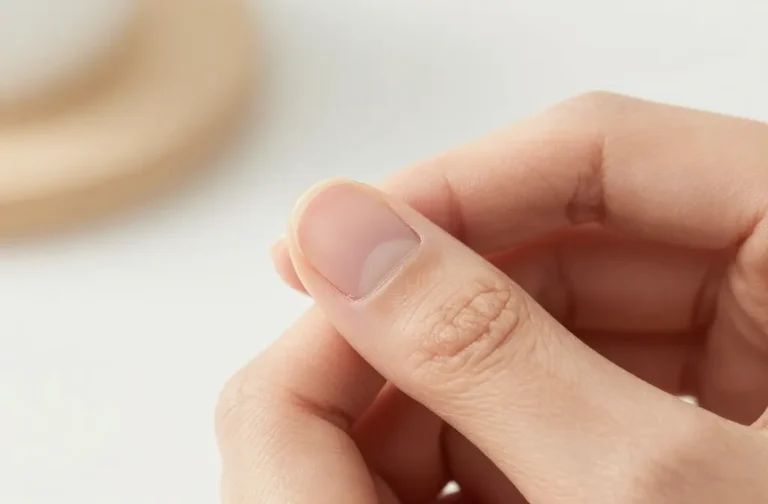
The Magic of Capping the Free Edge
This is a pro trick that many home manicurists overlook. After painting each nail, take your polish brush and carefully drag it horizontally across the very tip (the free edge) of your nail. This “caps” the edge, sealing the polish around the tip and preventing shrinkage and chipping from that vulnerable area. It’s like putting a tiny invisible shield on the part of your nail that takes the most abuse.
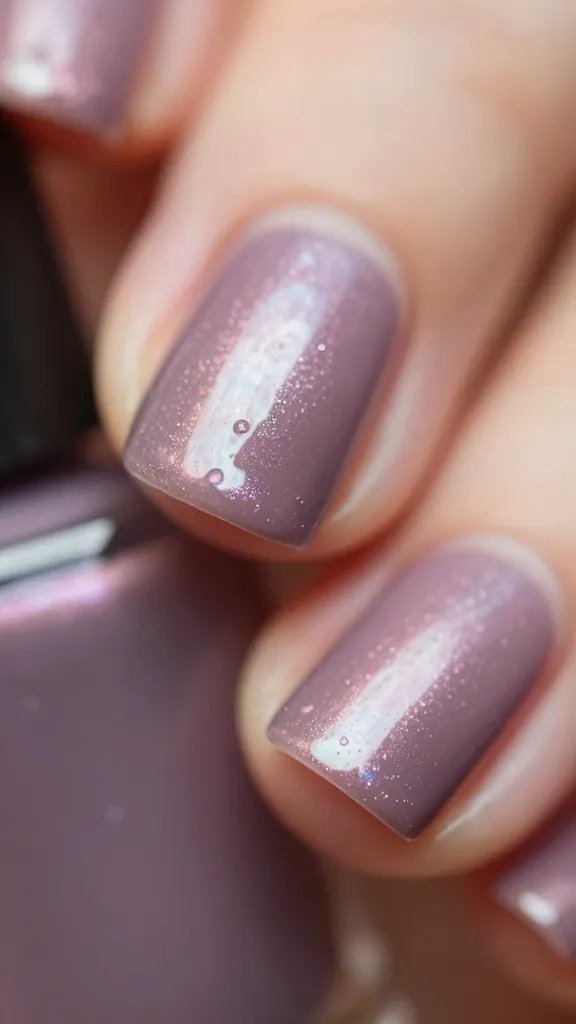
Top Coat: Your Manicure’s Mighty Shield
If the base coat is the foundation, the top coat is the impenetrable roof. This clear layer adds shine, protects your color, and is your primary defense against chips and scratches.
Reapply, Reapply, Reapply!
Here’s a secret: your top coat isn’t a one-and-done deal. To truly extend your manicure’s life, reapply a fresh layer of top coat every 2-3 days. This refreshes the shine, smooths out any minor wear, and adds another protective barrier. It’s a quick fix that makes a massive difference. Think of it as a mini-maintenance routine for your nails.
Choose Your Weapon Wisely
Not all top coats are created equal. Some are super glossy, some are quick-dry, and some are extra durable. Experiment to find one that works best for you. I personally love a fast-drying, high-shine top coat because, IMO, who has time to wait around for polish to dry these days?
Treat Your Nails Like Precious Jewels (Not Tools!)
Let’s be real: your nails are not screwdrivers, can openers, or scrapers. Using them as such is a guaranteed express ticket to Chip City. This might sound obvious, but we all do it without thinking.
* Wear Gloves: Washing dishes? Cleaning with harsh chemicals? Gardening? Put on some gloves! Water and chemicals are kryptonite to nail polish, causing it to lift and chip. This is probably the single best piece of advice for extending your manicure.
* Be Mindful: Try to consciously avoid picking at stickers, opening soda cans, or scraping anything with your nails. Use appropriate tools instead. Your manicure will thank you.
* Hydrate, Hydrate, Hydrate: Dry, brittle nails are more prone to chipping, and so is the polish on them. Keep your cuticles and nails hydrated with a good quality cuticle oil daily. Healthy nails hold polish better.
FAQ: Your Nagging Nail Questions Answered
Does nail length affect chipping?
Absolutely! Longer nails are more prone to chipping because they have more surface area exposed to everyday wear and tear, and the tips are more likely to bump into things. Shorter, well-maintained nails generally have better chip resistance. If you love long nails, be extra diligent with your top coat and protective habits.
Should I use a gel top coat over regular polish?
Generally, no. A true gel top coat requires a UV/LED lamp to cure, and it’s designed to bond with gel polish, not regular lacquer. While some “gel-effect” top coats exist that don’t need a lamp, they are still regular polish formulas designed to give a gel-like shine and thickness. Using a true gel top coat over regular polish can lead to peeling because the gel won’t adhere properly to the flexible lacquer underneath.
How long should I wait between coats?
Patience, young grasshopper! A good rule of thumb is to wait 2-5 minutes between each coat of colored polish. For your base coat and top coat, you can usually wait a bit less, maybe 1-2 minutes, as they are often thinner. The key is that each layer should be tacky but not wet before applying the next. If you apply a new coat over wet polish, you’re just asking for smudges, bubbles, and a weaker, chip-prone finish.
Why does my dominant hand chip faster?
Because you use it more! Your dominant hand is constantly active – typing, opening doors, cooking, cleaning, gesticulating wildly during conversations. It simply experiences more friction and impact throughout the day. There’s no magic fix here, just extra vigilance with gloves and perhaps more frequent top coat reapplications on that hand.
Is cuticle oil really that important?
YES, a thousand times yes! Cuticle oil isn’t just for pretty cuticles; it nourishes the entire nail plate, keeping it flexible and healthy. Flexible nails are less likely to break or peel, and polish adheres better to a healthy, hydrated surface. Think of it as a conditioner for your nails. Applying it daily, even over polish, helps keep your manicure looking fresh and prevents those annoying dry bits around the edges that can lead to lifting and chipping.
The Final Word: Consistency is Key
There you have it! Stopping nail polish chipping isn’t rocket science, but it does require a bit of dedication and consistency. It’s less about finding a miracle product and more about adopting good habits. From meticulous prep to mindful daily actions, every step plays a role in extending the life of your gorgeous manicure. So go forth, my friend, and enjoy chip-free nails for days!