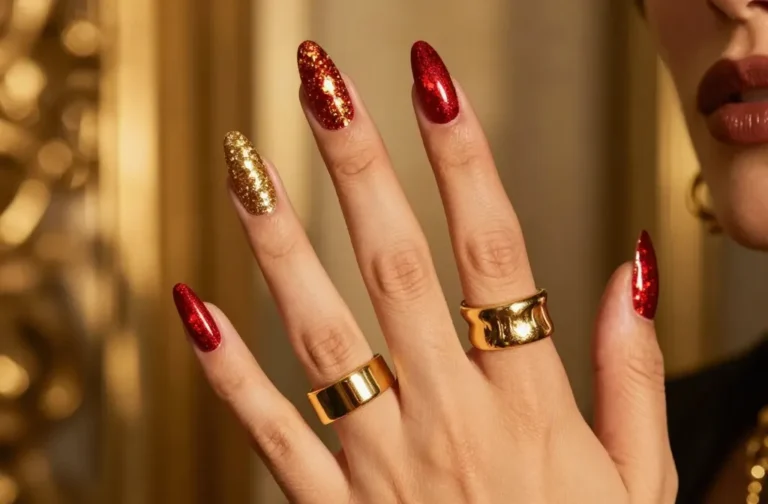
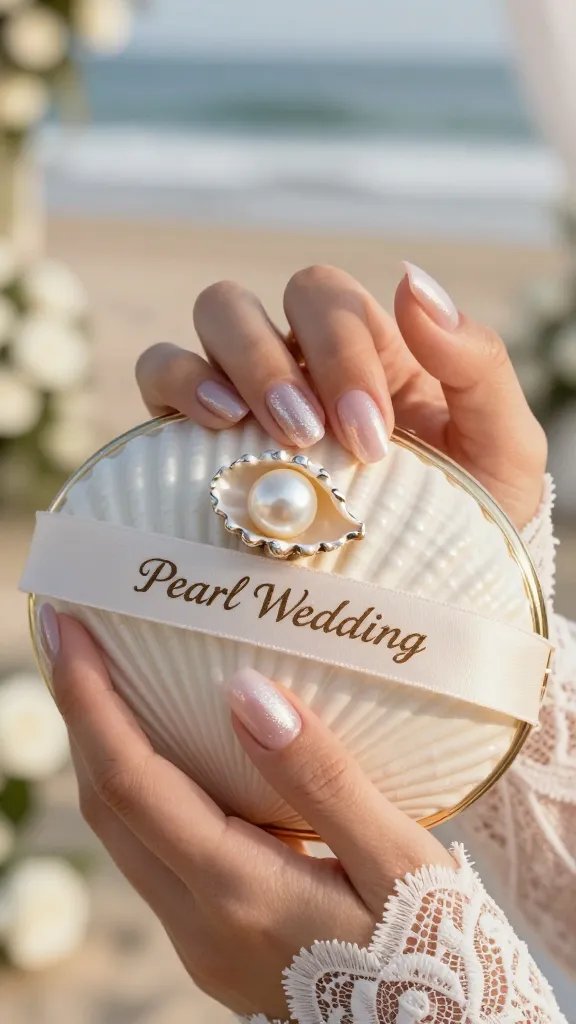
29 Pearl Wedding Nails That’ll Make Your Photos Look Unreal
Brides want nails that look timeless in photos yet still feel fresh and personal. Pearl wedding nails nail (sorry) that sweet spot. They glow softly, flatter every skin tone, and pair with literally any dress. Ready to find your perfect pearly match?
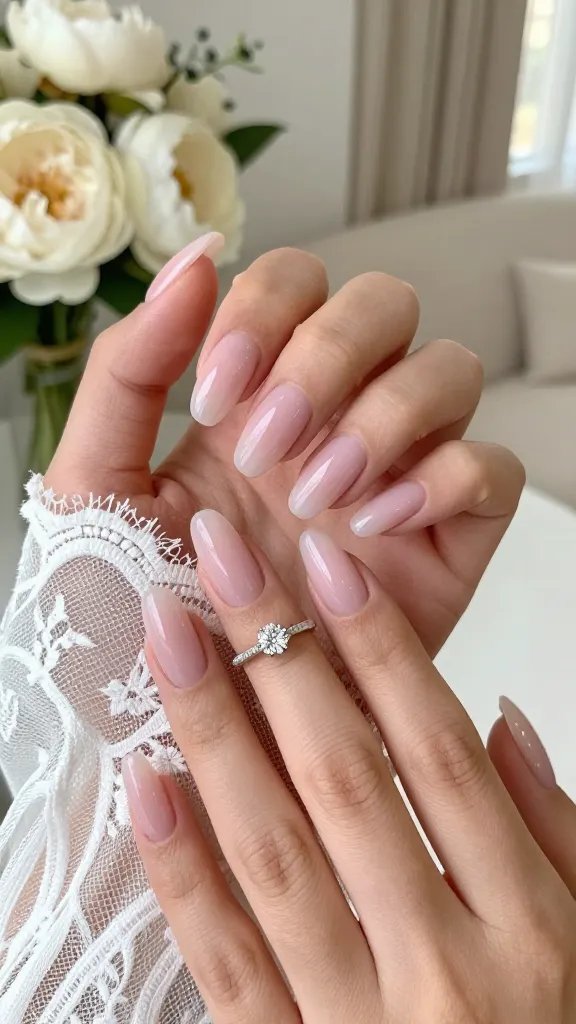
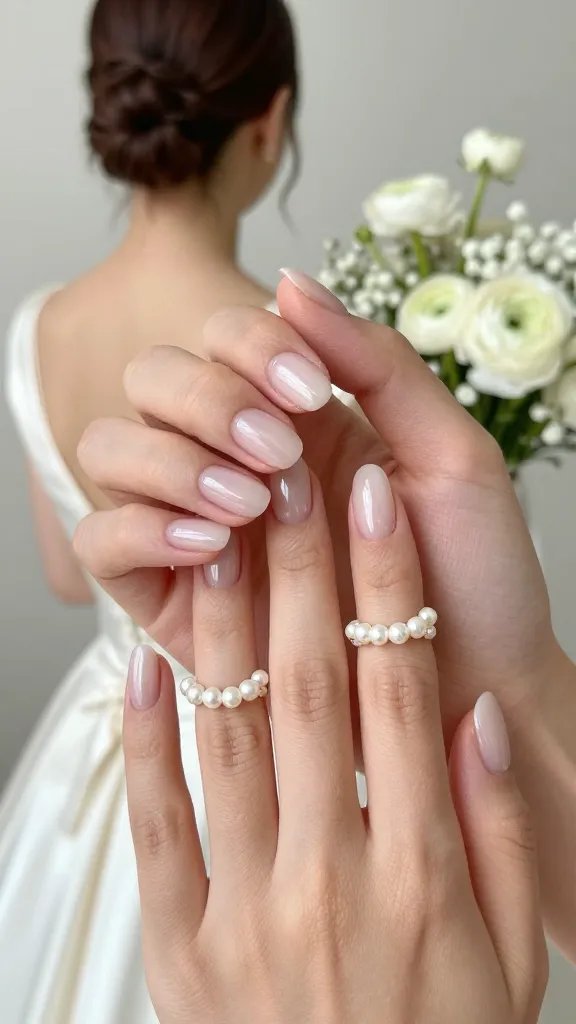
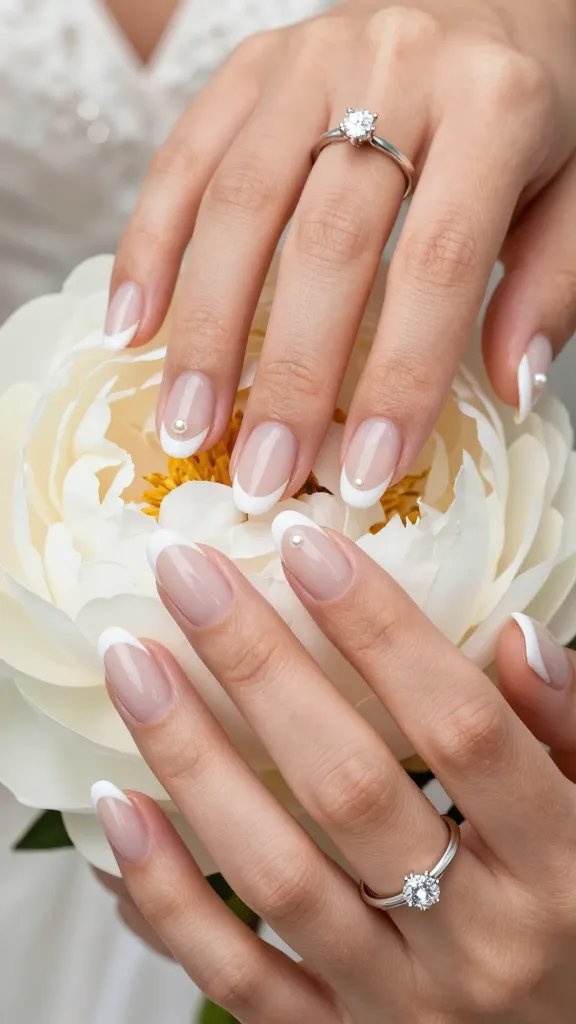
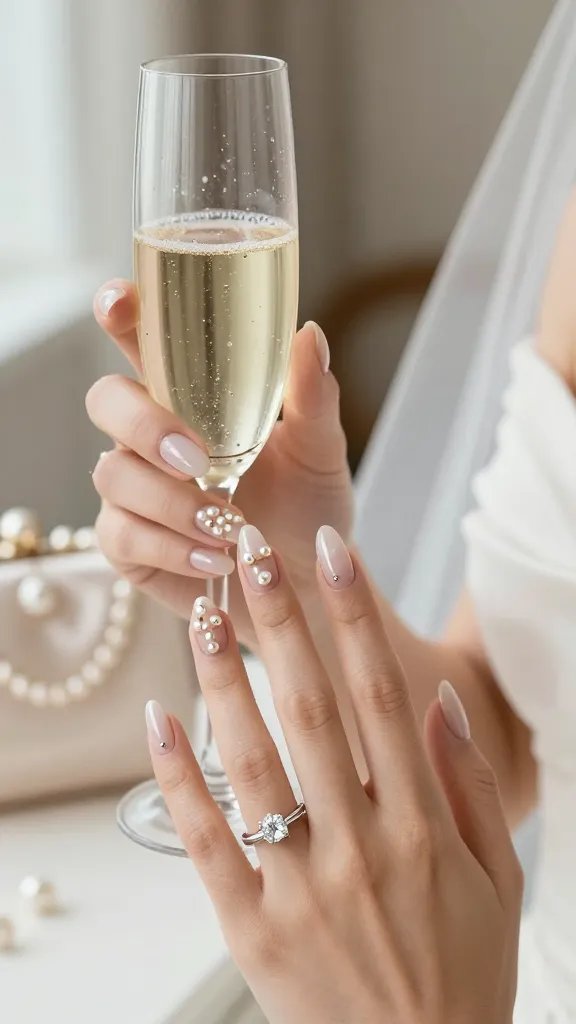
1. Classic Sheer Pink With Single Pearl Accent
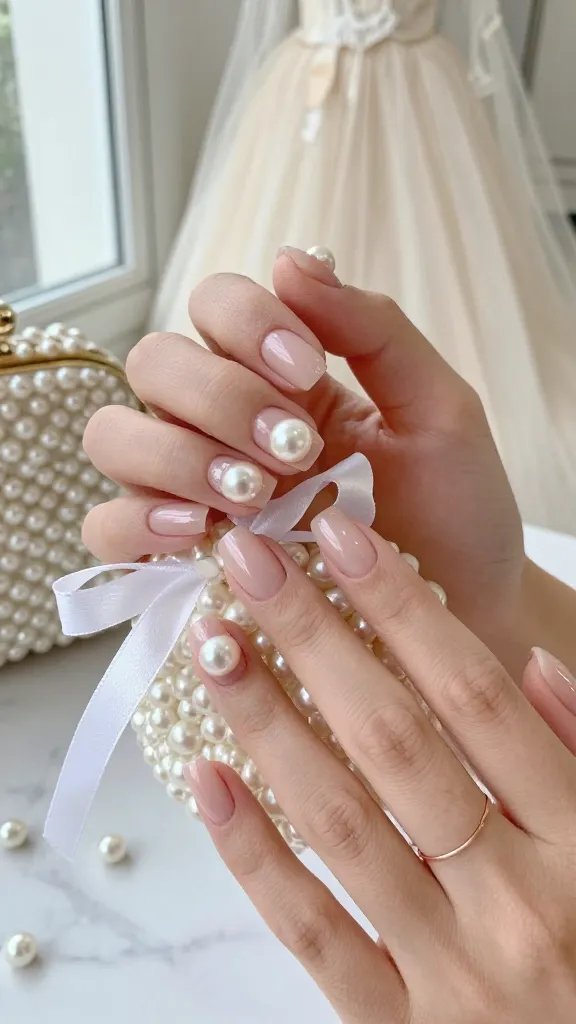
Minimalists, this one’s your soulmate. A sheer pink base with one petite pearl on each ring finger feels elegant without trying too hard.
Key Points
- Use a milky pink or soft blush base
- Choose 2–3 mm flatback pearls
- Seal with a glossy top coat
Perfect for brides who want a subtle nod to pearls without a full embellishment moment.
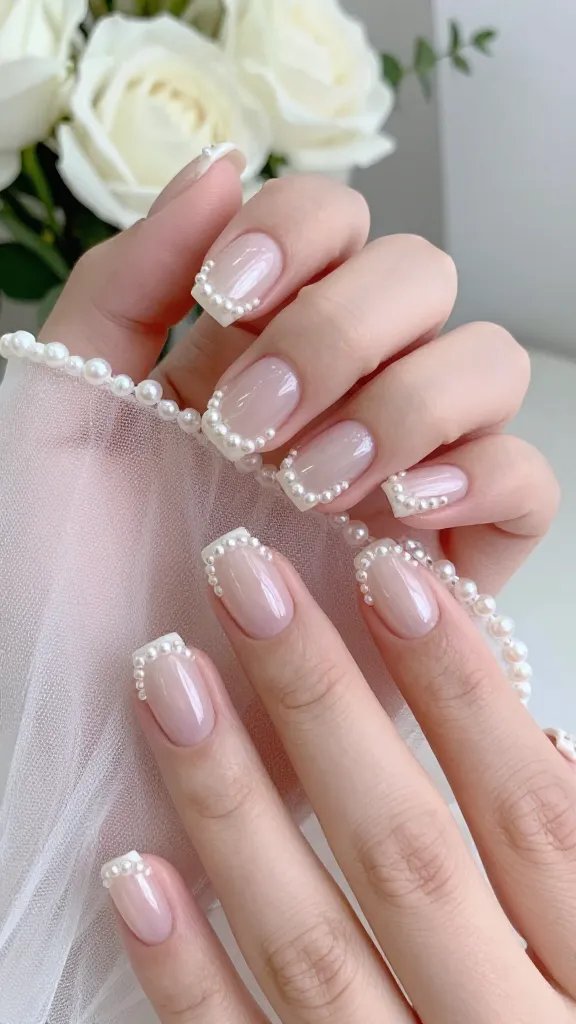
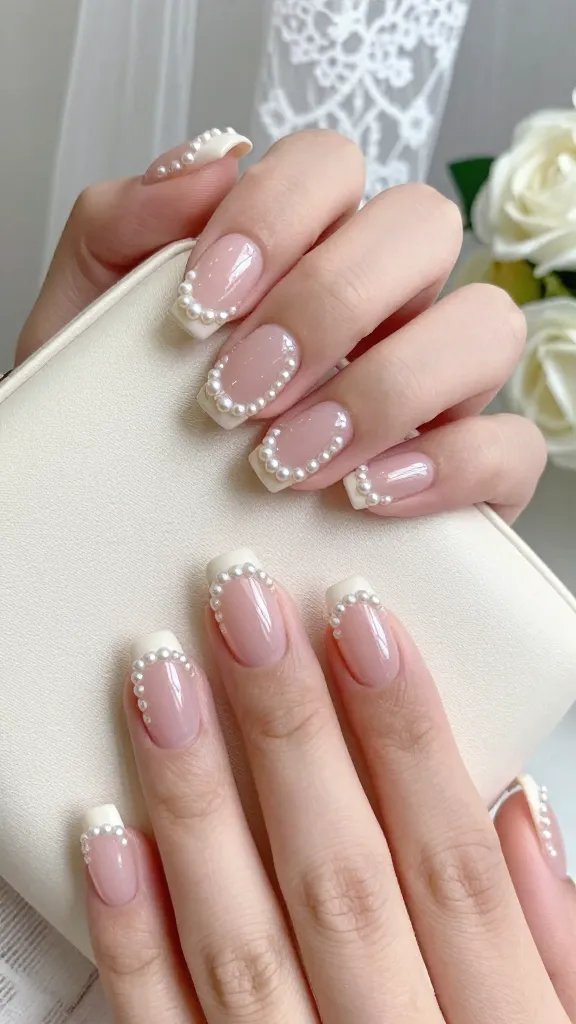
2. Pearly French Tips With Micro Pearls
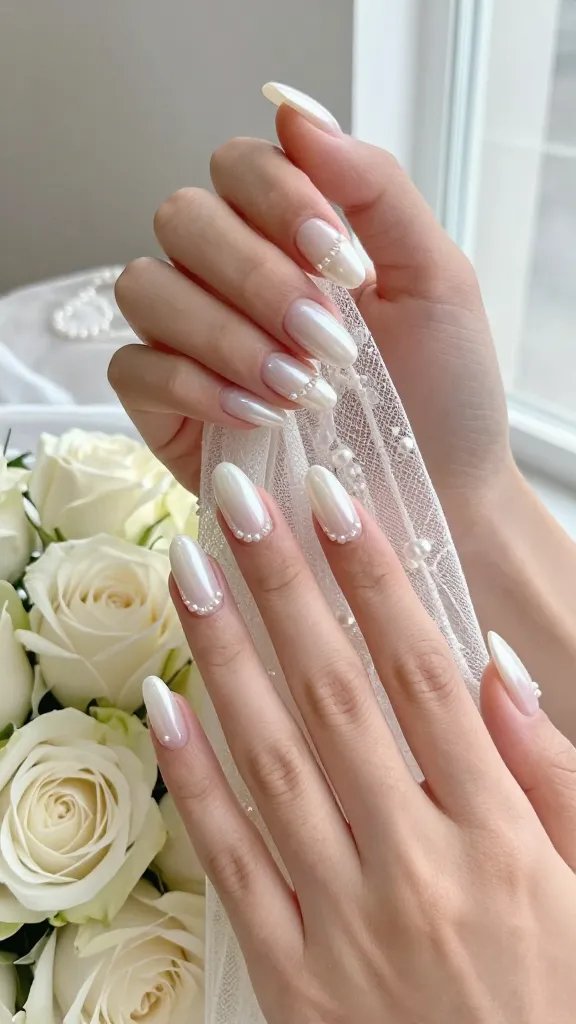
French tips, but make them wedding-level. Swap white tips for a pearlized white and line the smile with micro pearls for extra dimension.
Tips
- Go for a soft almond shape
- Place pearls along the smile line with gel
- Keep pearls tiny for comfort
This balances tradition and trend, ideal for classic ceremonies.
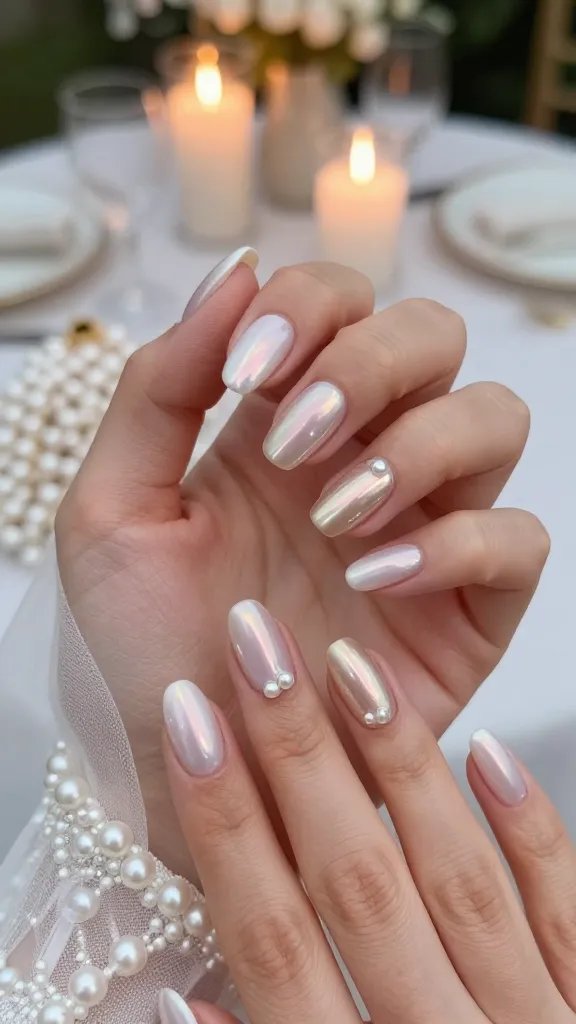
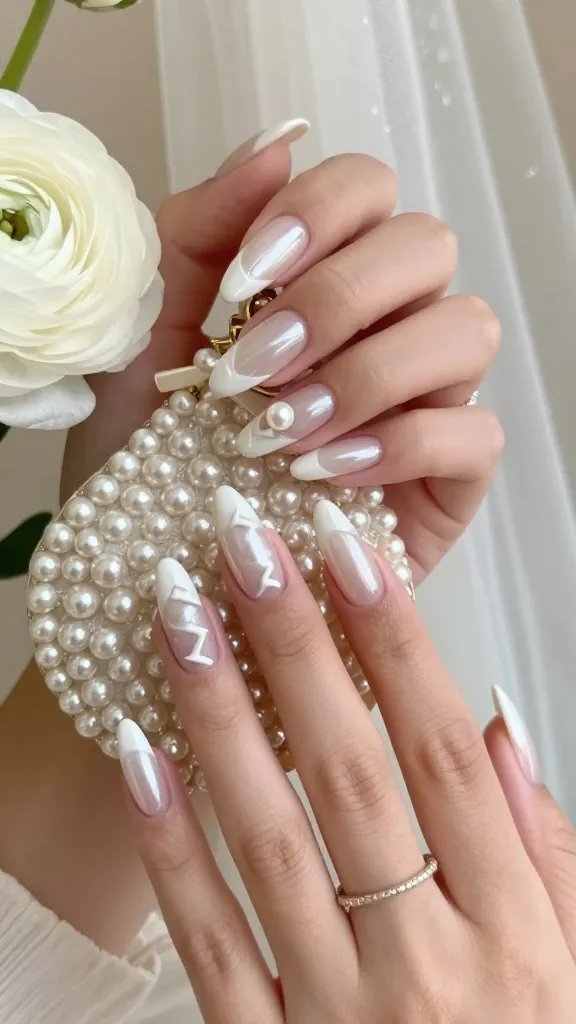
3. Oyster Shell Chrome With Pearl Studs
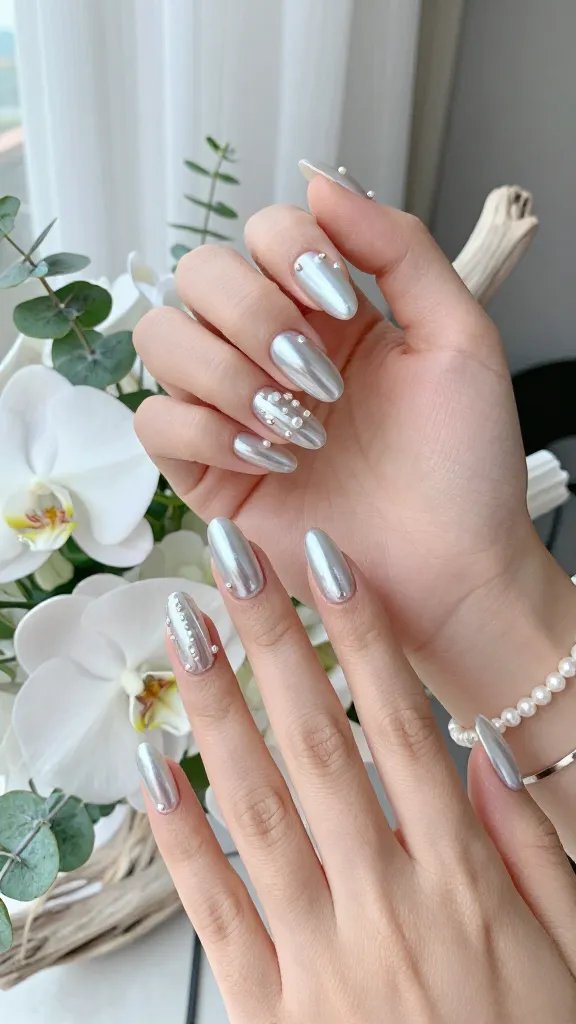
Want shimmer that looks like sunlight on water? A cool-toned chrome mimics oyster shell and pairs beautifully with scattered pearls.
Materials
- Silver-pearl chrome powder
- Clear builder gel for adhesion
- Mixed pearl sizes
Try it for coastal weddings or any venue with lots of natural light.
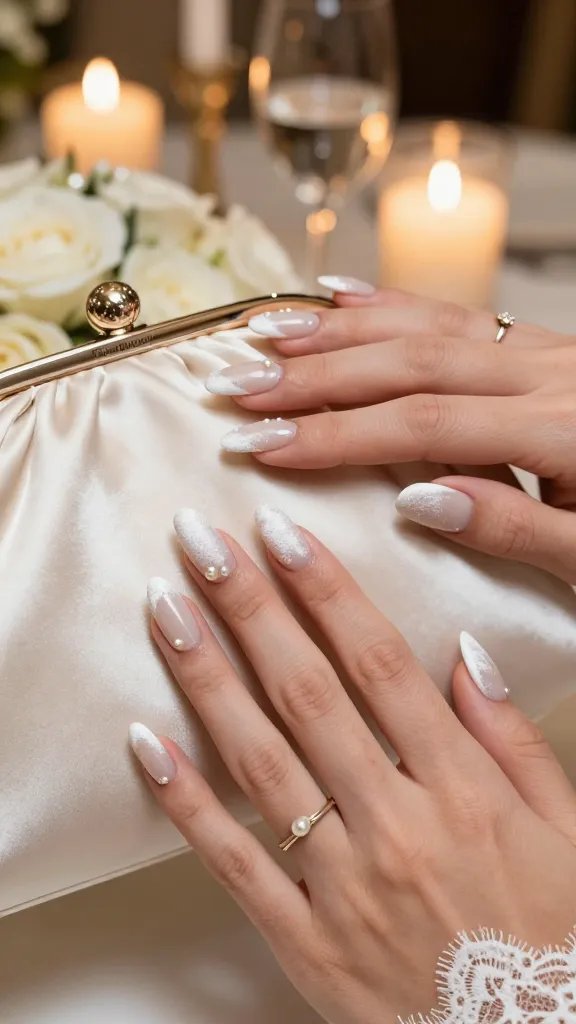
4. Matte Ivory With Pearly Cuticles
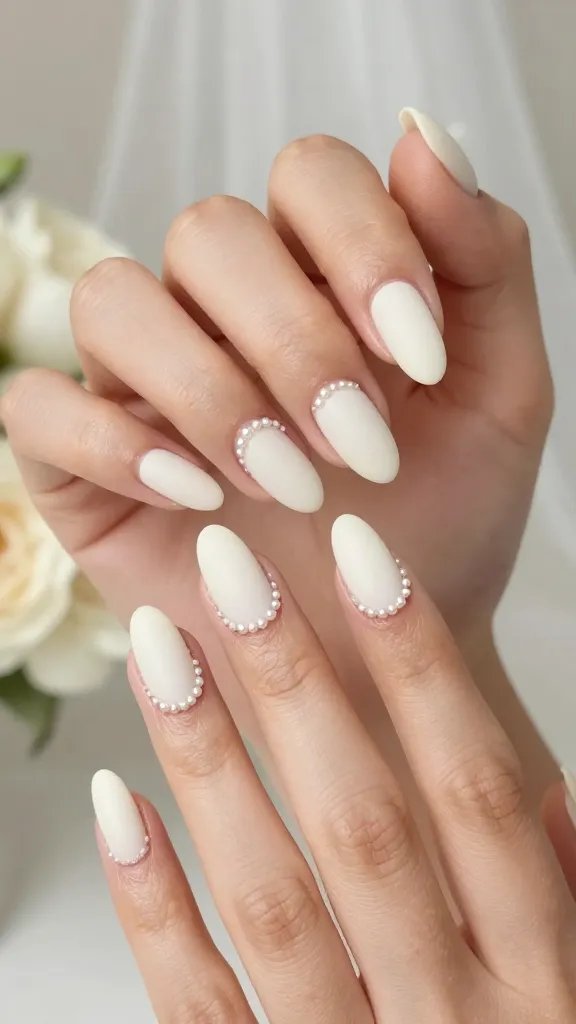
Flip the script and frame the cuticles instead of the tips. A matte ivory base makes the pearls pop without blinding shine.
Why It Works
- Clean negative space near the free edge
- Pearls act like delicate jewelry
- Matte meets luster for contrast
Great for brides who want understated glam that still reads editorial.
5. Baby’s Breath Pearls Over Milk Bath Nails
Milk bath nails already scream bridal. Add scattered micro pearls to mimic tiny blossoms for a romantic, floral vibe.
Key Points
- Use a milky sheer white base
- Place pearls in tiny clusters
- Optional: embed dried florals
Lovely for garden weddings and ultra-feminine gowns.
6. Pearl-Encrusted Half Moons
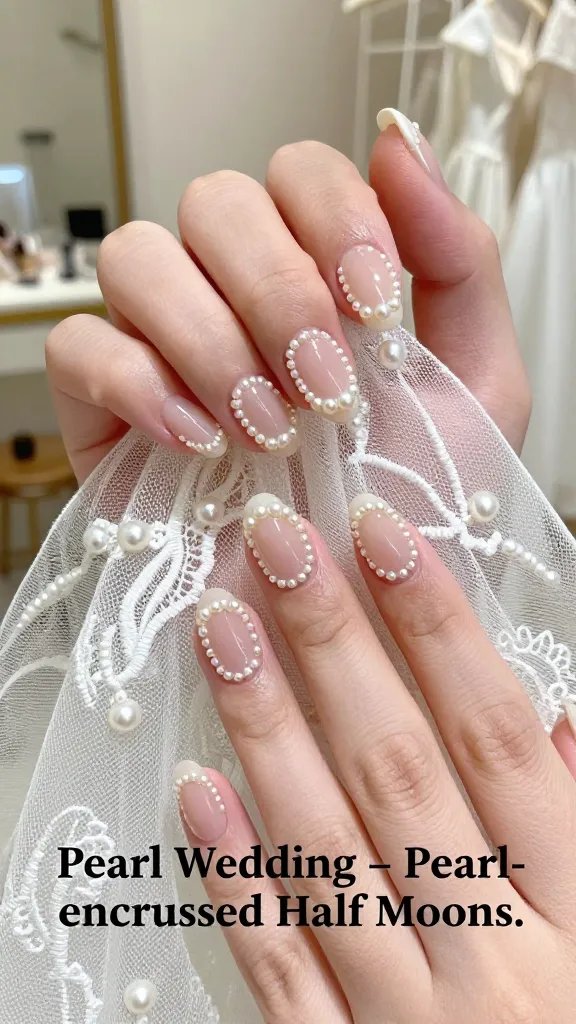
Reverse the French and give the lunula some love. Tiny pearls arranged as a half-moon create a vintage, Art Deco nod.
Tips
- Short to medium oval nails
- Clear or nude base
- Uniform pearl sizing
Choose this if your dress has beading or scalloped detail.
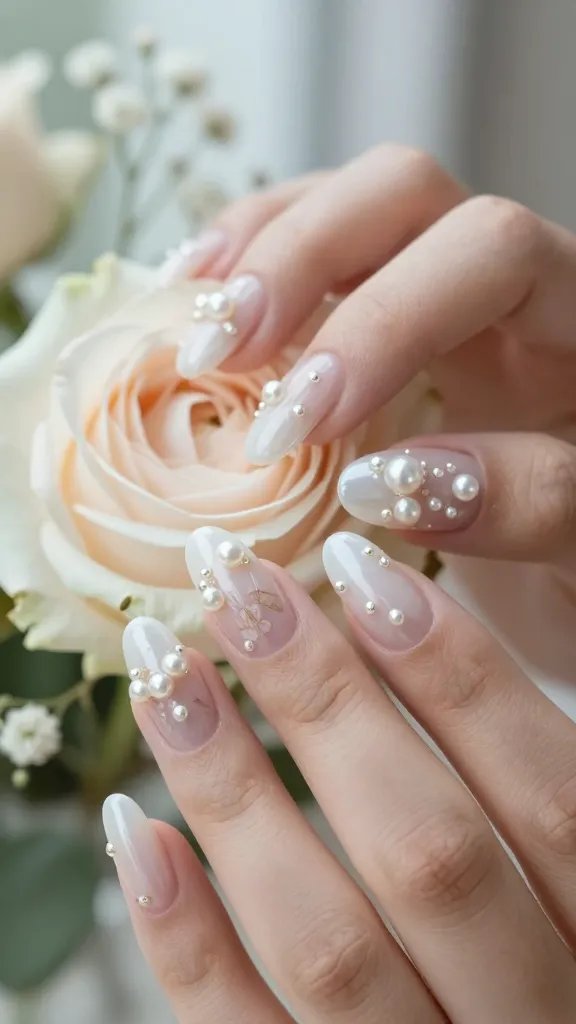
7. 3D Pearl Bouquets On One Statement Nail
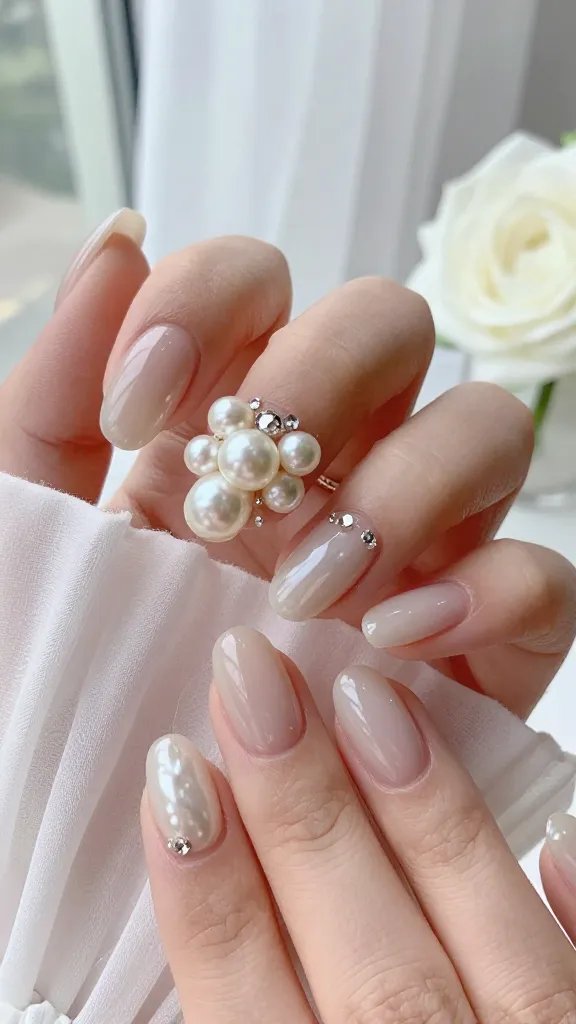
Keep most nails simple, then let one nail carry a 3D bouquet moment. Cluster pearls with a couple of crystal accents for sparkle.
Materials
- Flatback pearls in 3–5 sizes
- Tiny clear rhinestones
- Strong builder gel
Perfect for brides who want impact but still need functionality.
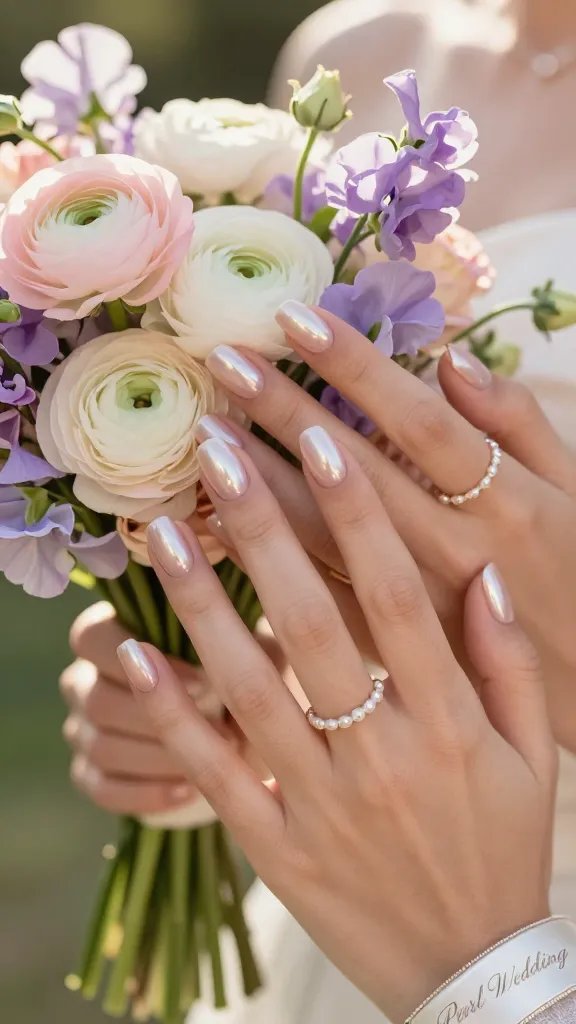
8. Pearly Ombré Fade
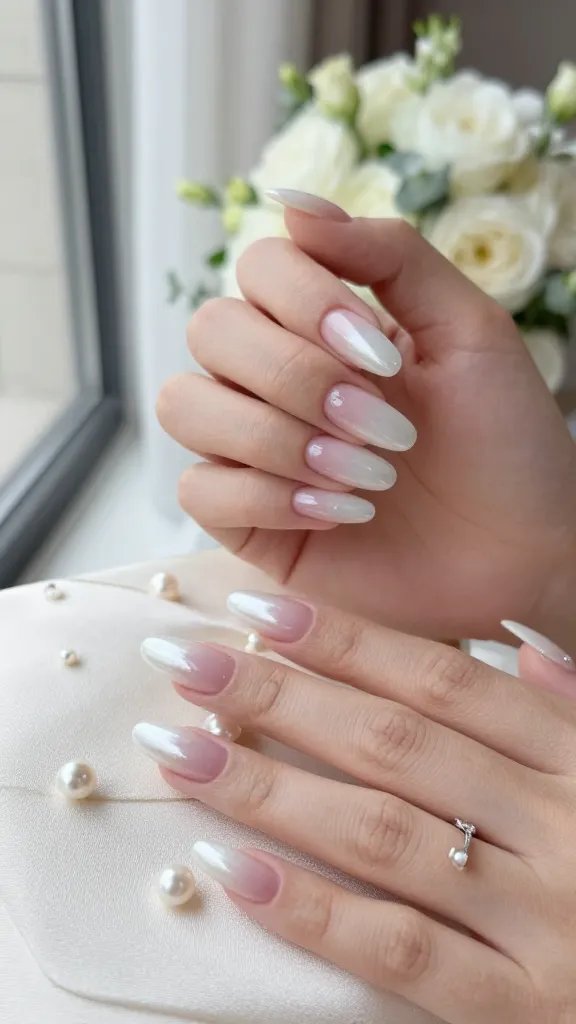
A soft ombré from sheer pink to pearl white looks dreamy and elongated. It’s low-key but insanely photogenic.
Key Points
- Airbrush or sponge for the fade
- Finish with a pearly top coat
- Keep pearls minimal or skip entirely
Use this when you want your ring to shine without competition.
9. Sculpted Pearl Drops Along The Sidewall
Asymmetry adds interest without clutter. Align a curved trail of pearls along one side of each nail for a modern twist.
Tips
- Choose short or medium almond
- Match pearl size to nail length
- Secure with gel and cap edges
Great for editorial photos and reception chic vibes.
10. Pearl French With Soft Glitter Veil
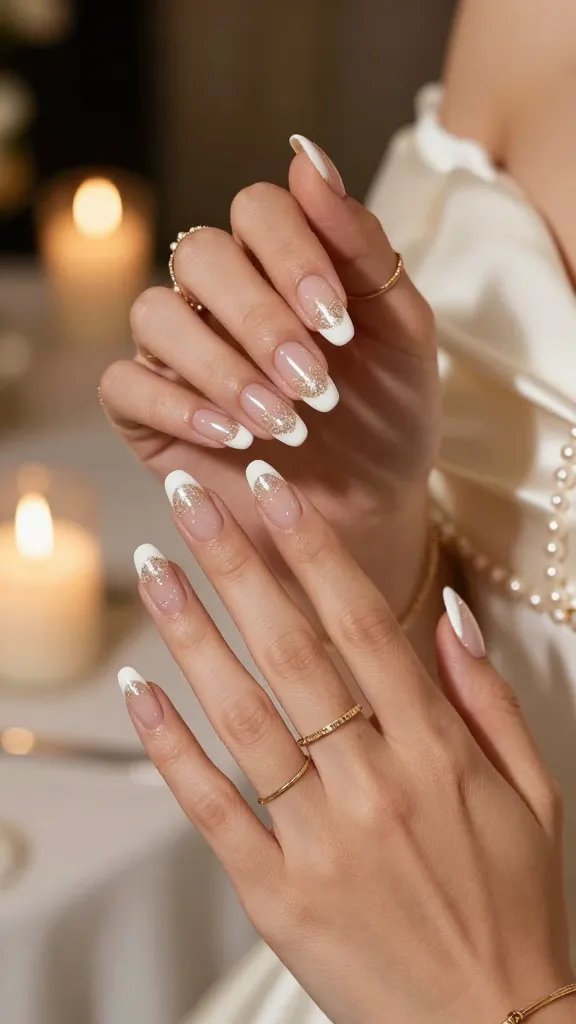
Combine a pearl tip with the faintest glitter wash on the base. Think twinkle, not disco ball.
Materials
- Pearly white tip gel
- Super-fine champagne glitter
- Glossy top coat
This suits candlelit venues and gold jewelry lovers.
11. Minimal Dot Matrix Pearls
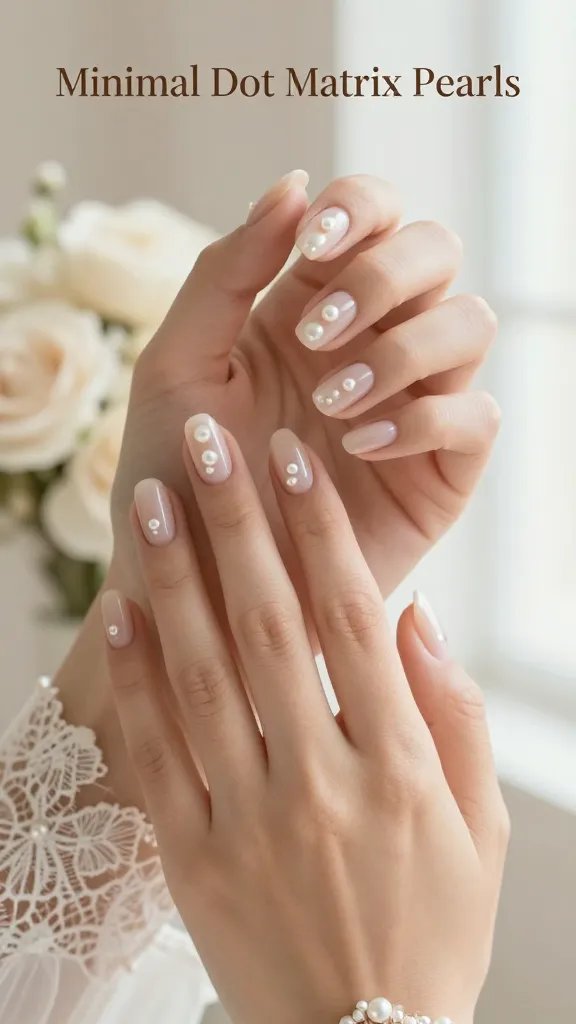
Place three micro pearls vertically down the center of each nail. Clean, graphic, and surprisingly delicate.
Why It Works
- Balances negative space
- Easy to maintain
- Feels modern and bridal
Choose it if you want polish without fuss.
12. Lace Stamping With Pearl Accents
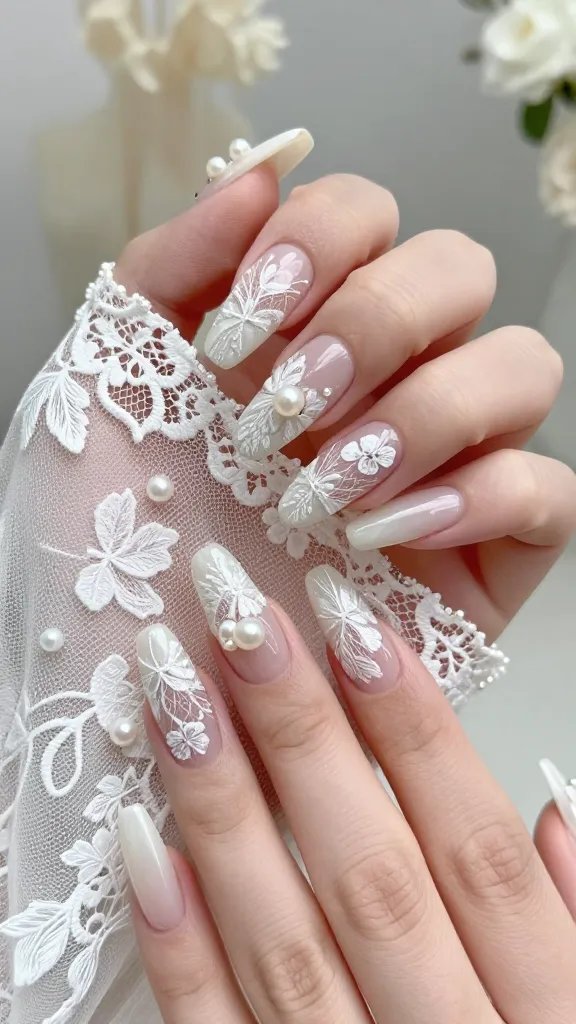
Lace nail art + pearls = bridal perfection. Use white or soft gray stamping and anchor a few pearls at intersection points.
Tips
- Keep designs thin and airy
- Use smaller pearls for comfort
- Finish with two top coats
Ideal if your dress has lace or applique details.
13. Pearly Glazed Donut Nails
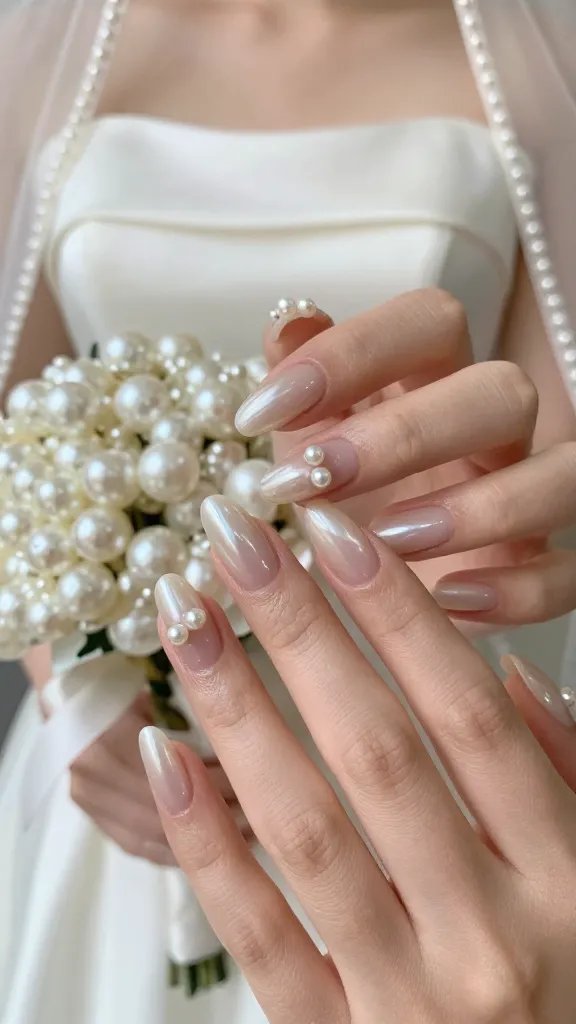
Yes, the glazed donut look still slaps for weddings. Add two or three tiny pearls per hand for an extra bridal touch.
Key Points
- Sheer beige-pink base
- Pearl chrome top
- Ultra-glossy finish
Works with every dress silhouette, FYI.
14. Mother-Of-Pearl Mosaic
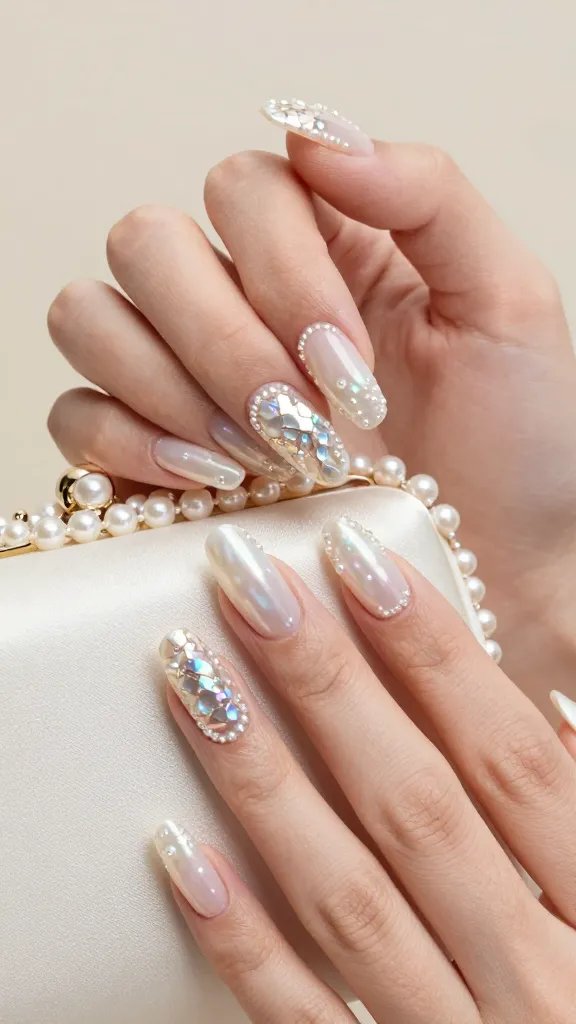
Create a mosaic using iridescent shell pieces and rim a few edges with micro pearls. The dimensional glow is unreal.
Materials
- Crushed shell foils
- Builder gel for encapsulation
- Micro pearls for borders
Choose for luxe looks and opulent venues.
15. Negative Space Pearl Frames
Outline a thin frame around the nail using tiny pearls, leaving the center sheer. It’s graphic but still soft.
Tips
- Short square or squoval works best
- Keep pearls micro to avoid snagging
- Use a thick top coat to smooth edges
Great for modern-minimal brides who still want texture.
16. Soft Aurora Pearl Cat-Eye
Cat-eye gels create a magnetic shimmer that feels like glowing pearls. Tilt your finger and watch the light move.
Key Points
- Choose white, champagne, or shell pink
- Angle the magnet diagonally
- Add a single pearl per ring finger
Ideal for evening ceremonies and low-light magic.
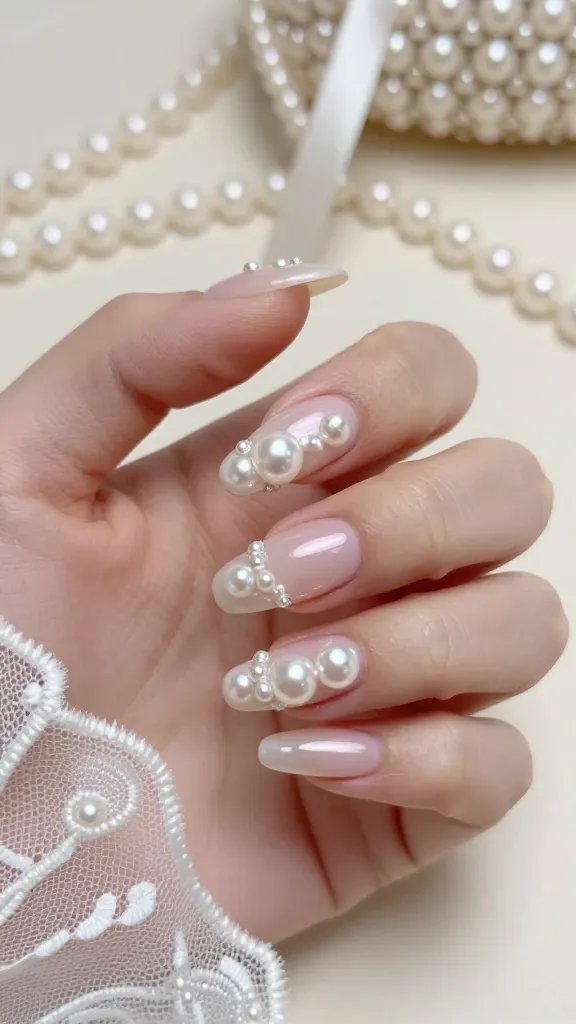
17. Pearl Cluster Cuticle Cuffs
Build a small cuff of pearls hugging the cuticle on one or two nails. It reads like dainty jewelry for your fingertips.
Tips
- Mix pearl sizes for depth
- Anchor with clear builder gel
- Seal sidewalls to prevent lifting
Pairs well with minimalist dresses and sleek buns.
18. Sculpted Seashell Accent With Pearl Core
Create a 3D seashell on one nail and seat a pearl at the “opening.” It’s whimsical, romantic, and beach-wedding gold.
Materials
- Builder gel and liner brush
- Pearly chrome for the shell
- Medium pearl for center
Use when your venue or theme nods to the ocean.
19. Pearlized French With V-Chevron Tips
Sharpen the French into a V-shaped tip and use a pearly white. The lines elongate fingers and feel fresh.
Key Points
- Medium almond or stiletto
- Clean, crisp chevron lines
- Optional: one pearl at the tip point
Great for fashion-forward brides who still want a classic anchor.
20. Tinted Pearl Jelly Nails
Jelly nails with a pearl top coat give soft color with luminous depth. Think blush, lilac, or champagne jelly.
Tips
- Build color in thin layers
- Top with a pearl glaze
- Keep length short-medium for chic balance
Perfect when your bouquet brings color and you want to echo it.
21. Micro French With Pearly Dots
Do a micro-thin French line and dot a micro pearl at the center of each tip. It’s delicate but playful.
Key Points
- Use an ultra-fine liner brush
- Stick to tiny pearls only
- High-shine top coat for clarity
Choose for dainty jewelry vibes and close-up ring shots.
22. Rose Gold And Pearl Marbling
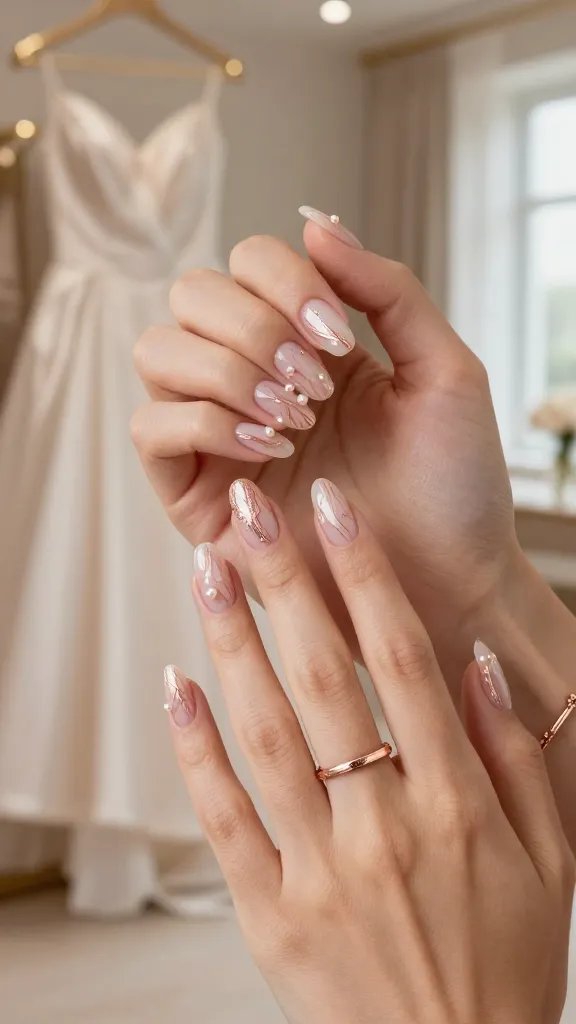
Swirl rose gold foil through a milky base, then drop in pearls like little treasures. The contrast feels luxe.
Materials
- Milky base gel
- Rose gold flakes
- Pearls in two sizes
Works beautifully with warm-toned gowns and accessories.
23. Pearly Velvet French
Velvet (magnetic) polish gives a plush, fabric-like sheen. Carve a French tip out of velvet and add one pearl per nail for texture overload—in a good way.
Tips
- Choose soft white or champagne velvet
- Keep pearls small to avoid catching on fabric
- Seal thoroughly
Fantastic for winter weddings and cozy, candlelit receptions.
24. Minimalist Pearl Morse Code
Spell out initials or a hidden message using pearls as dots and tiny metallic studs as dashes. Subtle and romantic.
Key Points
- Keep base nude and clean
- Limit message to one or two nails
- Use the smallest pearls available
A sweet inside joke you’ll smile at every time you raise your glass.
25. Pearl-Edged Soft Square Tips
Outline the free edge with a micro pearl border, like a delicate picture frame. Simple shape, high payoff.
Tips
- Soft square keeps it practical
- Apply pearls evenly spaced
- Double top coat for smoothness
Perfect for brides who like clean lines and symmetrical details.
26. Pearly Press-Ons For Last-Minute Saviors

Short on time? High-quality press-ons with pearl accents exist—and they last through the honeymoon if you prep right.
How To Make Them Last
- Dehydrate nails with alcohol
- Use strong tabs or gel glue
- File to fit cuticles precisely
IMO, every emergency kit needs a spare set. Seriously.
27. Pearl Rain Over Sheer Veil
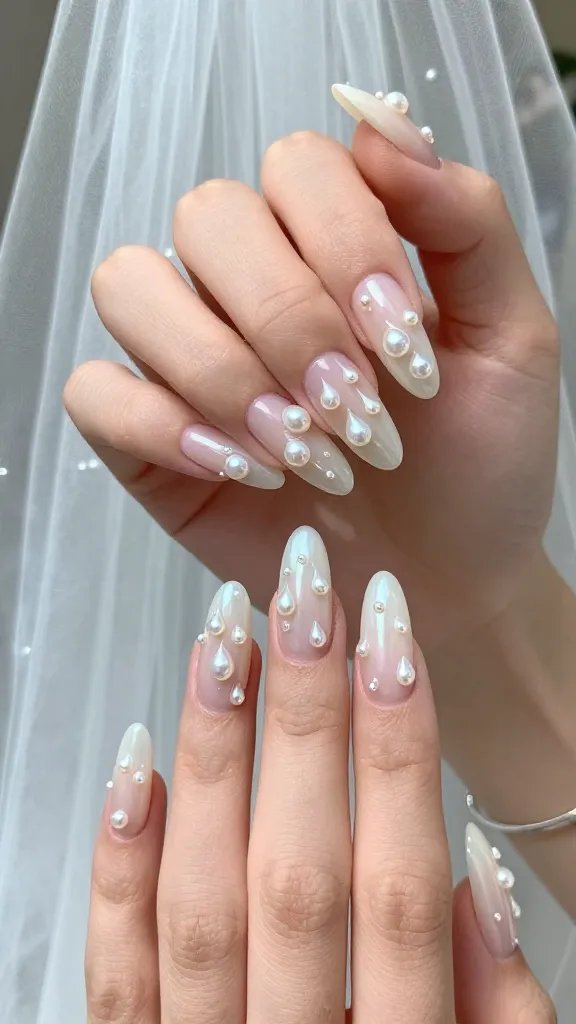
Picture delicate “raindrops” of pearls falling from the cuticle to the tip, spaced out like a veil. It’s ethereal without feeling busy.
Key Points
- Sheer veil base (milky white)
- Staggered pearl placement
- Mix sizes 1–3 mm
Choose if your dress has tulle layers or a cathedral veil.
28. Baroque Pearl Statement Nail
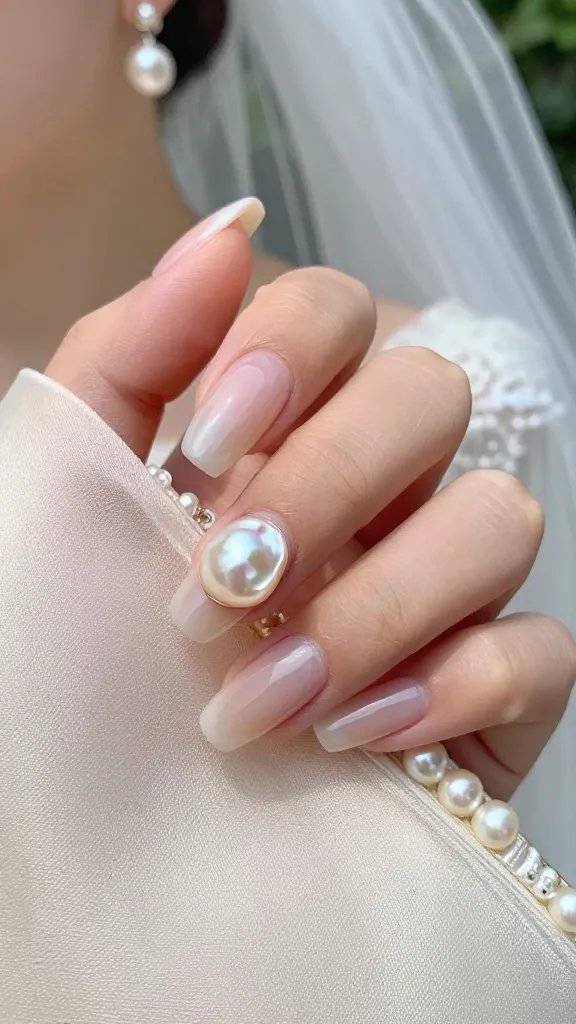
Use one irregular, baroque-style pearl on a single accent nail. The organic shape adds couture flair.
Tips
- Keep other nails simple
- Secure with builder gel and cap
- Short-medium length for comfort
Go for this if you love fashion-forward, editorial touches.
29. Pearl-Crowned Chrome French
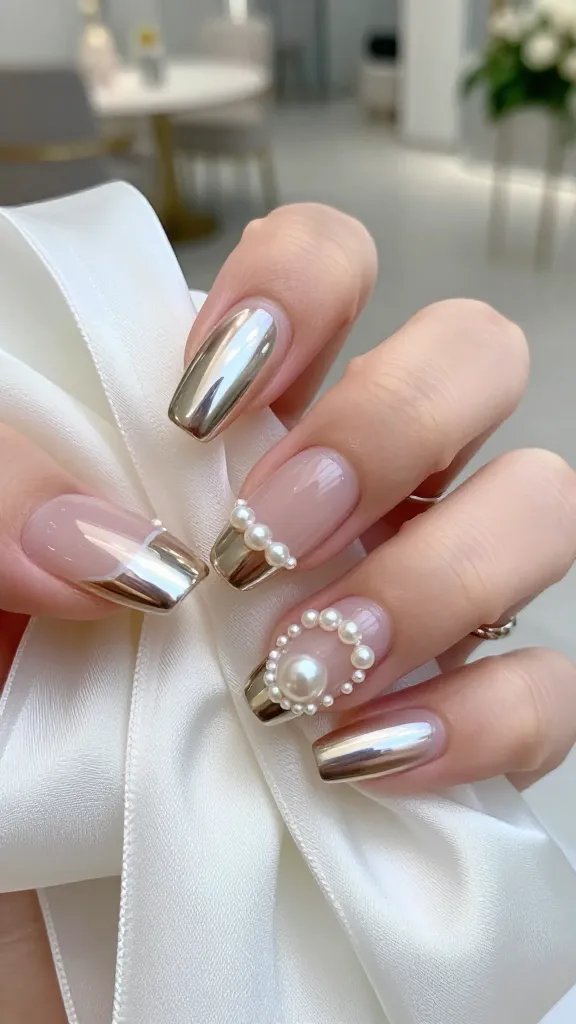
Do a sleek chrome French tip and crown the nail with a tiny arch of pearls at the cuticle. It’s futuristic meets bridal.
Materials
- Champagne or silver chrome for tips
- Micro pearls for the crown
- High-gloss no-wipe top coat
Perfect for modern venues, mirrored decor, and bold brides who still love a classic nod.
Whether you go minimal with a single pearl or extra with full-on embellishment, these looks bring glow, texture, and romance to every photo. Pick your vibe, screenshot your favorites, and book the appointment. Your ring selfie won’t know what hit it.