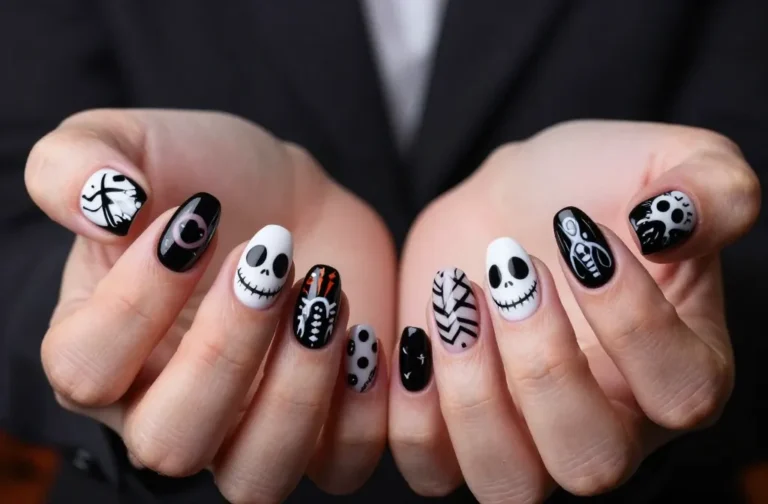
25 Bad Nails You’ll Secretly Love To Screenshot For Your Next Mani Glow-Up
Let’s talk “bad nails” — the looks, mistakes, and quirky trends that make you pause, laugh, and weirdly want to try them. Some are cautionary tales, others are misunderstood icons. Either way, you’ll leave with ideas to fix, flip, or fully rock them. Ready to roast and reinvent?
1. The Overgrown Cuticle Crisis
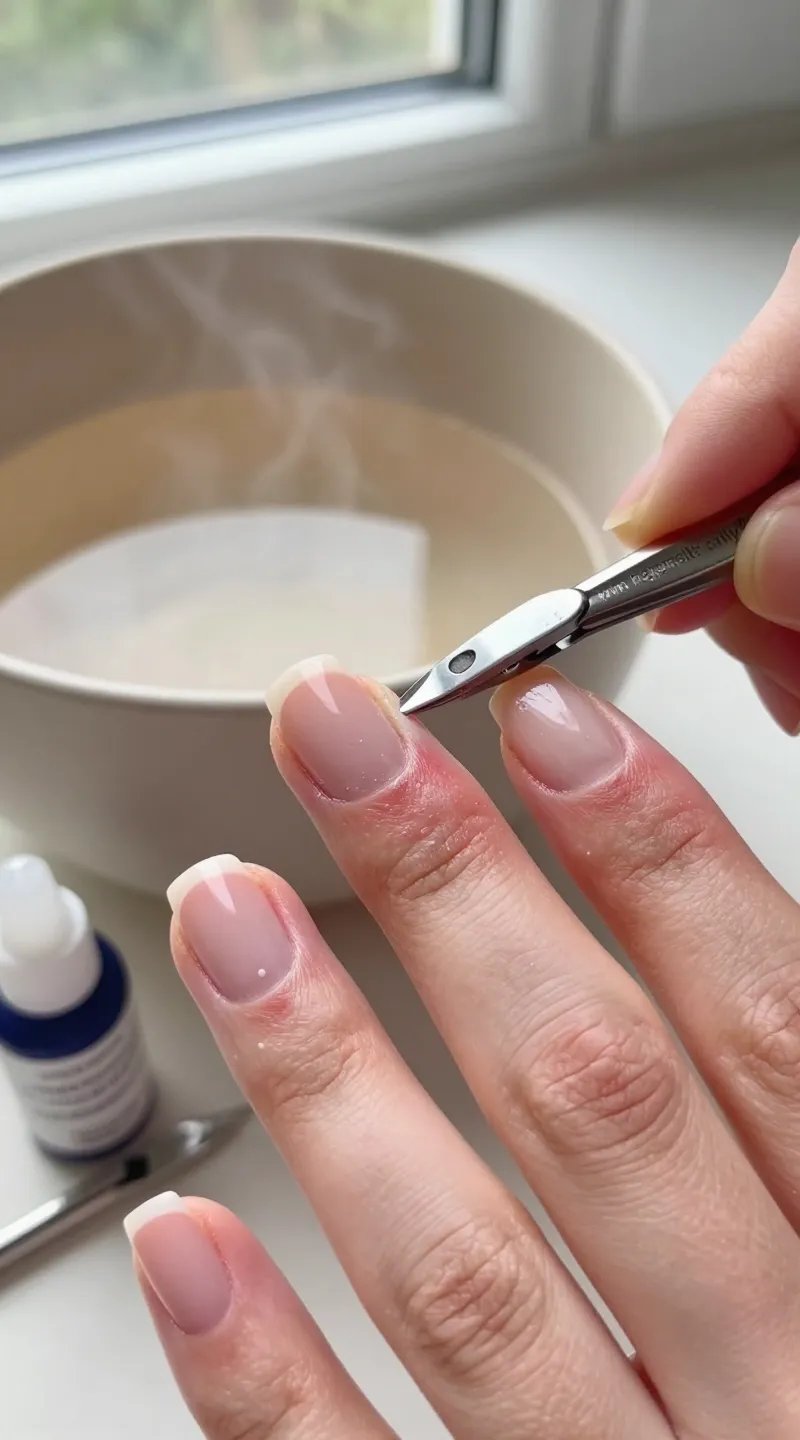
When cuticles invade, polish looks messy no matter how expensive the salon. Overgrowth also traps debris and causes peeling around the edges.
Fix-It Fast:
- Soften with cuticle oil, then gently push back after a warm soak.
- Use a cuticle remover gel for stubborn areas.
- Never cut living skin — trim only hangnails.
Healthy cuticles make every mani look cleaner and last longer. Think of it as framing your nail art.
2. The Chunky Acrylic Avalanche
Thick acrylic nails can feel like you’re typing with mini bricks. They look bulky, chip at the edges, and scream “DIY gone wild.”
Key Tips:
- Ask for a thinner apex and refined sidewalls.
- Request shaping with a hand file for more control.
- Choose almond or squoval to soften the vibe.
Balanced thickness keeps nails strong yet elegant. Your DMs will fill with “Where’d you get them done?”
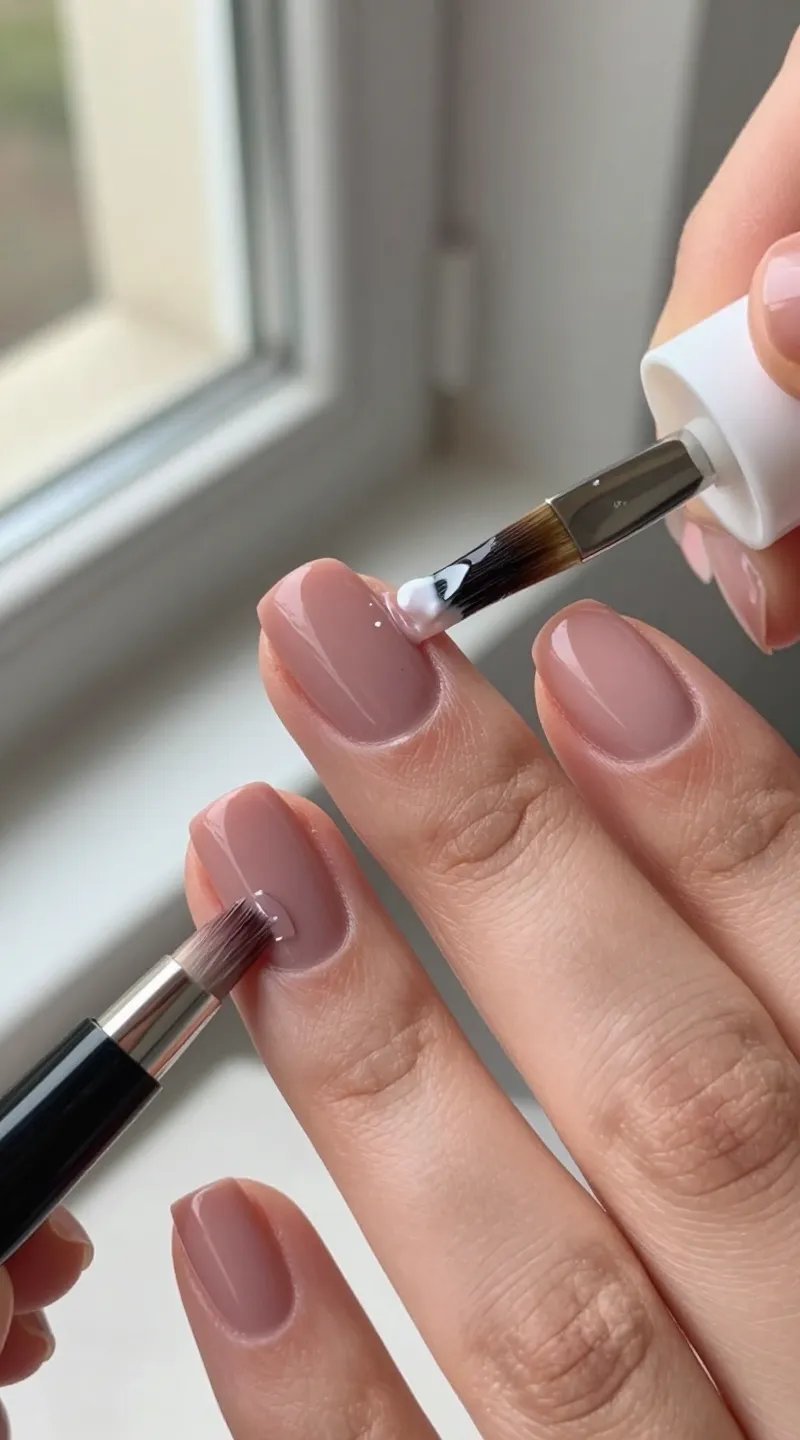
3. Lifting Gel At The Cuticle
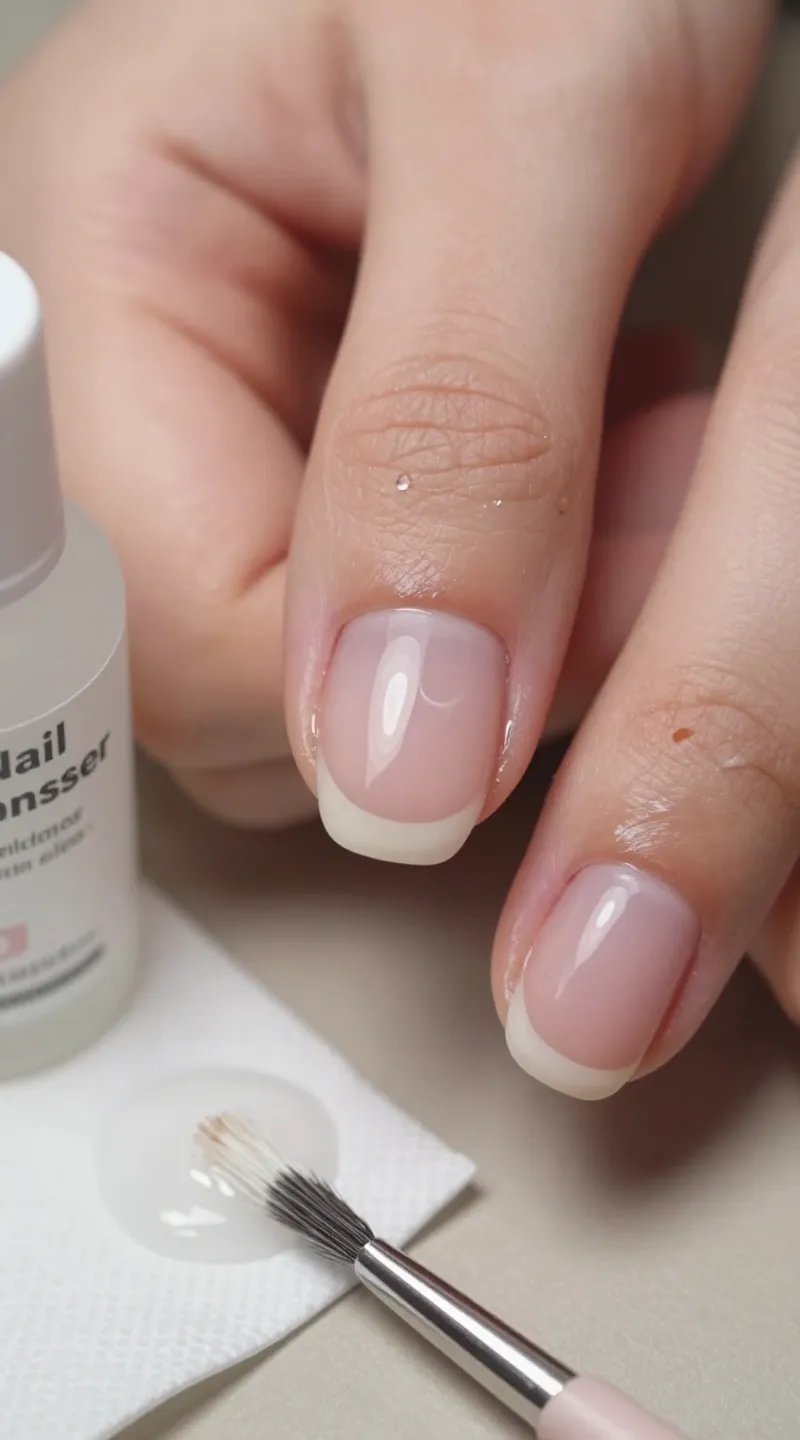
Gel polish peeling at the base? That’s usually because the surface wasn’t prepped or the base coat touched skin. Lifting invites water under the gel and leads to chipping.
Prep Checklist:
- Dehydrate with alcohol or a nail cleanser.
- Apply thin coats and cap the free edge.
- Keep product off the skin, always.
Do it right and your mani lasts 2–3 weeks like a champ.
4. The Stained-Yellow Nail Mystery
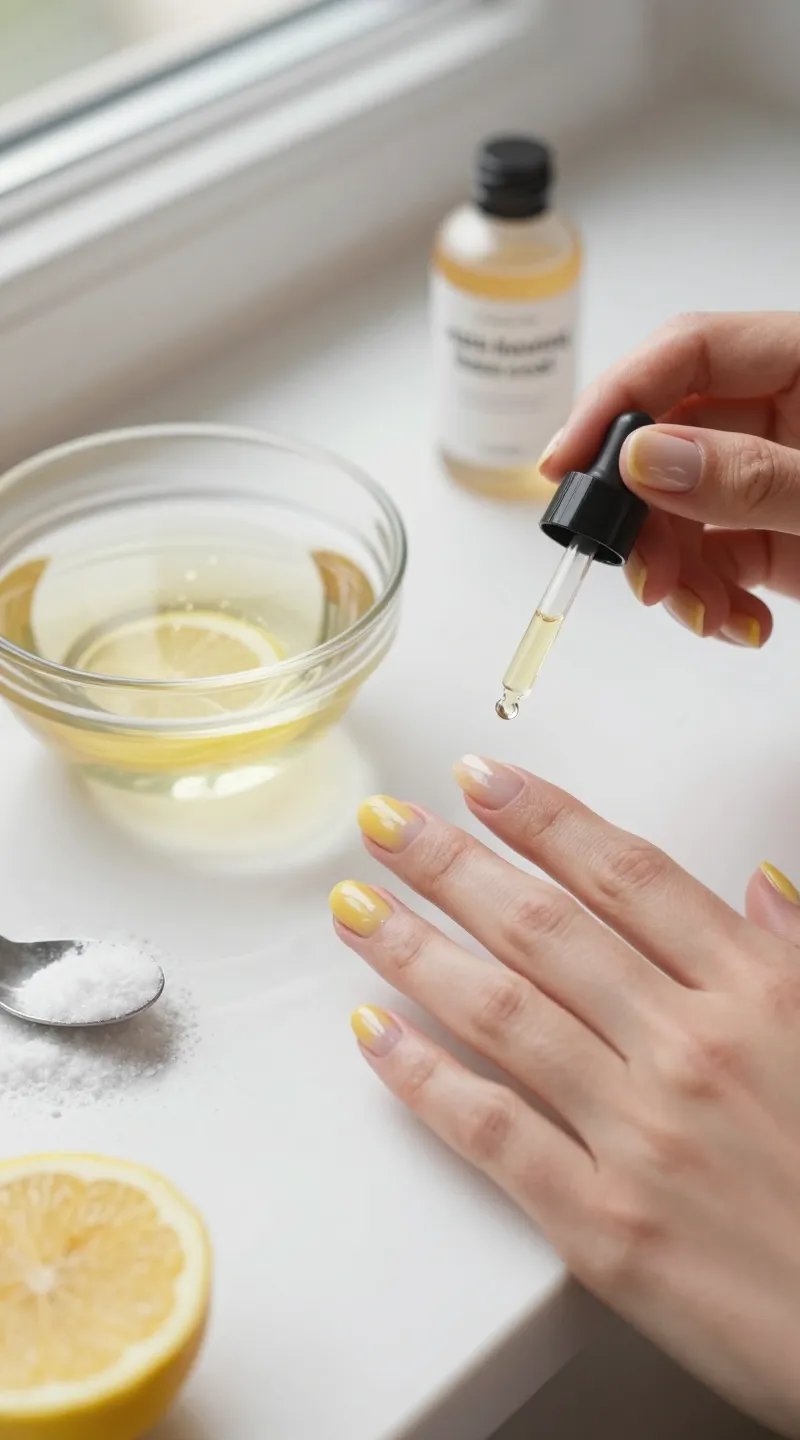
Yellowing happens from pigment-heavy polishes, smoking, or skipping base coat. It’s not a cute vibe under sheers or French tips.
Brightening Moves:
- Use a gentle whitening soak: warm water + baking soda + lemon juice.
- Always use a stain-blocking base.
- Take polish breaks and hydrate with oil.
Clear, bright nails elevate any minimalist look. Simple but powerful.
5. Jagged Free Edges
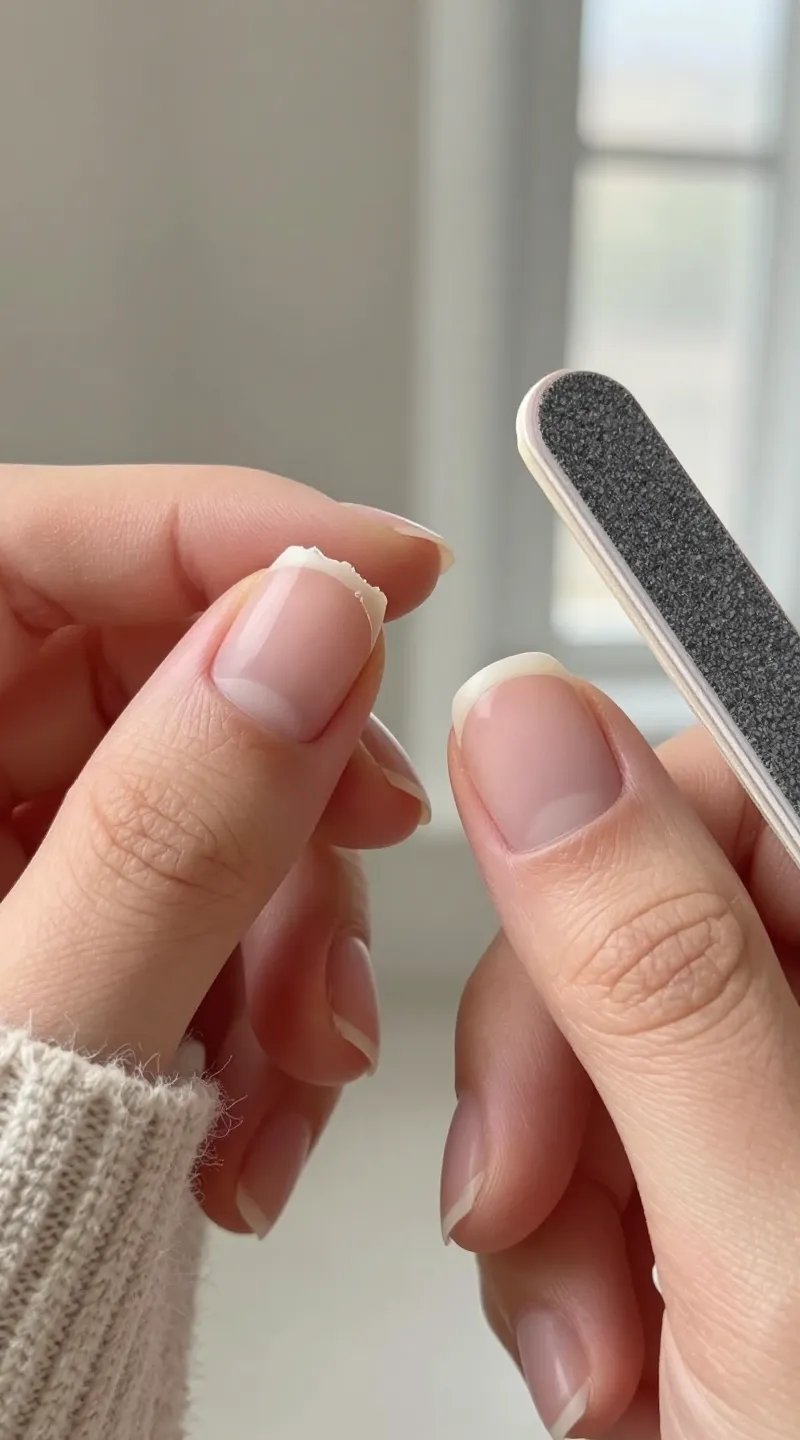
Ragged tips catch on sweaters, chip faster, and look unfinished. Usually the result of rough filing or biting.
Smooth Operator:
- File in one direction with a 180–240 grit file.
- Round sharp corners slightly.
- Seal with a buffer if needed.
Clean edges make even naked nails look intentional and polished.
6. The Patchy Polish Problem
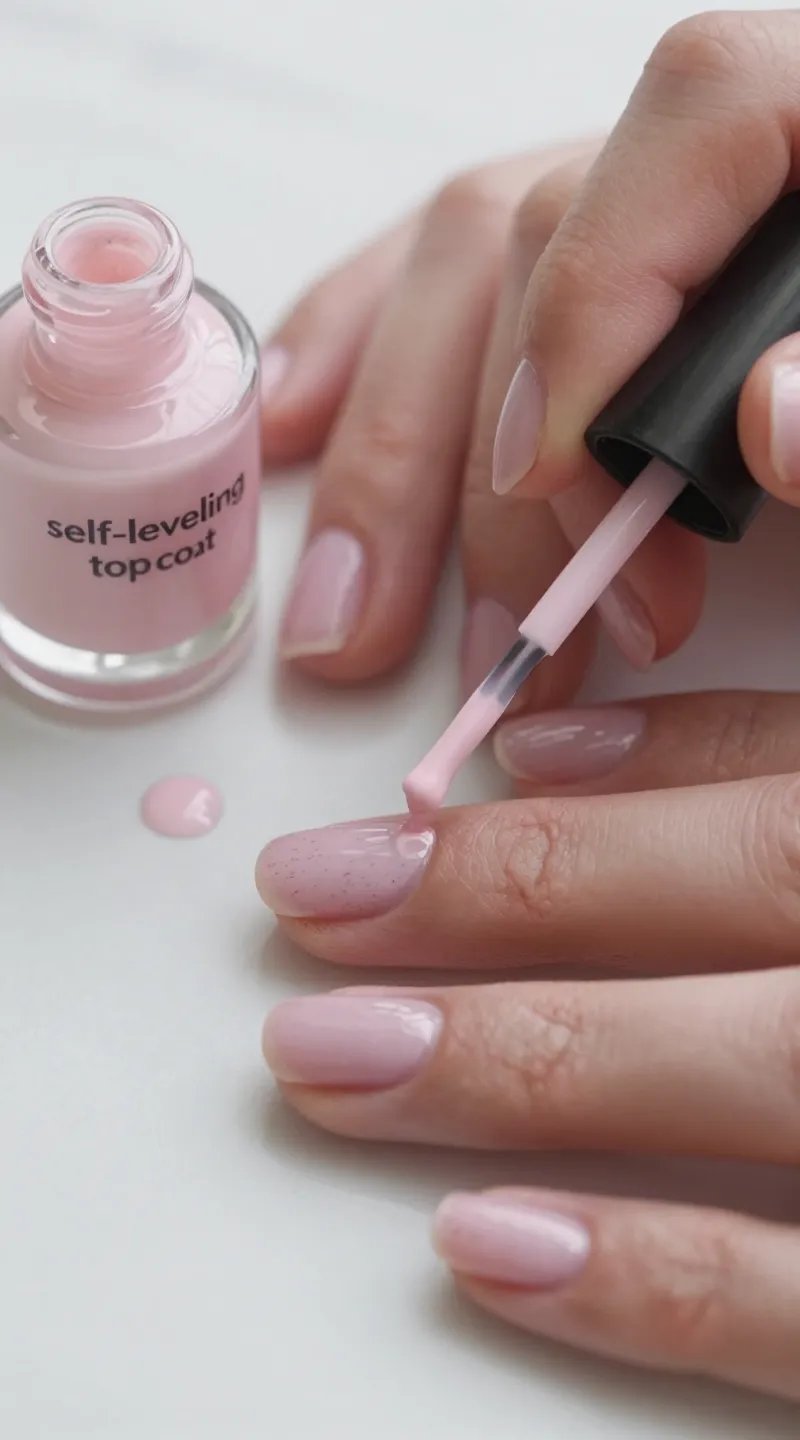
Streaks and bald spots ruin even the best colors. The culprit? Too little product or skipping a leveling top coat.
Application Tips:
- Float the brush: don’t press too hard.
- Do 2–3 thin coats, not one thick glob.
- Use a self-leveling top coat for glass shine.
Consistent color looks luxe, even with drugstore polish. FYI: thin layers dry faster too.
7. The Peel-Off Gel Disaster
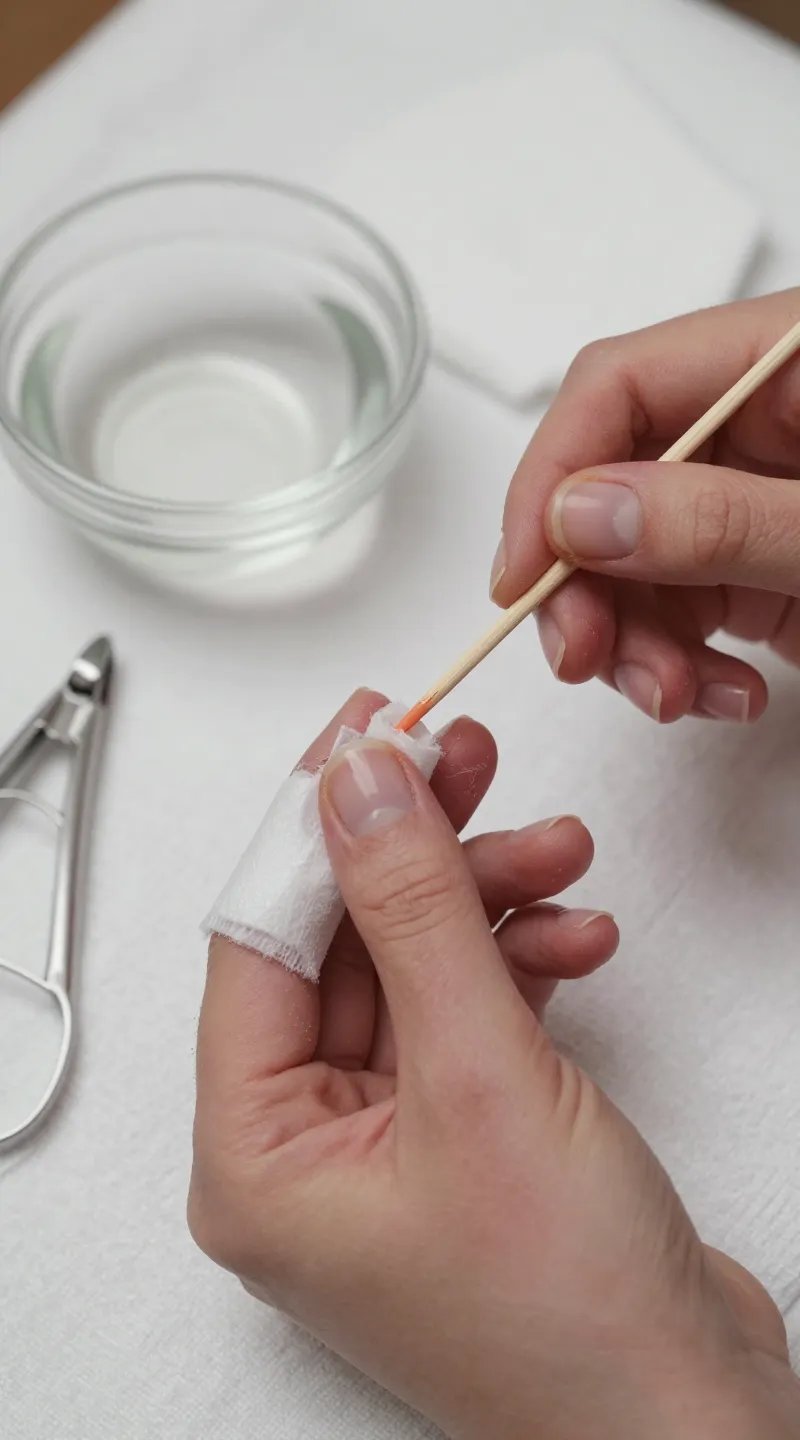
Peeling off gel is oddly satisfying… and a fast track to shredded nails. It rips layers of keratin and causes painful sensitivity.
Do This Instead:
- Gently file the top coat to break the seal.
- Soak with acetone wraps or clips 10–15 minutes.
- Push off softened gel with an orangewood stick.
Proper removal keeps your natural nails intact, so your next set actually sticks.
8. Over-Filed, Paper-Thin Nails
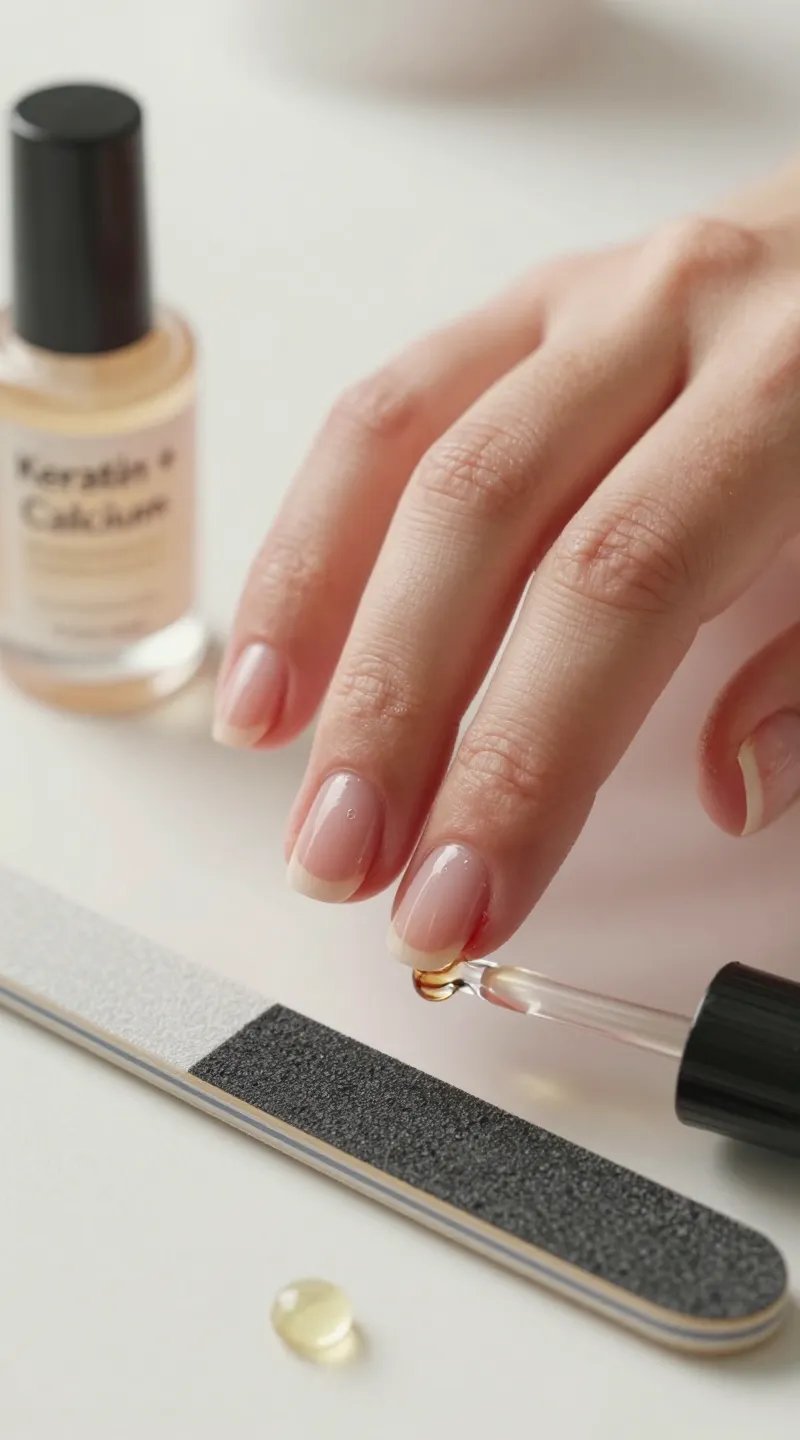
Going ham with an e-file or buffer makes nails bendy and sore. Over-filing also causes polish to bubble and lift.
Rehab Plan:
- Switch to a gentle glass file.
- Use a strengthening base with keratin or calcium.
- Oil twice daily to restore flexibility.
Healthy nails hold polish longer and feel comfortable. You’ll notice the difference fast.
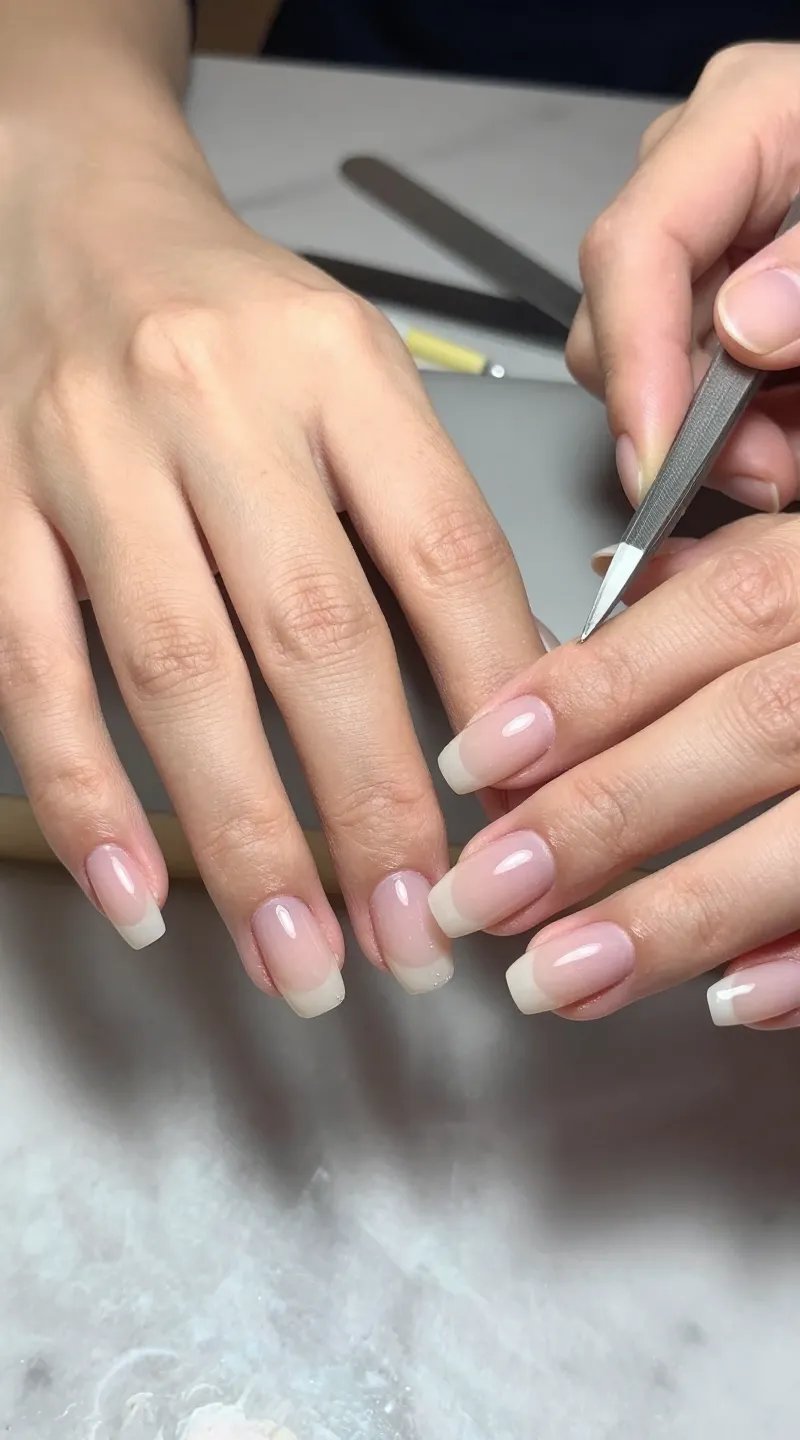
9. The Uneven Shape Situation
One oval, one coffin, one mystery triangle? Inconsistent shaping screams rookie. Symmetry matters more than length.
Shape Smart:
- Pick a shape that suits your nail bed: round for shorter beds, almond for elongation.
- Match lengths by measuring against your index finger.
- Check alignment from the front and sides.
Uniform shape makes your hands look refined and cohesive. It’s an instant glow-up.
10. Flooded Cuticles
Polish pooling into the skin looks messy and lifts quickly. Usually it’s too much product or not leaving a tiny gap.
Control The Flow:
- Wipe one side of the brush before painting.
- Leave a hairline gap at the cuticle.
- Clean stray polish with a tiny angled brush dipped in acetone.
That micro-gap makes nails look salon-level crisp. Trust me, it’s the secret sauce.
11. The Matte Top Coat Mayhem
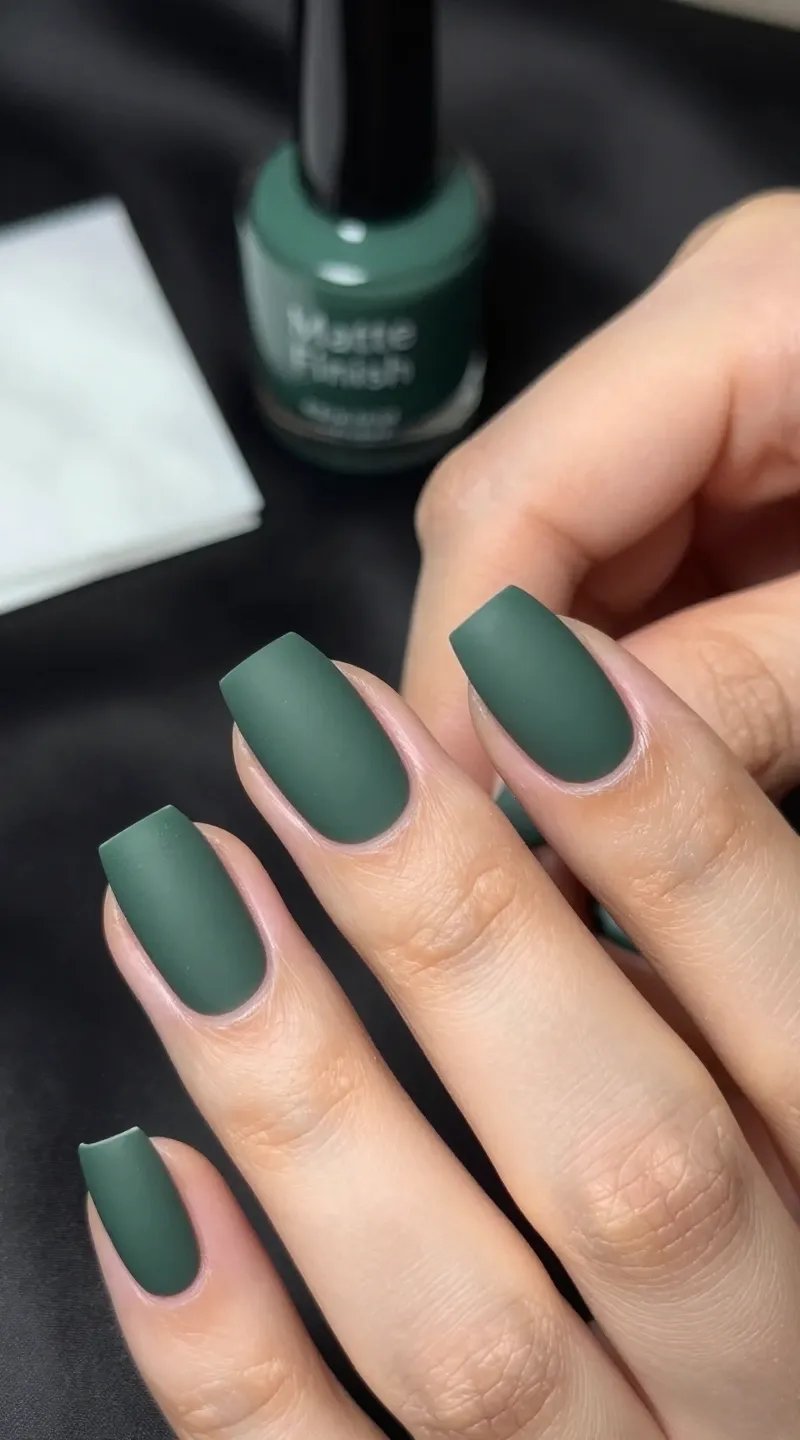
Matte can look chalky or uneven if you rush. Fingerprints and oil turn it patchy fast.
Pro Moves:
- Fully cure color before applying matte.
- Use alcohol to remove dust and oils.
- Consider a matte-friendly color (cremes beat shimmers).
When done right, matte looks editorial and rich. Great for moody shades.
12. Glitter That Won’t Quit
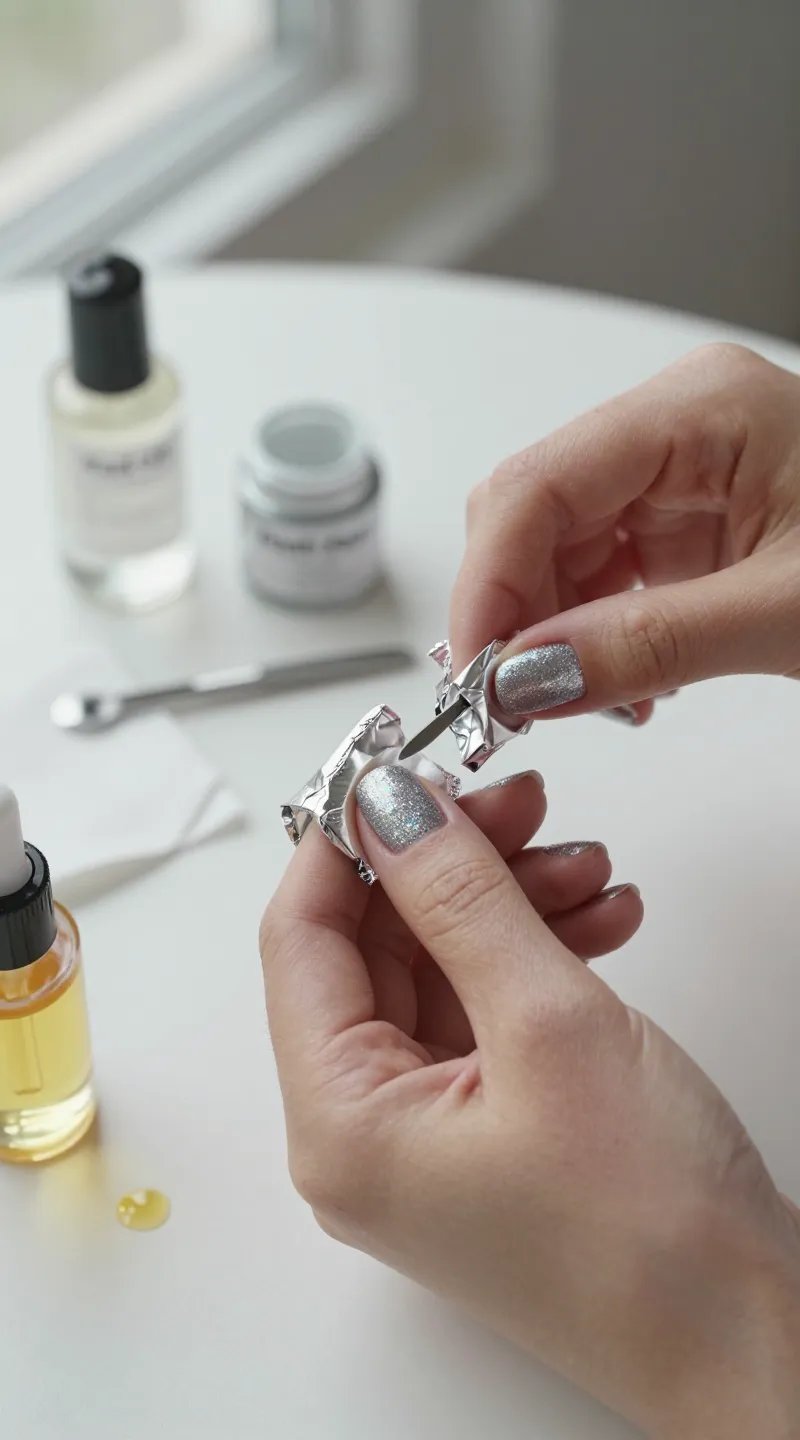
Glitter polish is gorgeous but clings like it pays rent. Scraping damages the nail and kills your vibe.
Removal Hack:
- Use the foil method with acetone and cotton.
- Or apply a peel-off base under glitter.
- Finish with a deep oil treatment.
Now you can sparkle without committing for life. Party on, responsibly.
13. The Bubble Trouble
Tiny bubbles under polish look like your mani has a rash. Causes include shaking the bottle or applying too thick.
Bubble-Free Basics:
- Roll the bottle gently to mix.
- Wait a minute between coats.
- Keep nails cool; heat speeds evaporation and traps air.
Glass-smooth polish reads expensive and professional. Worth the patience.
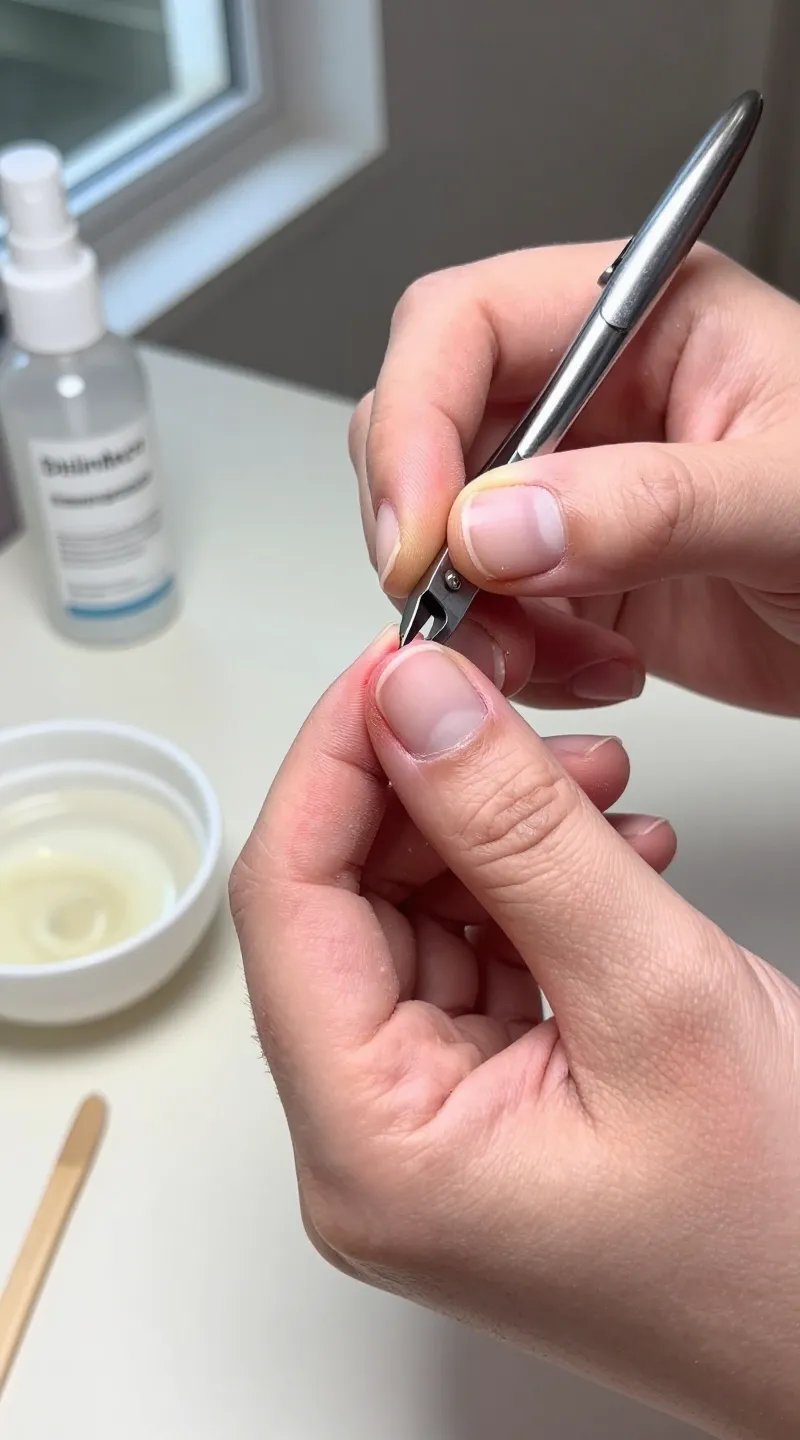
14. The Stubborn Hangnail Horror
Picking hangnails leads to tears and soreness. Once inflamed, polish won’t sit pretty around the edges.
Calm And Trim:
- Sanitize nippers and snip only the dead, lifted bit.
- Hydrate with balm or oil, especially after washing hands.
- Wear gloves for chores to avoid irritation.
Neat sidewalls frame your color and reduce pain. Small fix, huge payoff.
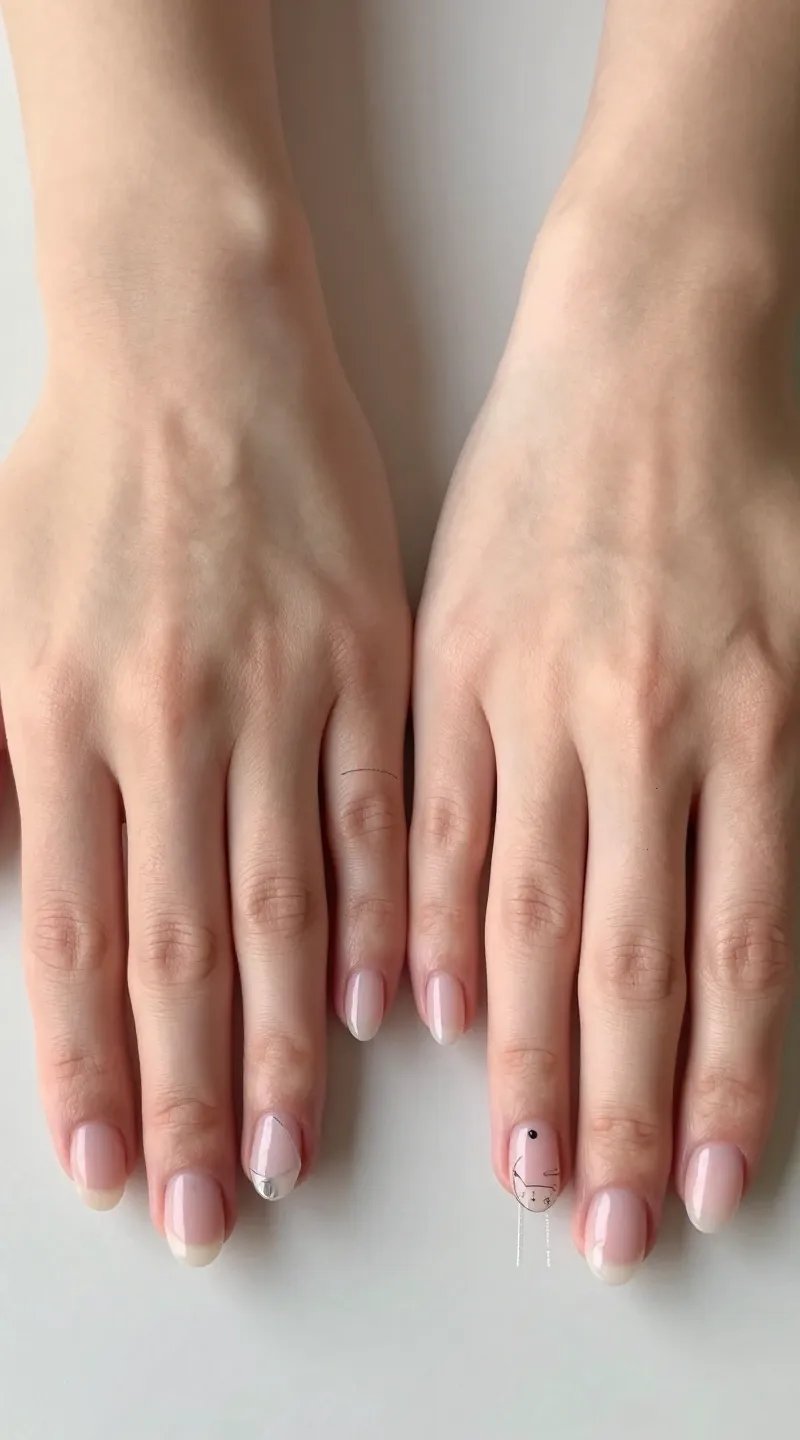
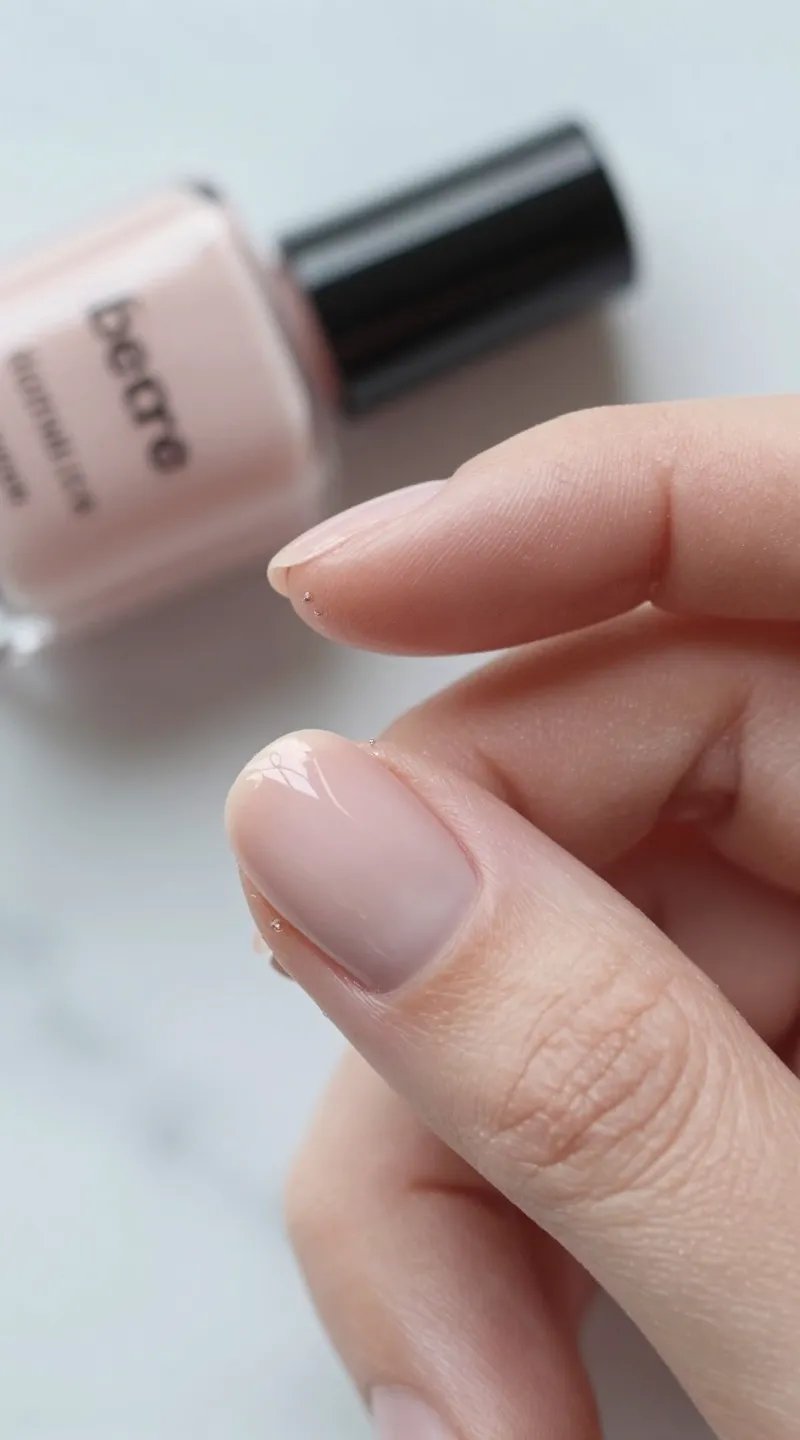
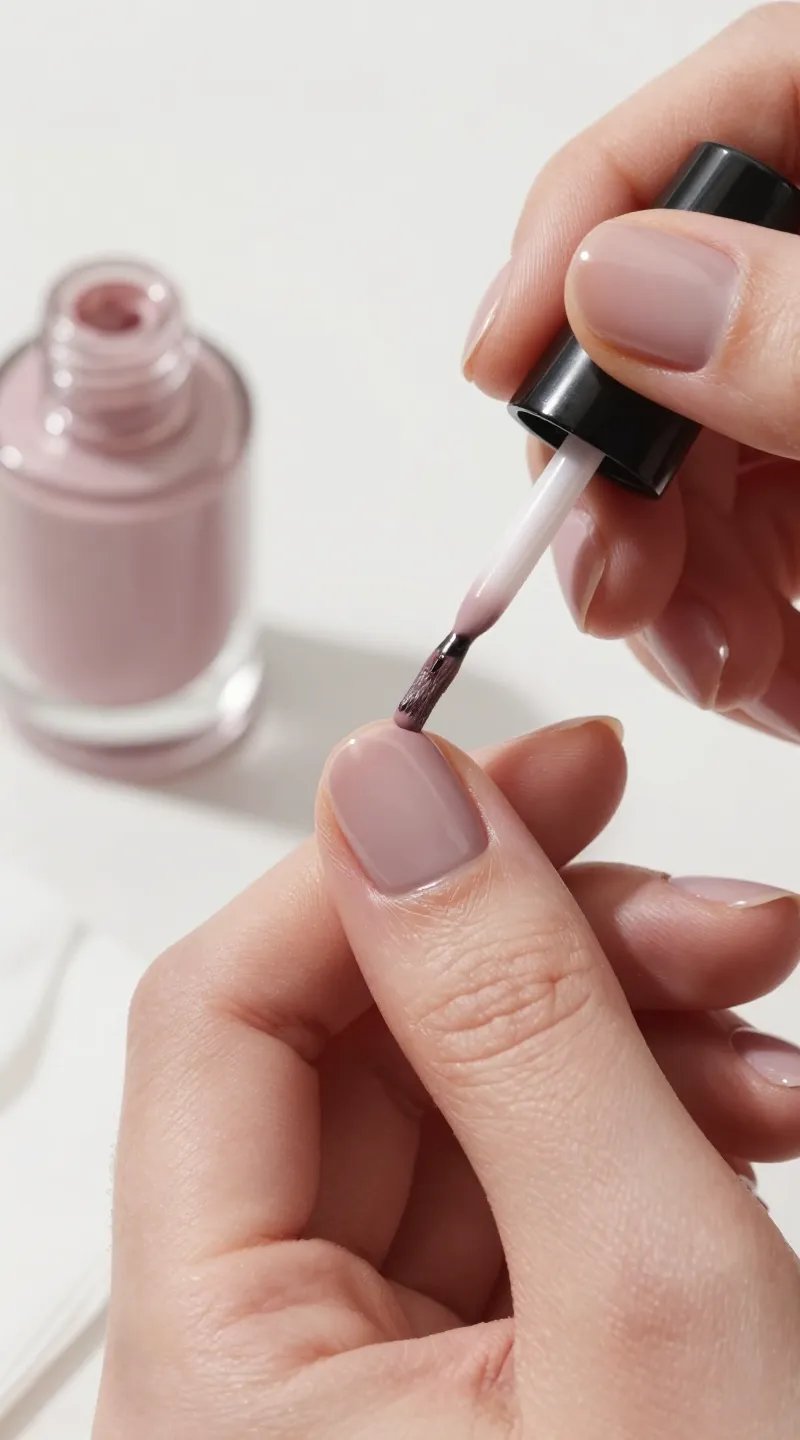
15. The Mismatched Nude

Wrong nude shade can make hands look dull or gray. The right one brightens like concealer for nails.
Tone Tips:
- Cool undertones: pick pinky-beige or rosy taupe.
- Warm undertones: go peachy nude or caramel.
- Neutral undertones: beige with a balanced base.
A perfect nude works for job interviews, weddings, everything. Effortless elegance.
16. The Sticker Graveyard
Old decals lifting at the edges turn chic designs into flaky chaos. They snag on hair and ruin top coats.
Sticker Success:
- Apply on completely dry color.
- Press firmly, especially the edges.
- Seal with two thin top-coat layers.
Crisp decals add drama with zero art skills required. Great for last-minute glam.
17. The Crooked French Tip
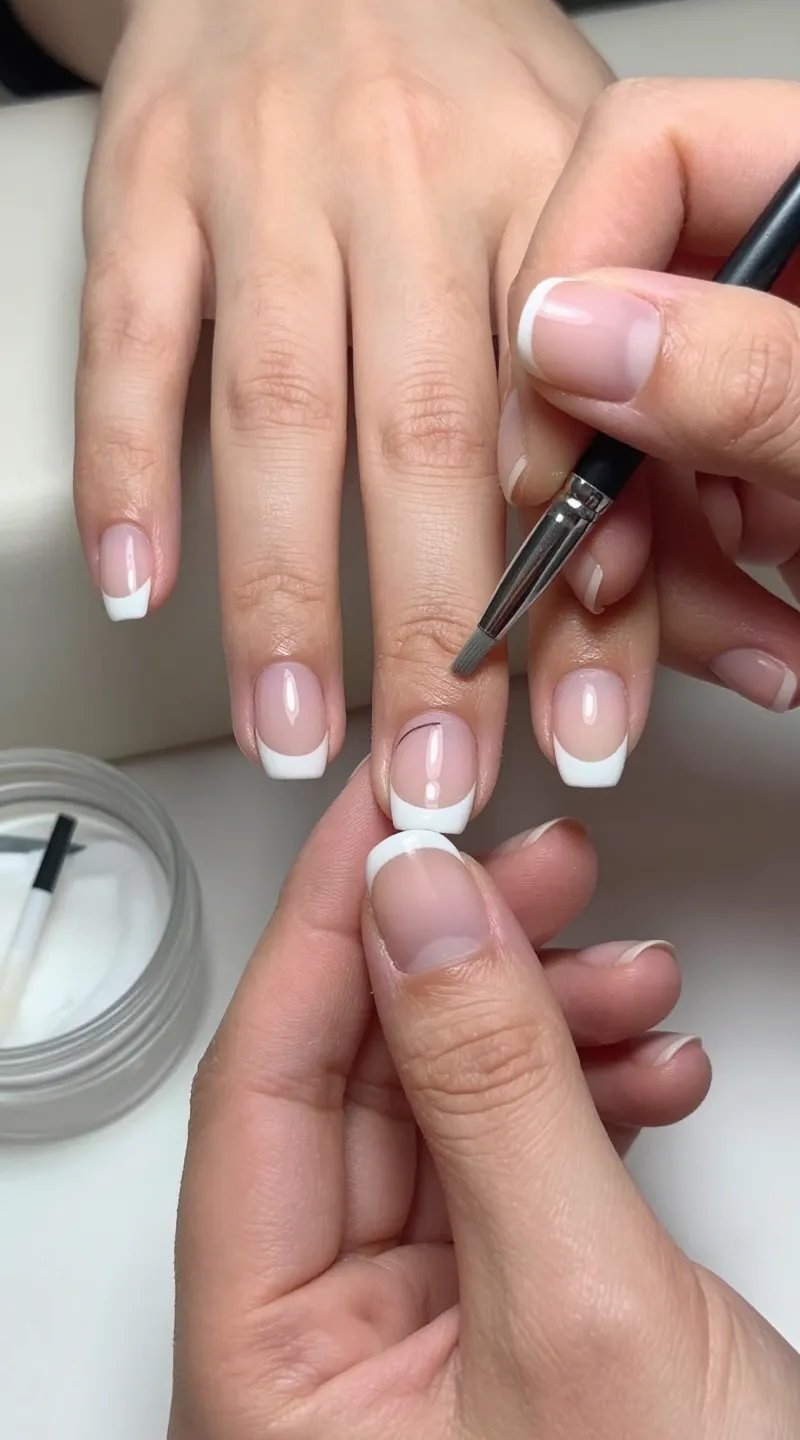
A lopsided smile line can tank an otherwise perfect mani. It draws the eye instantly, and not in a good way.
Steady Strategy:
- Use a thin striping brush and paint from sidewalls inward.
- Follow your natural smile line rather than forcing it.
- Clean with acetone on a tiny brush for a razor edge.
Clean French tips look chic on any length. It’s timeless for a reason.
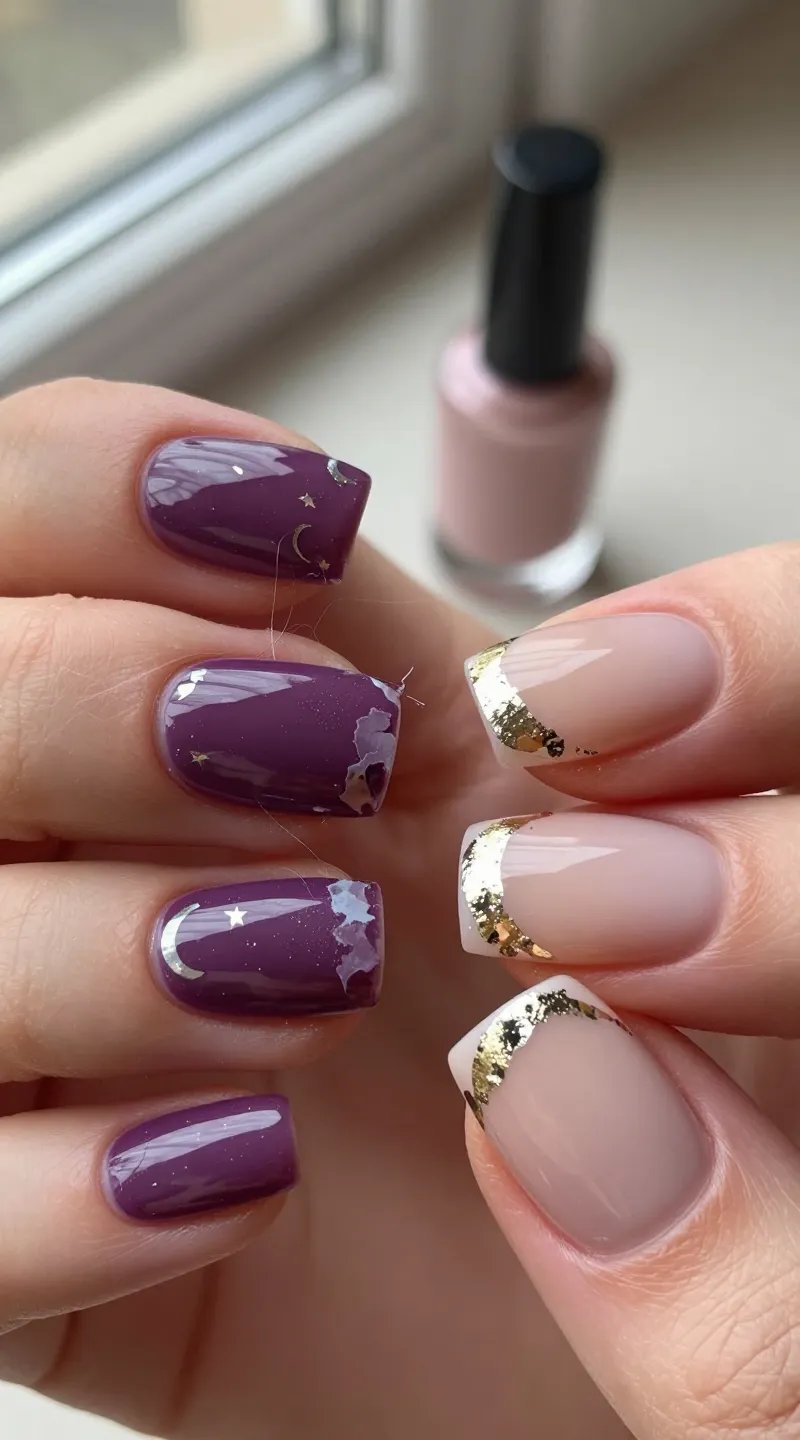
18. The Over-Decorated Nail Party
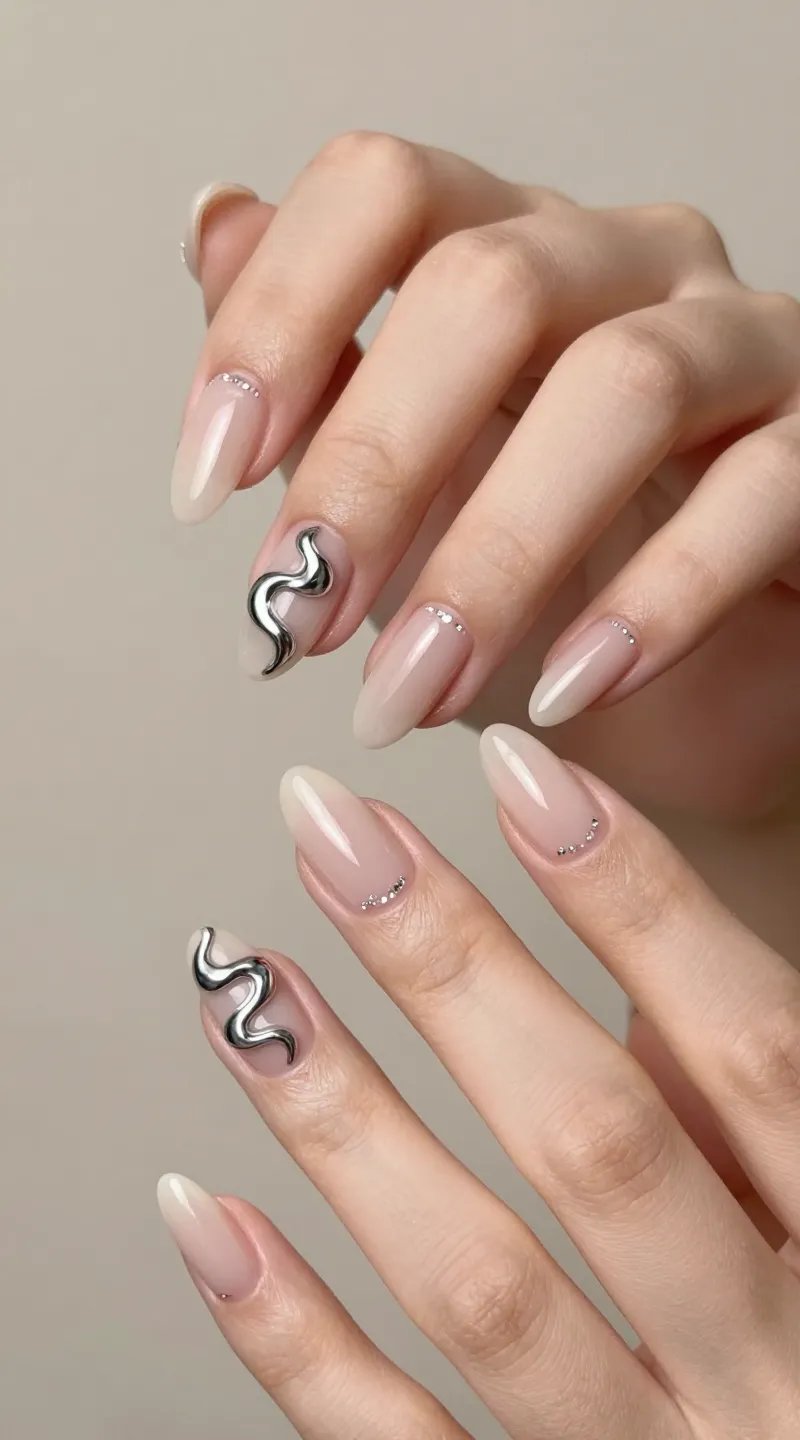
Rhinestones, decals, chrome, foil, and studs… all at once? It can read chaotic rather than couture.
Edit Like A Stylist:
- Choose one hero element: chrome, glitter, or gems.
- Anchor with a neutral base.
- Feature accent nails rather than all ten.
Curated designs feel intentional and high-end. Less chaos, more wow.
19. The Dry, Cracked Cuticle Look

Dry cuticles make fresh polish look old. They snag, peel, and get red fast.
Hydration Habit:
- Oil morning and night—almond, jojoba, or vitamin E.
- Hand cream right after washing.
- Overnight cotton gloves for intense repair.
Moisturized cuticles equal smoother paint and fewer chips. Easy daily win.
20. The Too-Long-For-Life Set
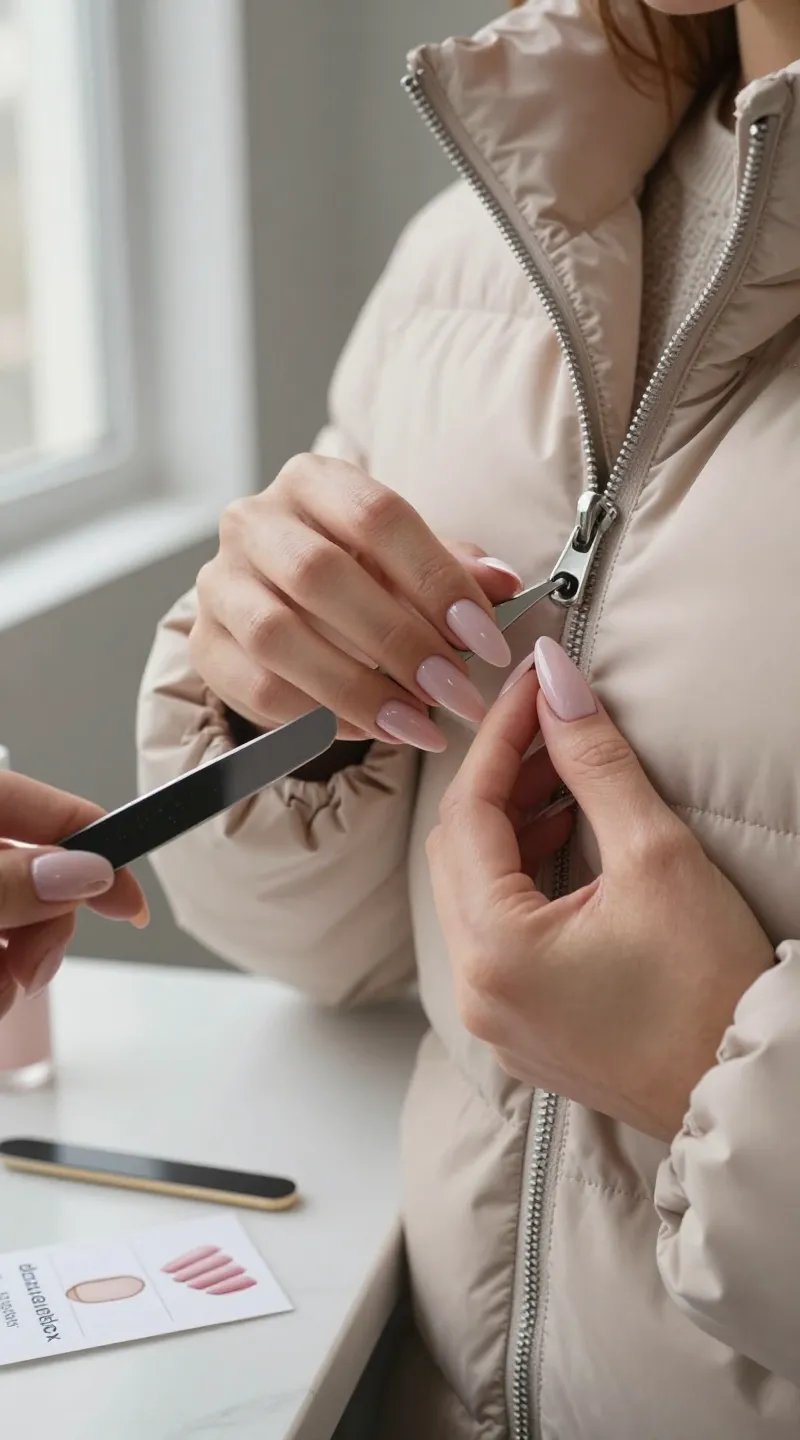
Ultra-long nails look dramatic but can break, twist, and make basic tasks a saga. If you can’t unzip your coat, reevaluate.
Find Your Functional Length:
- Start shorter and gradually lengthen.
- Keep a balanced apex for support.
- Choose almond or round for durability.
When nails fit your life, you keep them longer and enjoy them more. Sensible can still be stunning.
21. The Dull Top Coat Tragedy
When shine fades on day two, it kills the vibe. Some top coats scuff easily or don’t fully cure.
Shine Insurance:
- Use a quick-dry, high-gloss formula.
- Avoid hot water for a few hours after curing.
- Refresh with a thin top coat midweek.
Mirror shine makes color pop and hides minor imperfections. Instant refresh.
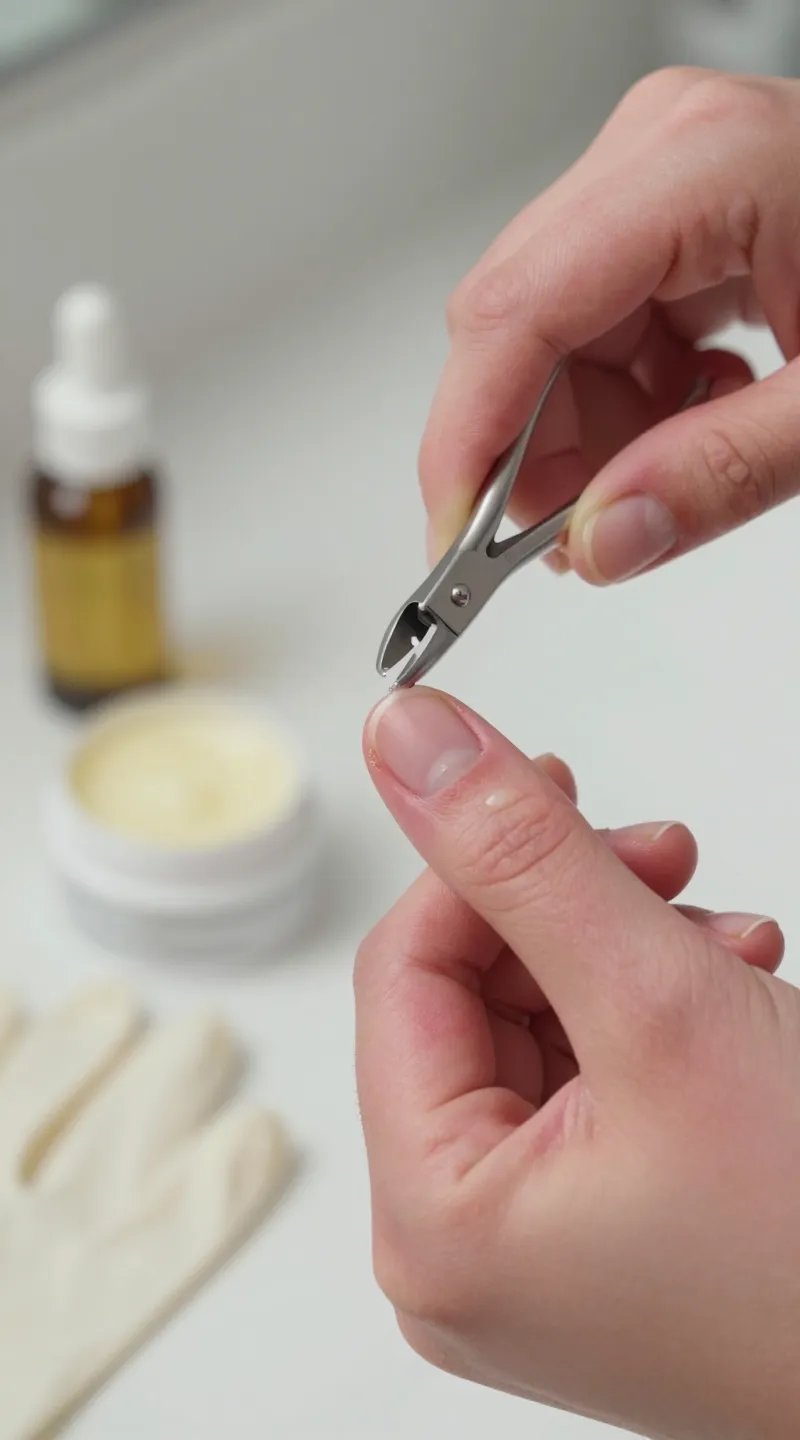
22. The Cuticle Nipper Overkill
Aggressive trimming causes jagged regrowth and infection risk. The red halo around nails? Not cute.
Gentle Approach:
- Soften first, then push back.
- Clip only dead bits—less is more.
- Disinfect tools every time.
Minimal cutting equals healthier skin and longer-lasting manis. Your future self will thank you.
23. The Off-Season Shade Choice
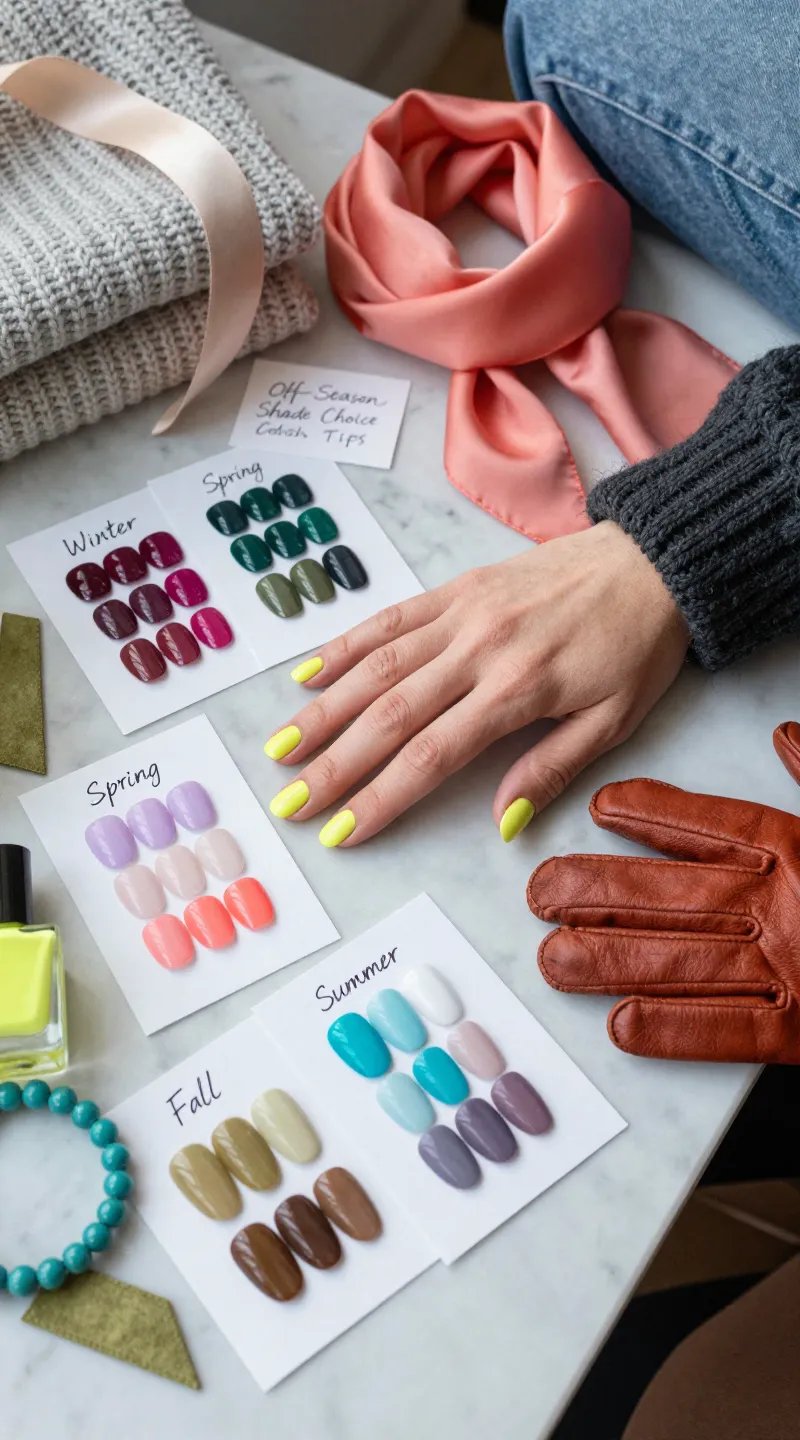
Neon yellow in December? Could be your vibe—or it might feel off against winter skin. Context matters.
Color Match Tips:
- Winter: deep berries, emerald, charcoal, champagne.
- Spring: pastels, milky neutrals, fresh corals.
- Summer: brights, white, turquoise.
- Fall: rust, olive, chocolate, muted mauve.
Seasonal shades flatter your wardrobe and lighting. Still, rules are made to be broken—IMO.
24. The Allergic Reaction Red Flag
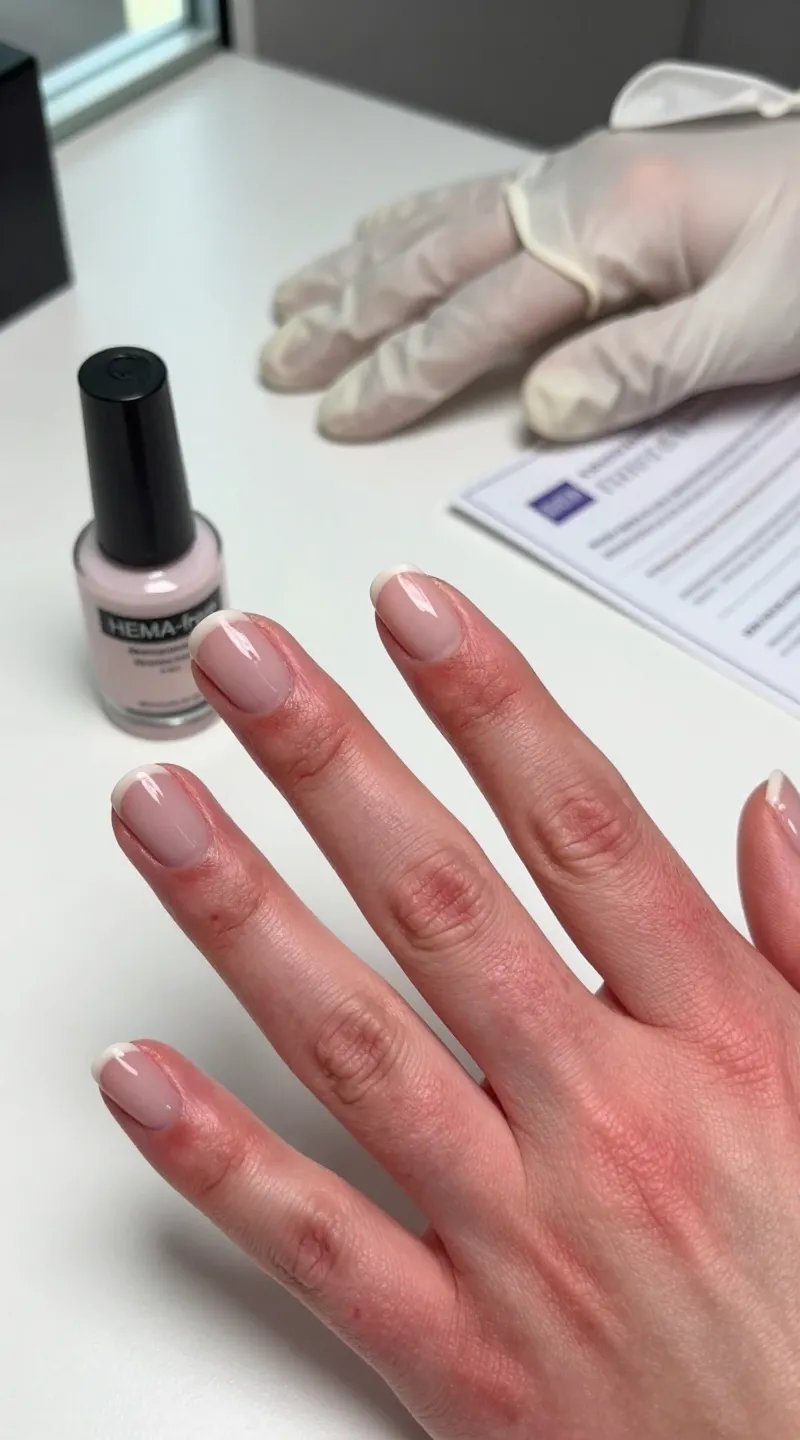
Itchy, swollen skin around nails signals a possible sensitivity to acrylates or adhesives. Don’t ignore it.
Safety First:
- Stop using the suspected product immediately.
- Switch to hypoallergenic or HEMA-free formulas.
- Consult a dermatologist if symptoms linger.
Healthy skin means you can enjoy nails without drama. Beauty should never hurt, seriously.
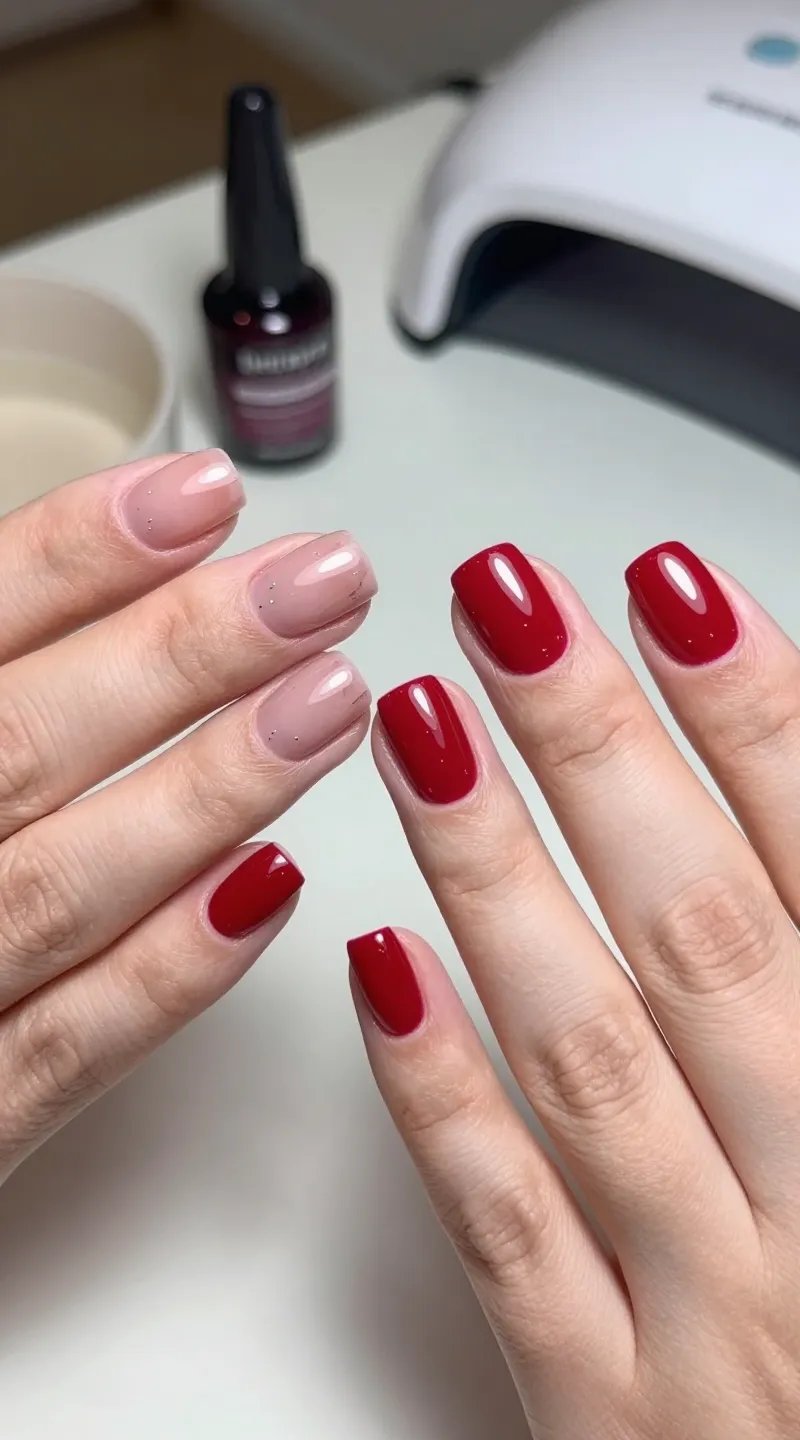
25. The “I Did Everything Right” Chip
You prepped, polished, and baby-sat your nails—and still, a random chip. Annoying? Absolutely. Unfixable? Nope.
Chip Rescue:
- Lightly file the chipped edge smooth.
- Dot color only where needed, feather it out.
- Seal with a fresh top coat over the whole nail.
A quick patch keeps your mani going till your next session. Crisis averted with minimal effort.
You made it through the hall of “bad nails” fame, and look at you—armed with fixes, upgrades, and a little sass. Try one or two tweaks this week and watch your nails level up fast. Screenshots welcome, compliments guaranteed.