25 3d Gel Flower Nails That Look Freshly Bloomed
Ready to turn your nails into tiny flower gardens? 3D gel flowers bring that sculpted, pop-off-the-nail drama that gets compliments from strangers. These ideas mix cute, classy, and a little unhinged—in the best way. Grab your builder gel and a tiny brush, because your hands are about to be the main character.
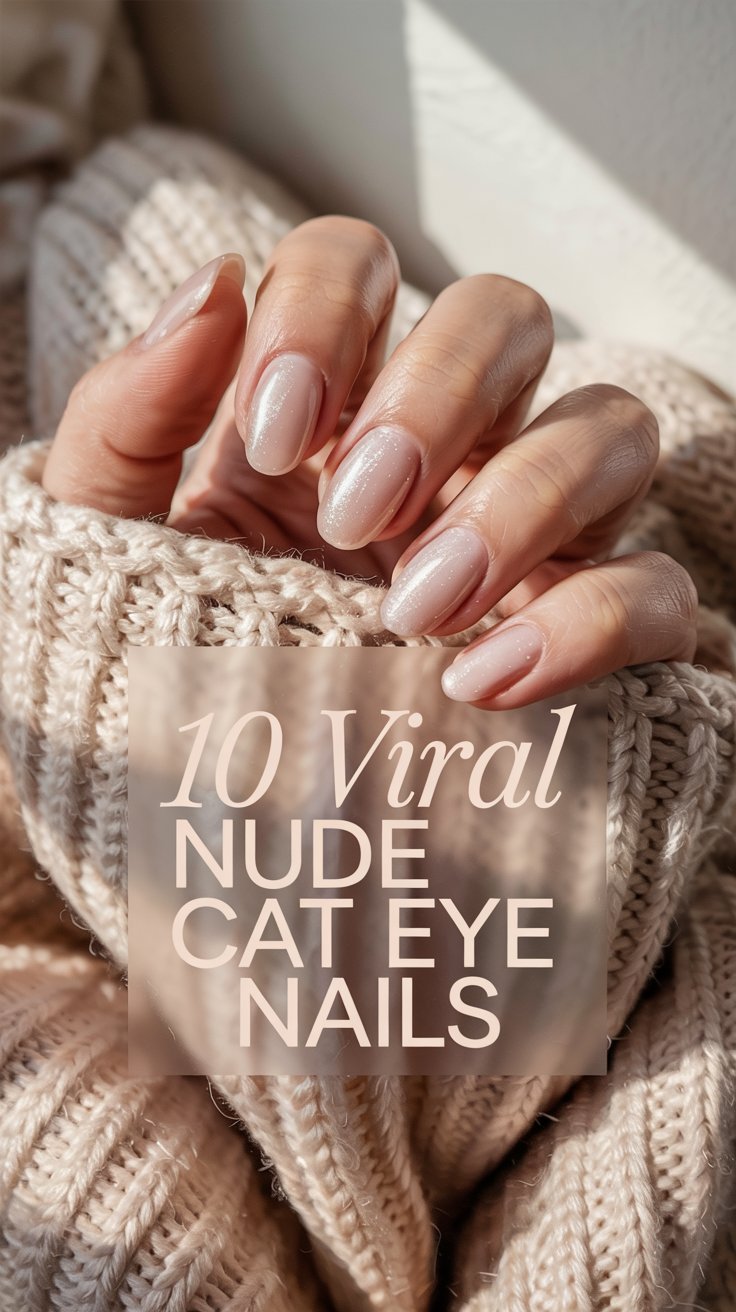
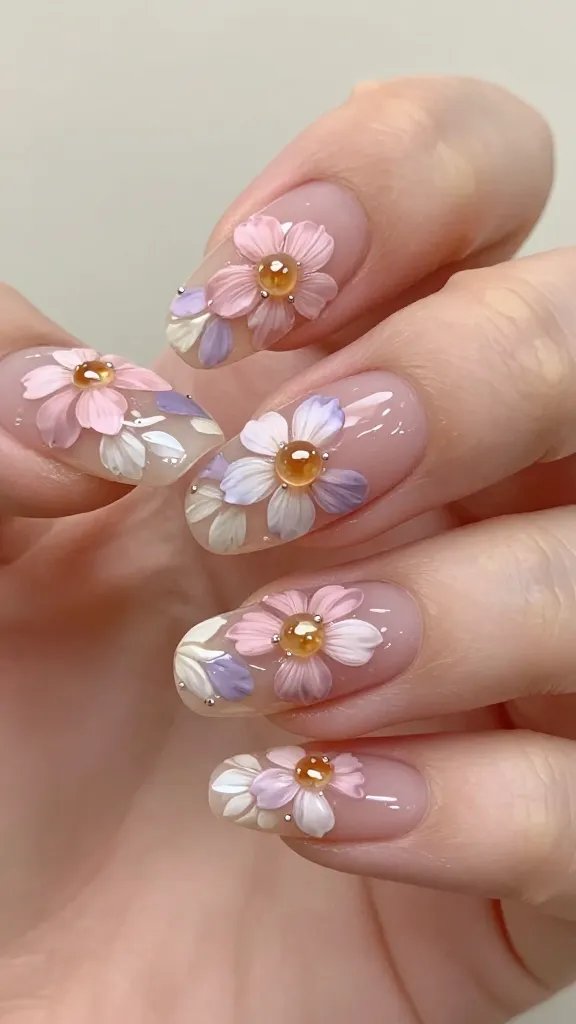
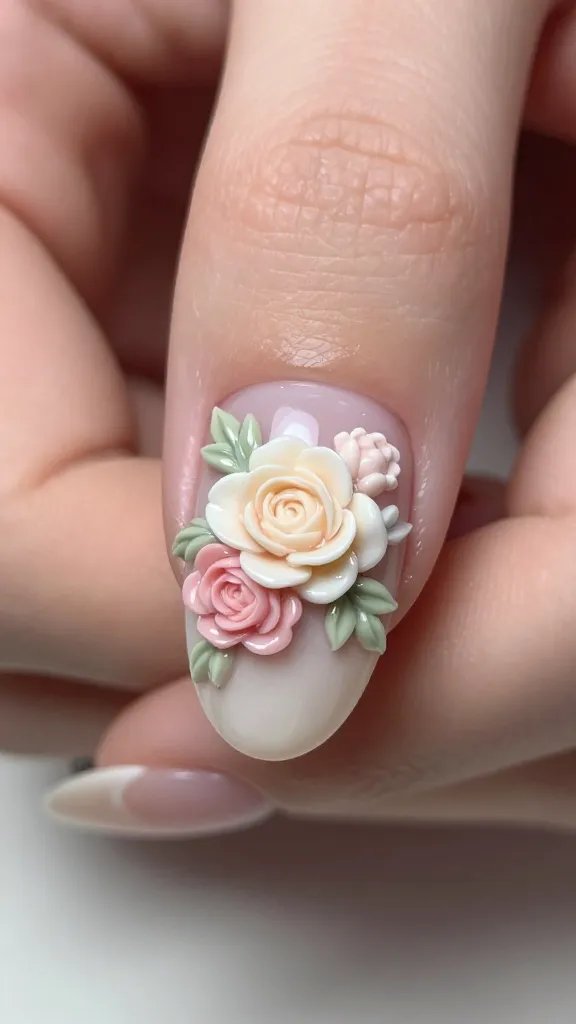
1. Classic Milky Pink Blossoms
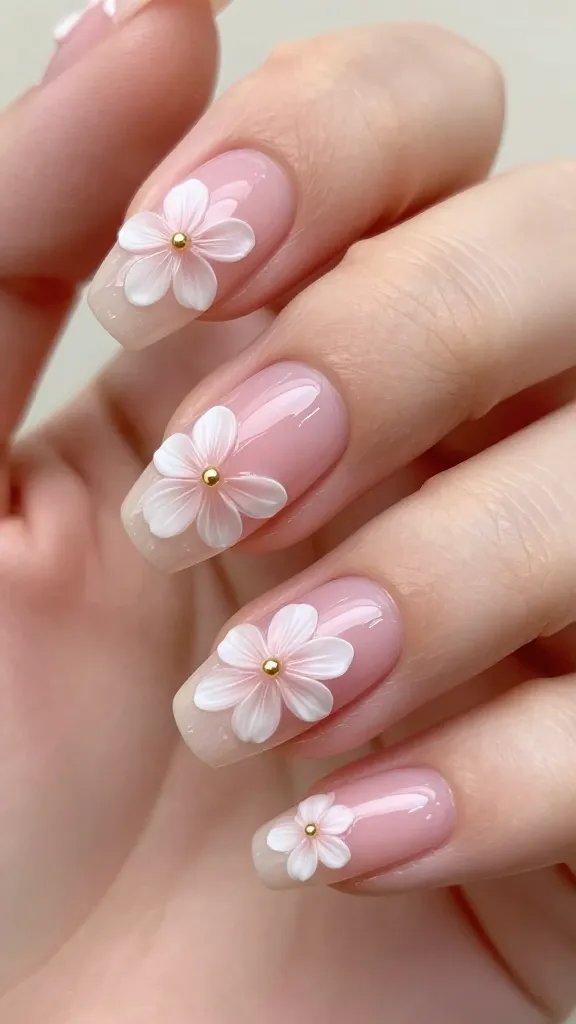
Soft, milky pink nails with raised white petals feel romantic without trying too hard. The translucent base gives depth, while the 3D petals add that luxurious, touchable texture.
Tips
- Use a sheer pink base for a “your nails but better” vibe.
- Sculpt petals with thick builder gel; cure between layers.
- Add a micro gold bead to each center for a subtle highlight.
Perfect for weddings, date nights, or anytime you want “soft girl” energy that still looks polished.
2. French Tips With Mini Flower Clusters
Upgrade your French by sprinkling tiny 3D blooms right along the smile line. It’s classic with a flirty twist.
Key Points
- Keep the tip thin so the flowers don’t overwhelm.
- Alternate single blossoms and two-flower clusters.
- Balance both hands so it feels intentional, not crowded.
Wear this when you want something office-friendly that still says, “I have taste.”
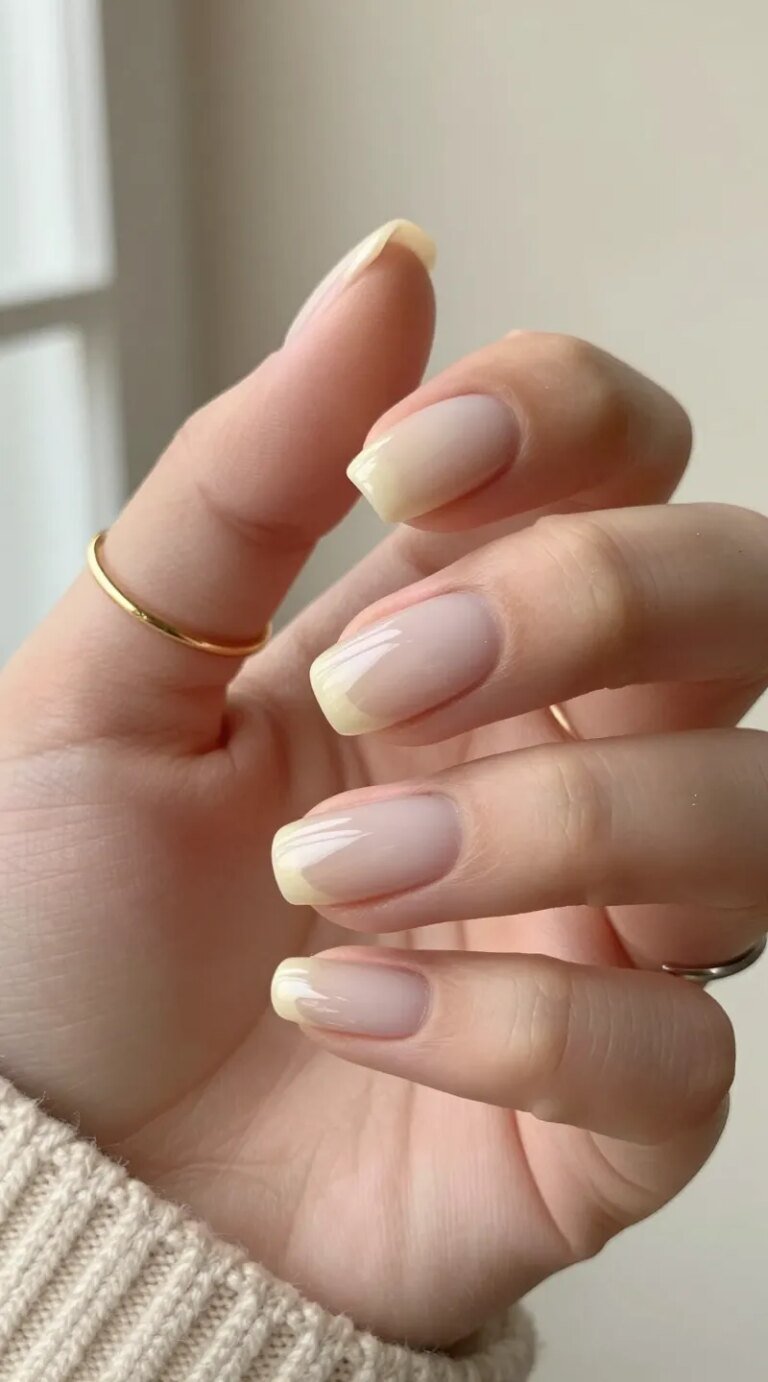
3. Jelly Nude With Clear Petal Overlays
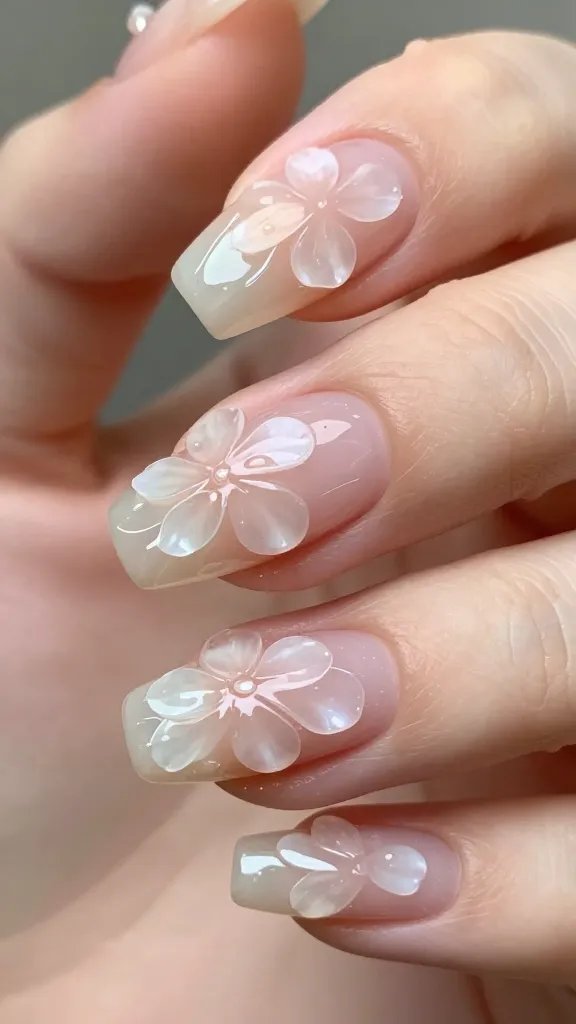
Transparent jelly nudes plus crystal-clear petals look like dew on a flower. The glassy layers catch light from every angle.
Materials
- Jelly nude gel
- Clear builder gel
- Fine liner for petal outlines (optional)
Great for minimalists who still want dimension. FYI, it photographs like a dream.
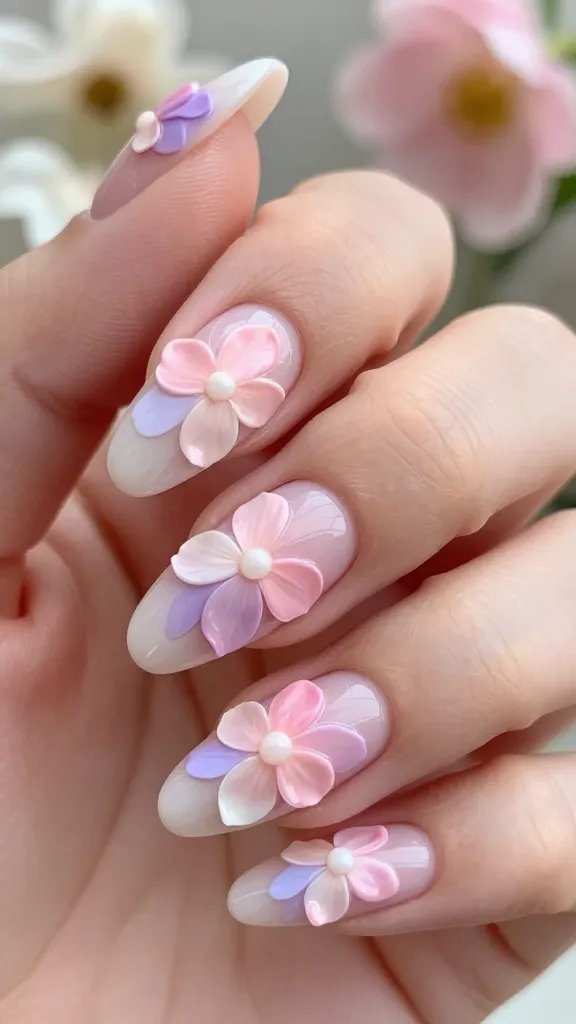
4. Pastel Garden Party
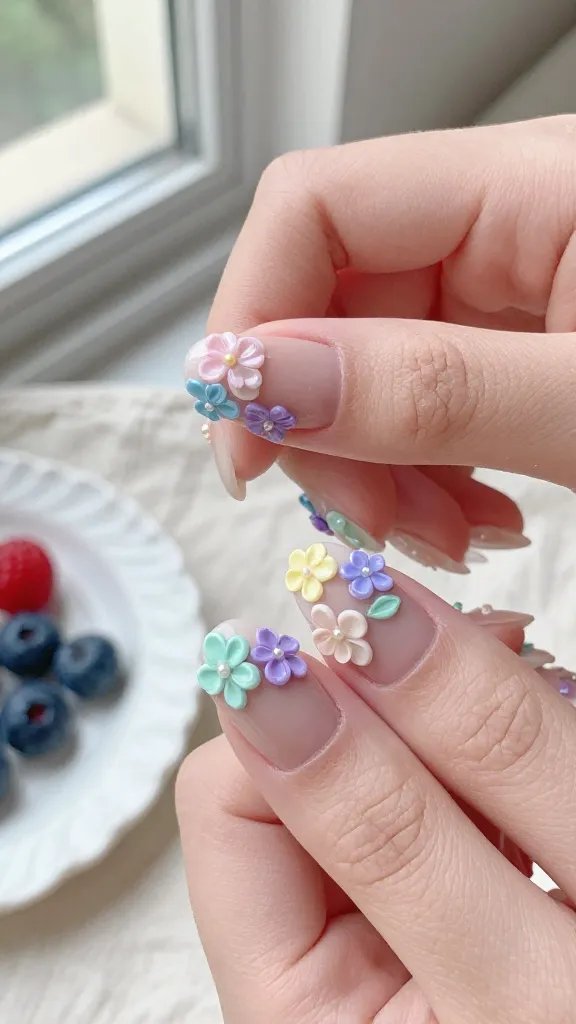
Think lilac, mint, baby blue, and butter yellow flowers sprinkled across a soft sheer base. It’s playful without tipping into kiddie territory.
Tips
- Keep petals rounded and small.
- Place blossoms diagonally to elongate the nail.
- Add a matte top coat for a velvety finish.
Wear it to brunch, picnics, or just to make grocery runs feel whimsical.
5. Black Canvas, White 3D Petals
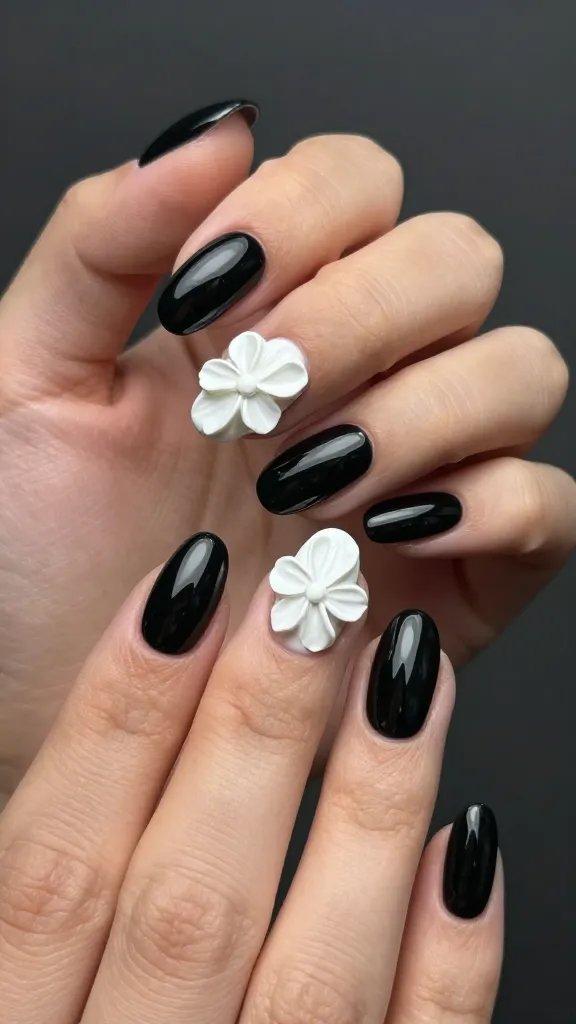
The contrast goes hard. Crisp white flowers sculpted over glossy black nails look editorial and bold.
Key Points
- Use ultra-pigmented black to avoid streaks.
- Keep flowers larger for drama—think three to five petals.
- Leave negative space between blooms for balance.
Pull this out for nights out and moody photo ops. Seriously chic.
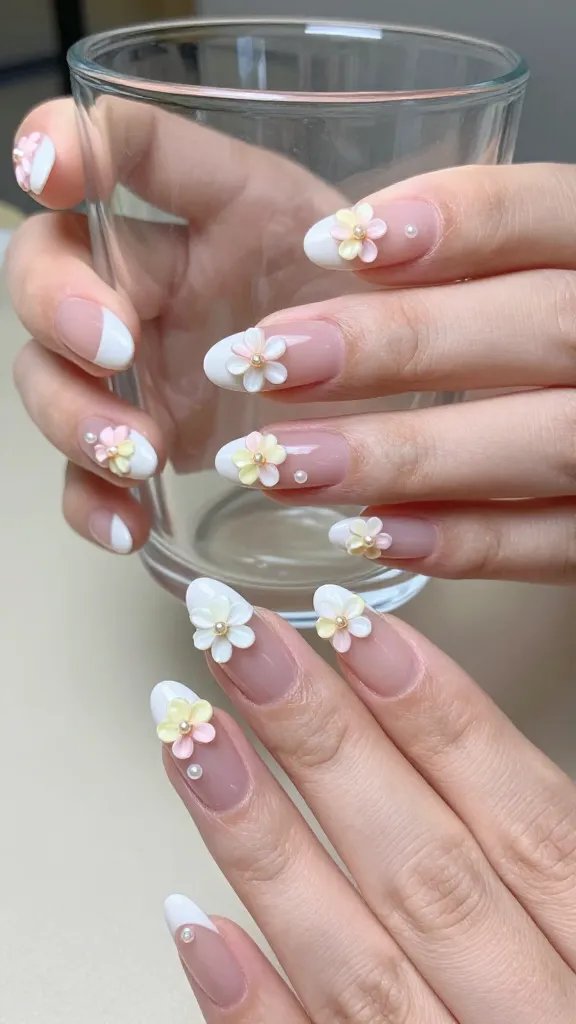
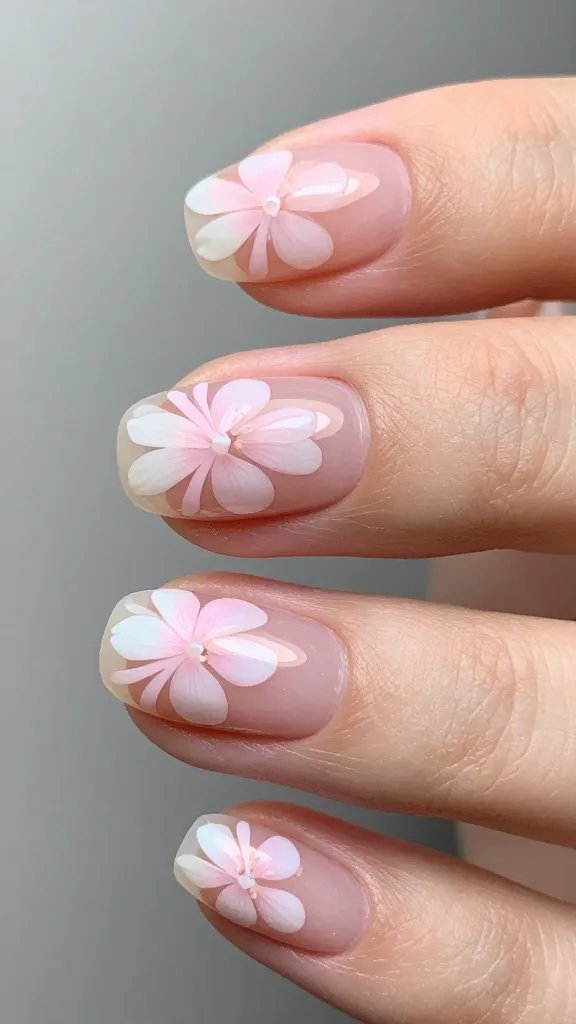
6. Pearl-Centered Daisies On Sheer Pink
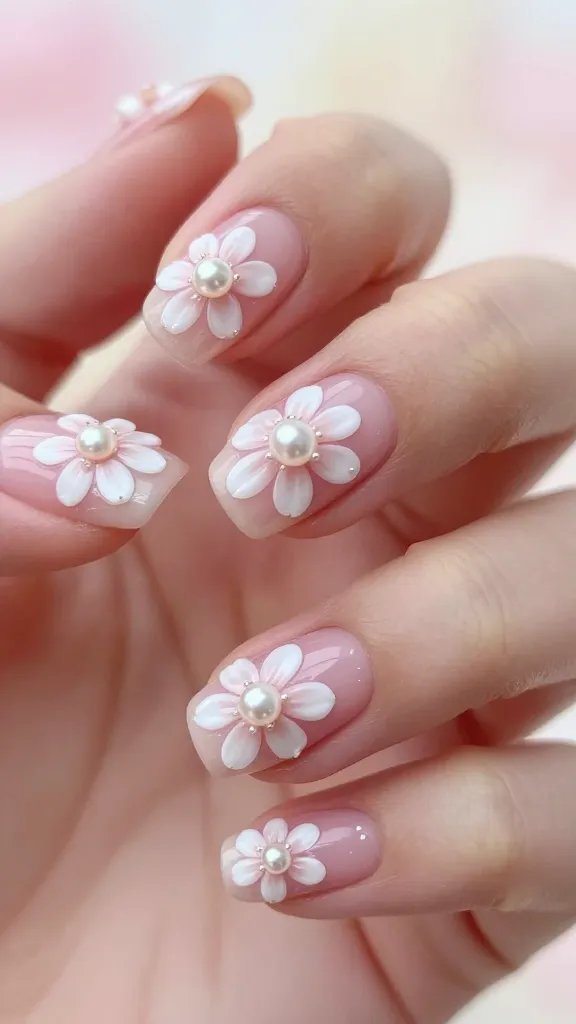
Soft daisies with tiny pearl centers = instant sweetness. The pearls elevate the design from cute to classy.
Materials
- Flatback half pearls (2–3 mm)
- White builder gel
- Sheer pink base
Perfect if you love classic, feminine style with a tiny bit of sparkle.
7. Neon Accent Flower Nails
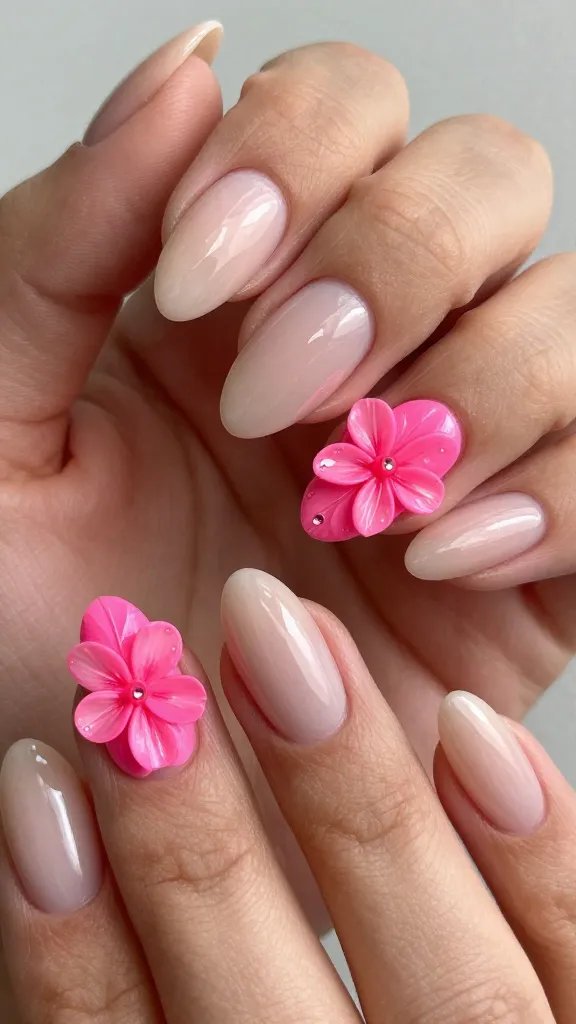
Keep most nails neutral, then add one or two neon 3D floral accents. The pop of color steals the show without overwhelming.
Tips
- Choose one neon hue for cohesion—hot pink, lime, or tangerine.
- Place on ring fingers or thumbs for balance.
- Glossy top coat keeps neon vibrant.
Wear when you want compliments from literally everyone at the party.
8. Matte Velvet Florals
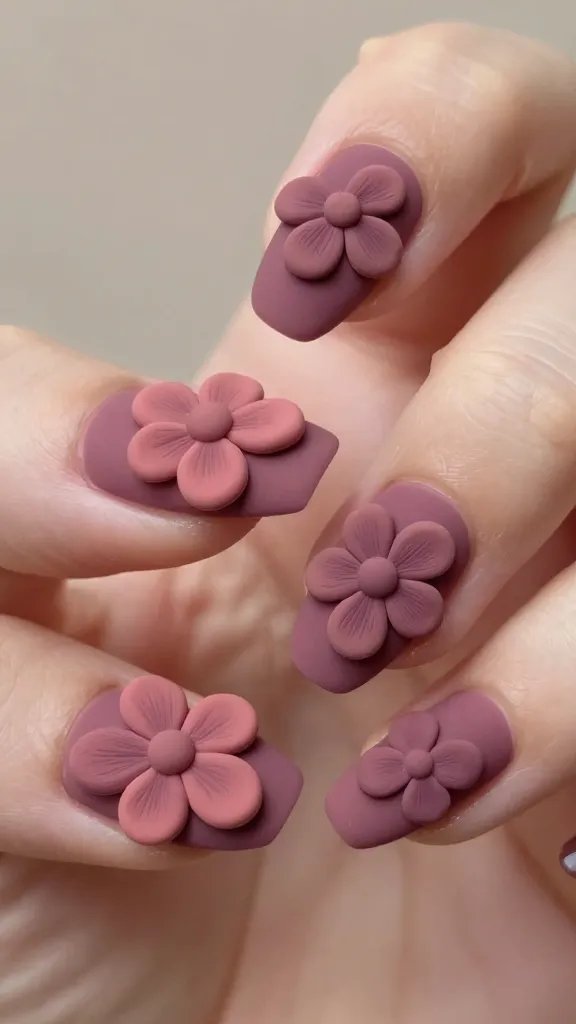
Matte finishes make 3D petals look like soft clay art. It’s modern, luxe, and unexpectedly cozy.
Key Points
- Use a matte top coat after sculpting.
- Add micro-shading with gel paint for depth.
- Stick to one color family for sophistication.
Ideal for fashion-forward minimalists who love texture over bling.
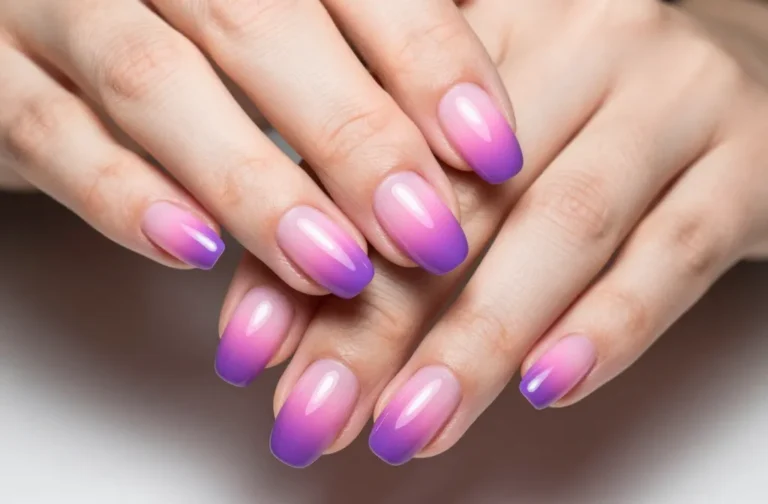
9. Ombre Petals That Fade Out
Blend two colors inside each petal so they fade from light to dark. The gradient adds movement and depth.
Tips
- Work wet-on-wet for a soft blend.
- Use a small sponge or brush to diffuse edges.
- Keep centers lighter to mimic light hitting petals.
Perfect for spring events when you want a subtle showstopper.
10. Micro Blooms On Chrome Base
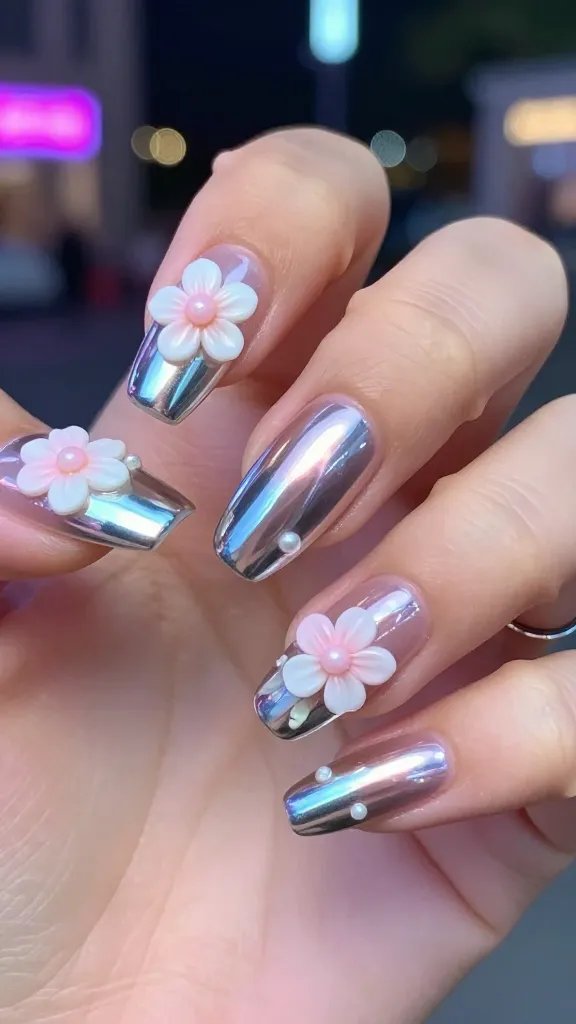
Tiny sculpted flowers over a chrome base hit the futuristic-romantic sweet spot. The reflective base makes every petal pop.
Materials
- Chromed gel base (silver or rose chrome)
- Tiny 3D flowers in white or pastel
- No-wipe top coat
Wear for festivals and night outs—flash photos will love you.
11. Pressed-Flower Illusion With 3D Centers
Create flat floral decals underneath and add only raised centers on top. You get realism with less bulk.
Key Points
- Sandwich decals between layers of builder gel.
- Sculpt domed centers with gel or add caviar beads.
- Seal thoroughly for longevity.
Great if you want 3D detail without fully sculpting every petal.
12. Negative Space Cutout Blooms
Use your natural nail as part of the design by leaving sections blank around the flowers. It feels airy and artsy.
Tips
- Map the cutouts with a fine liner first.
- Keep flowers near cuticle or sidewalls for a modern layout.
- Top coat carefully to protect the edges.
Perfect for short nails that still want high style.
13. Sculpted Roses With Glossy Drips
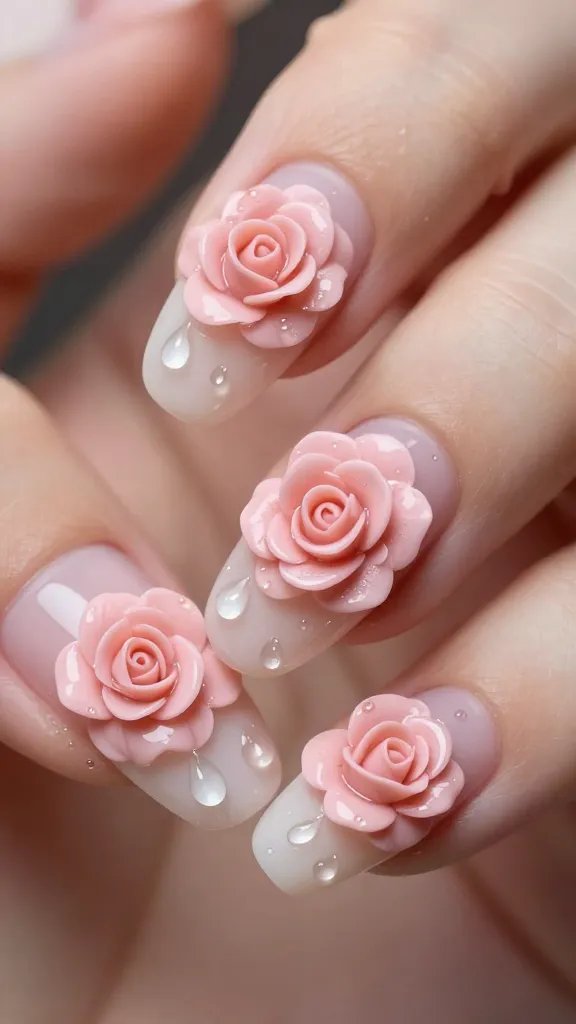
Make raised roses and add glossy gel “dew drops.” It’s extra—but in a couture way.
Materials
- Thick builder gel for petals
- Clear gel for drops
- Dusting powder for soft shading (optional)
Use for special occasions where you want maximum drama and dimension.
14. French Fade With Single Statement Bloom
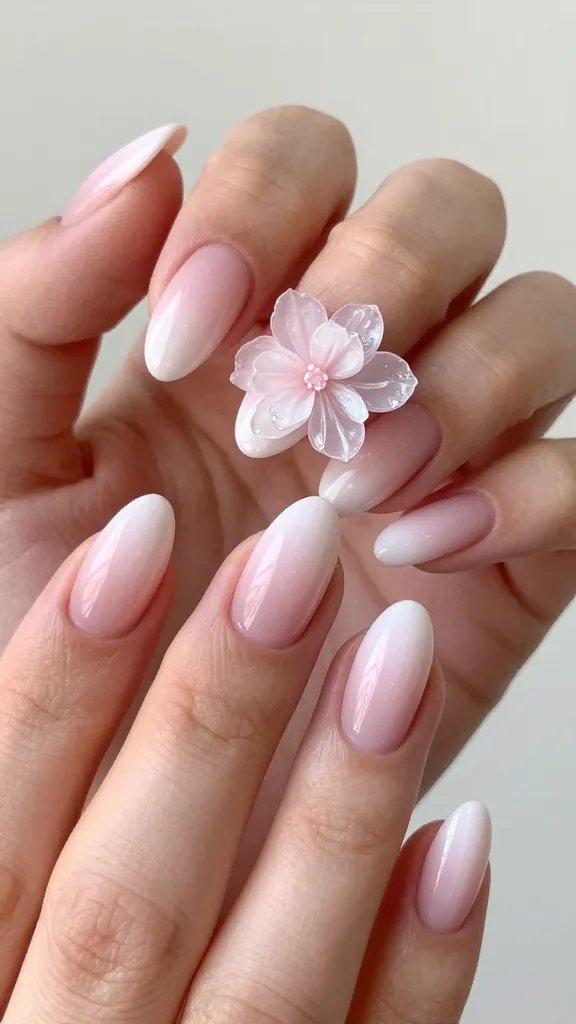
Pair a baby boomer French fade with one big 3D flower on the ring finger. Minimalist base, maximalist accent.
Key Points
- Keep the bloom centered for symmetry.
- Use soft pink-to-white ombre for the base.
- Highlight petals with tiny reflective flakes.
Great for engagement photos or anytime you want understated glam.
15. Pastel Plaid + Tiny White Blossoms
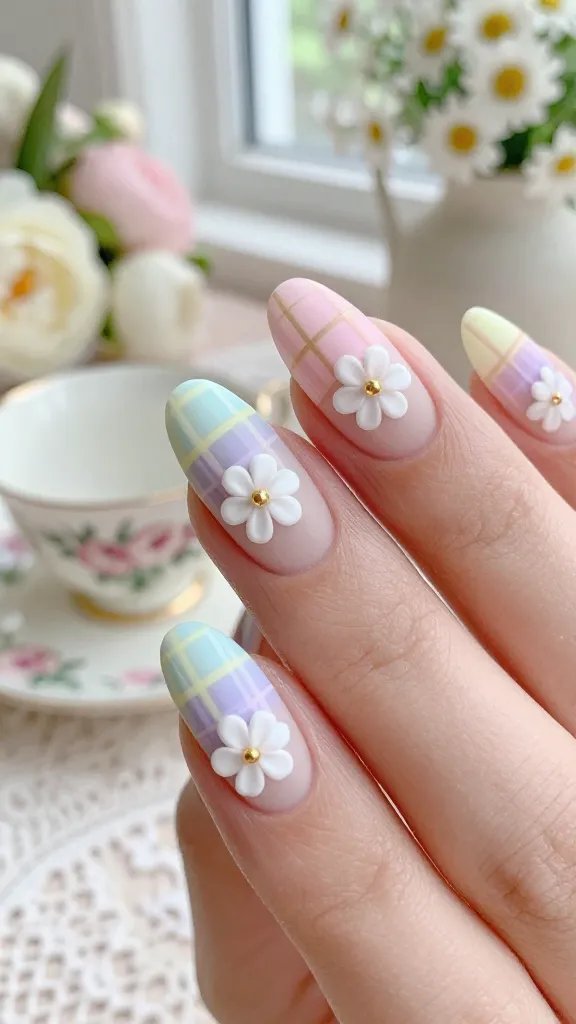
Layer a soft plaid pattern, then dot small 3D flowers on top. It’s preppy meets kawaii.
Tips
- Keep the plaid lines thin and semi-sheer.
- Place blossoms at line intersections.
- Use matte top coat to make details crisp.
Adorable for spring, tea parties, and cottagecore selfies.
16. Monochrome Sculpted Bouquet
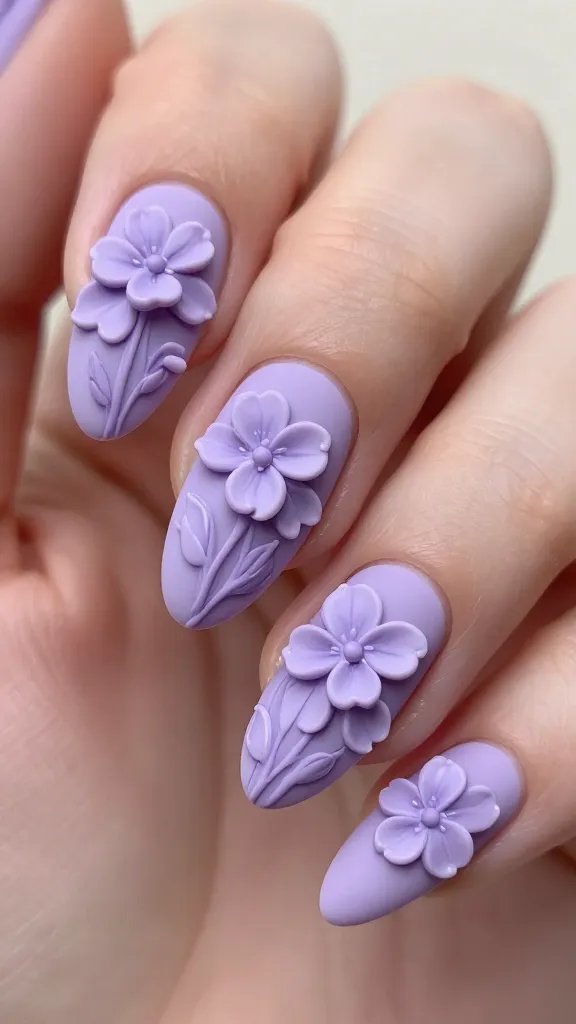
Stick to one color for base and petals—think all lavender or all nude. The single-tone approach looks editorial and clean.
Key Points
- Vary petal sizes for depth.
- Add subtle high/low gloss by mixing matte and shiny sections.
- Keep nails almond or oval to match the softness.
Wear when you want sophisticated art without too much sparkle.
17. Glitter Underlay With Soft White Petals
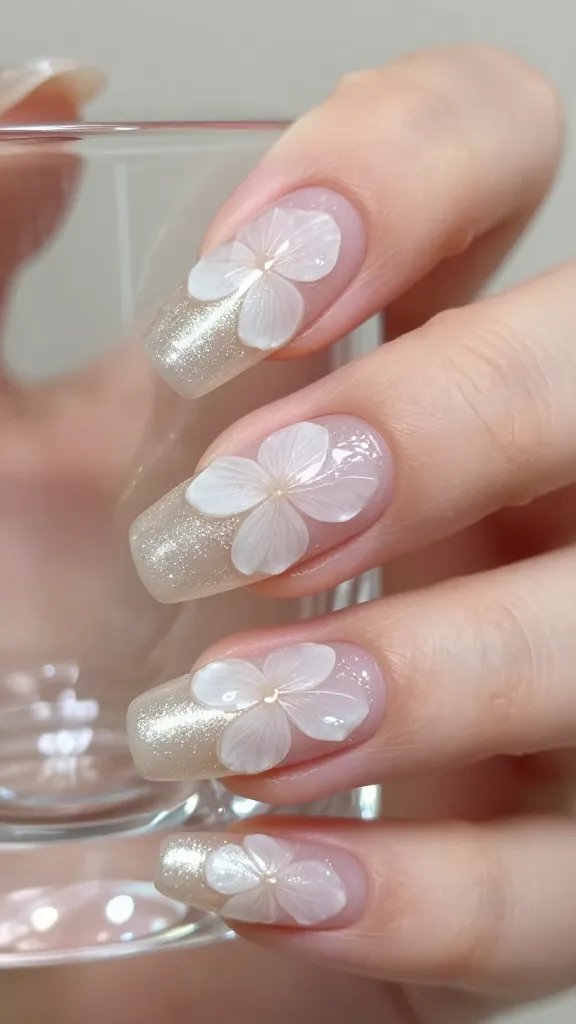
Lay down a fine glitter base and top with sheer white 3D petals. The glitter peeks through like sunlight.
Tips
- Choose micro-glitter for elegance.
- Use thin petals to let light pass through.
- Top with a glossy finish for that wet look.
Great for parties, holidays, and any occasion that needs a little shimmer.
18. Botanical Vines With Tiny 3D Buds
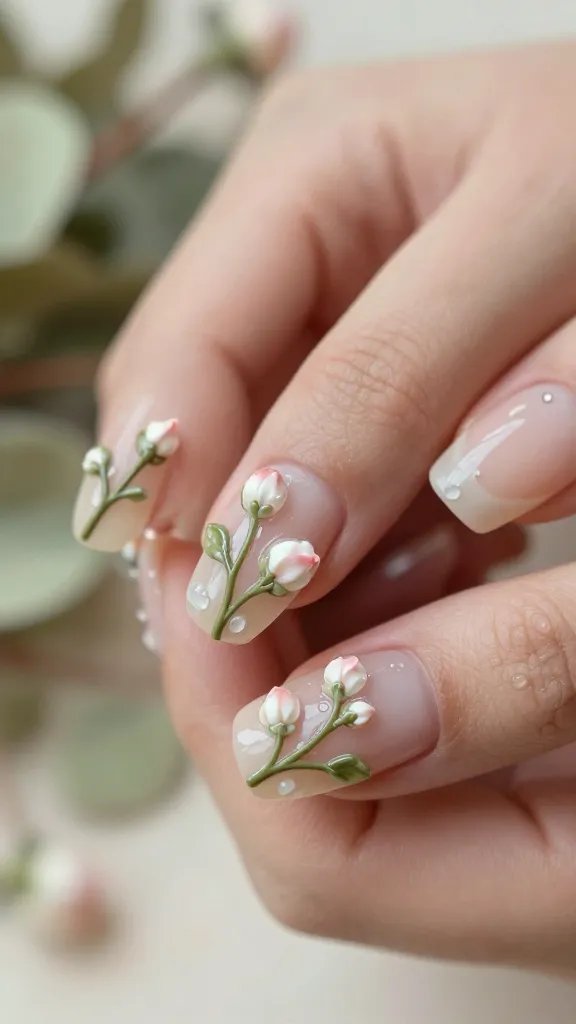
Paint delicate vines, then add tiny sculpted buds along the stems. It’s feminine, detailed, and surprisingly wearable.
Materials
- Fine liner brush
- Olive or sage gel for vines
- Builder gel for buds
Perfect for nature lovers and anyone who loves a micro-detail moment.
19. Chrome Petal Edges
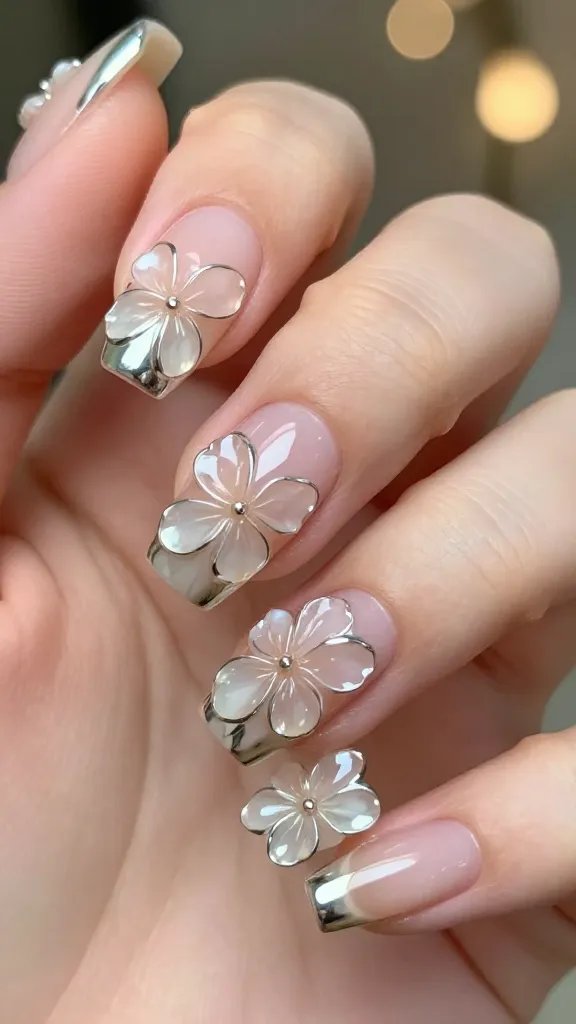
Outline each 3D petal with chrome for a metallic-laced edge. It catches the light like jewelry.
Tips
- Use a no-wipe gel for precise chrome adhesion.
- Keep outlines thin for a refined look.
- Pick a neutral base to let the chrome shine.
Ideal for evenings and events where you want hands to sparkle subtly.
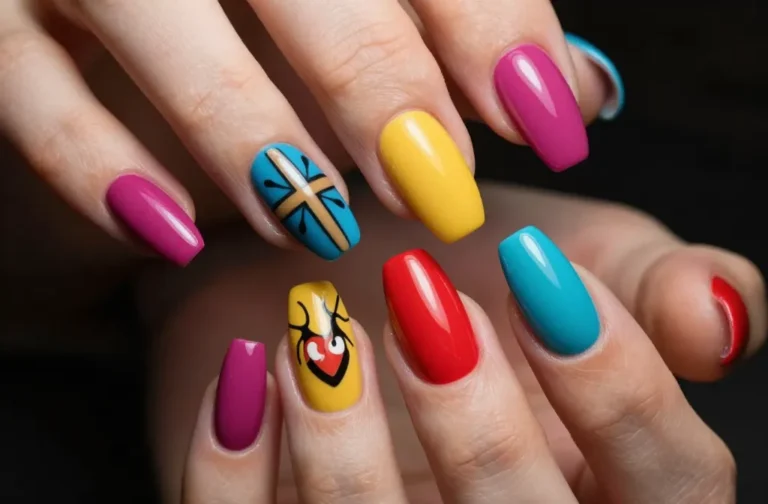
20. Vivid Tropical Florals
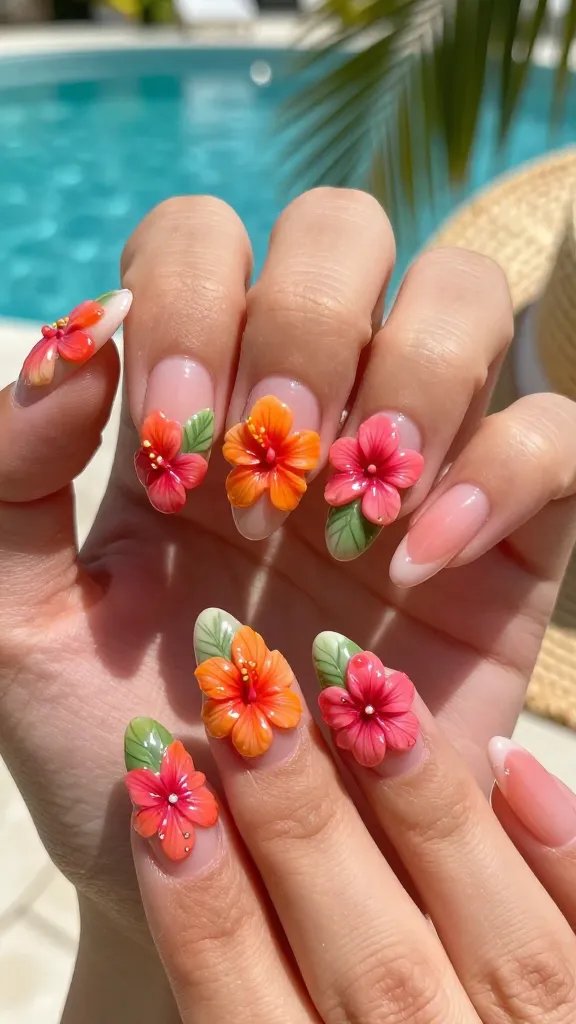
Go bold with hibiscus-style blooms in hot coral, fuchsia, and orange. The 3D sculpting makes them feel vacation-ready.
Key Points
- Add leaf accents in glossy green.
- Use gradient petals for depth.
- Keep other nails simpler to avoid overload.
Book this set before a beach trip or when you need mood-lifting color, IMO.
21. Micro Crystal Flower Centers

Add tiny Swarovski-style crystals or rhinestones as the heart of each flower. The sparkle contrasts beautifully with soft gel petals.
Tips
- Secure with gem gel for durability.
- Choose crystals 1–2 mm so they don’t look bulky.
- Match metal accents to your jewelry.
Great for brides, party looks, or when you just want your hands to flex.
22. Sculpted Petals Over Nude Velvet French
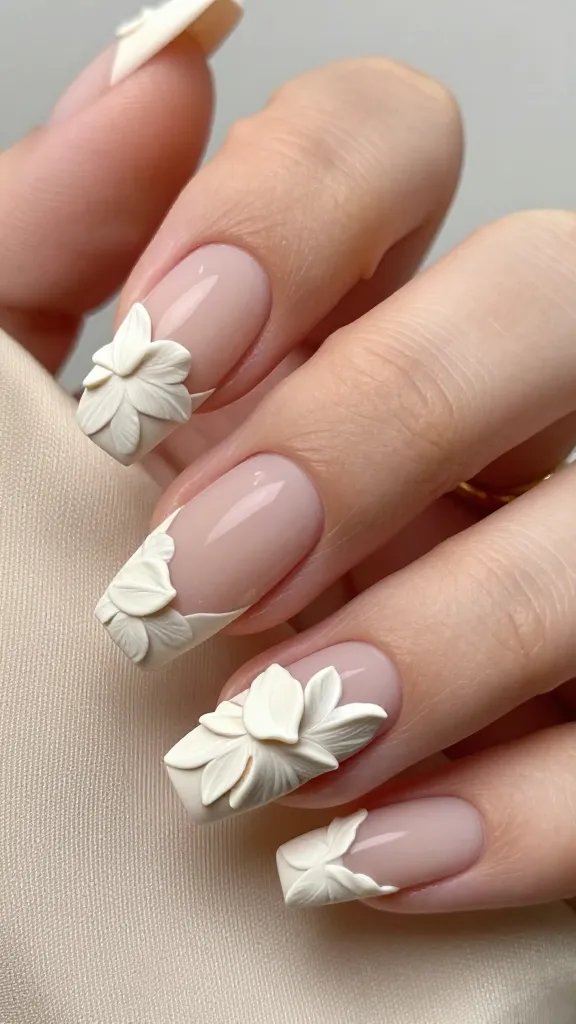
A nude velvet French tip already looks expensive. Add delicate 3D petals that flow from the tip onto the base for dimension.
Key Points
- Soft square or almond shapes work best.
- Use off-white petals for a subtle contrast.
- Finish with a velvet matte top to keep it plush.
Perfect for elegant events and fashion-forward office looks.
23. Baroque Florals With Gold Leaf
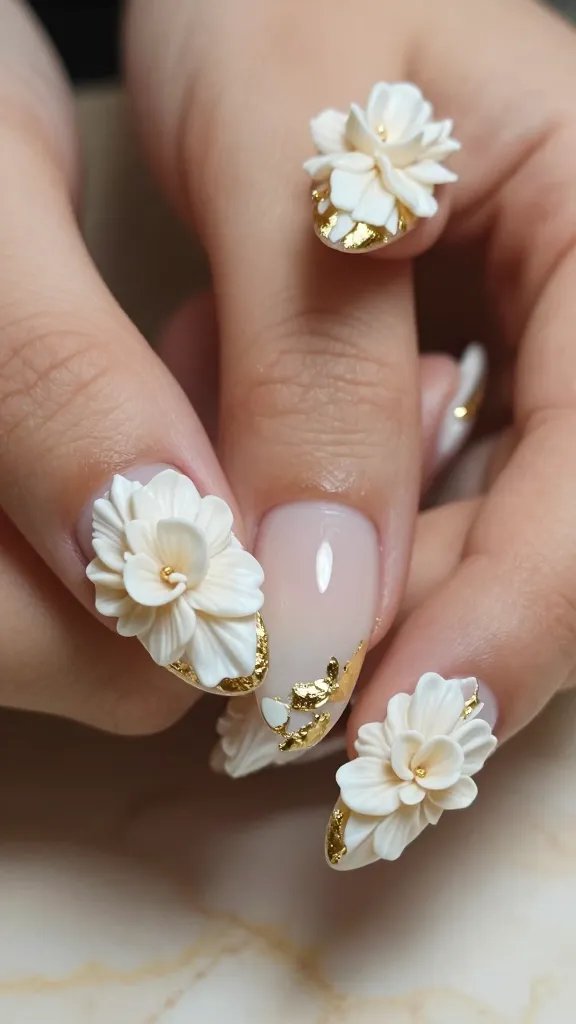
Think ornate petals with touches of gold leaf tucked between layers. It’s romantic and slightly dramatic—main character energy.
Materials
- White or ivory builder gel
- Gold leaf flakes
- Detail brush for sculpting
Wear when you want art on your nails that looks straight out of a museum.
24. Single-Stem Minimal Flower
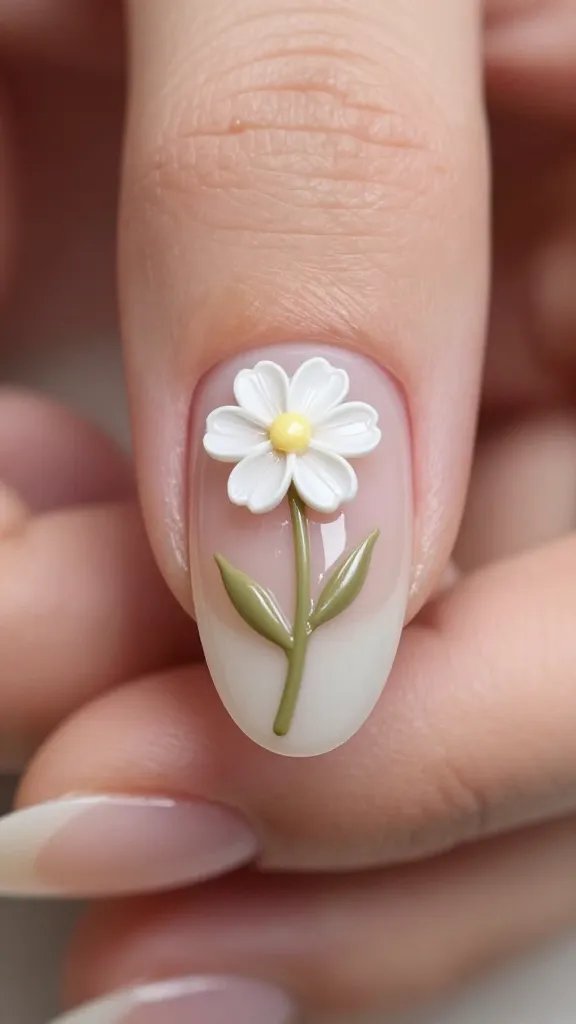
One delicate stem, one sculpted flower, tons of style. Negative space keeps it clean and chic.
Tips
- Place the stem off-center for a modern feel.
- Keep the flower small with crisp edges.
- Seal with a glossy top to protect fine lines.
Great for short nails, beginners, or anyone who loves subtle statement art.
25. Full Bloom 3D Bouquet Accent
Go all out on one nail with a full bouquet—different flower types, buds, and leaves. Keep the rest sheer and simple so the bouquet shines.
Key Points
- Vary sizes and heights for realism.
- Stick to two to three colors for cohesion.
- Cap with extra top coat around edges for durability.
Use this when you want a signature nail that feels like a tiny sculpture. Trust me, it’s a conversation starter.
Ready to let your nails bloom? Pick one design to test-drive, then go bolder as you get comfy with sculpting. Your hands will look like wearable art—and yes, your camera roll is about to explode with close-ups.